|
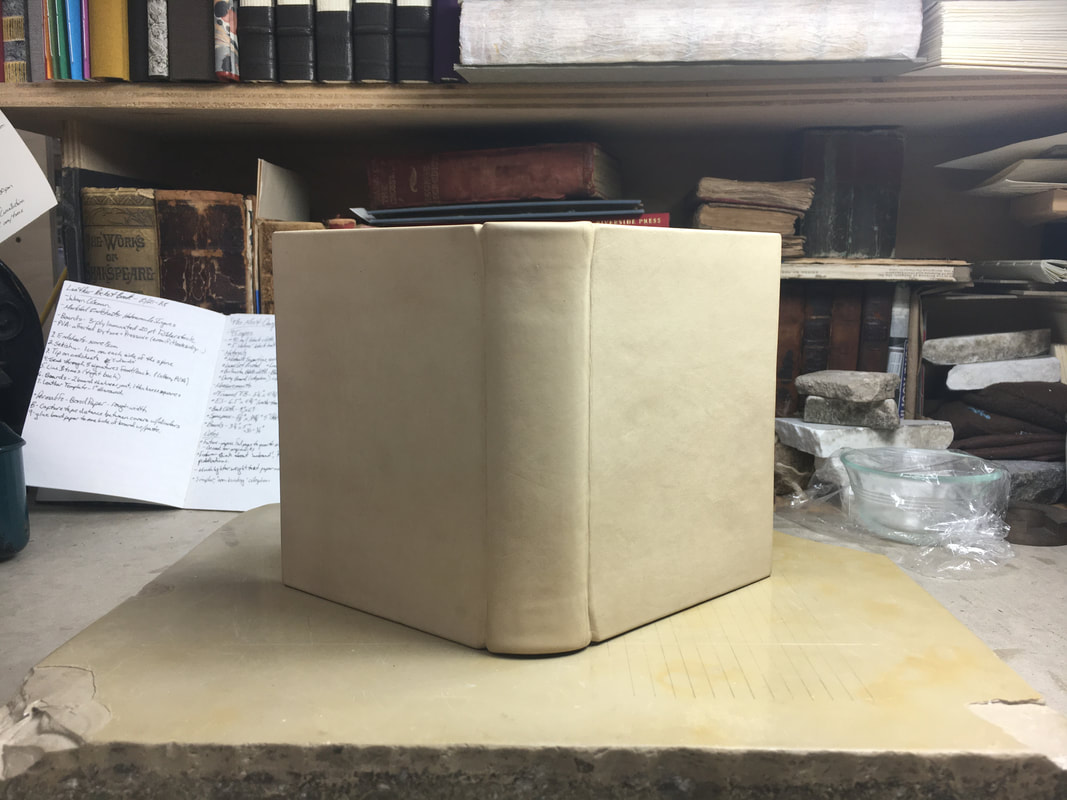
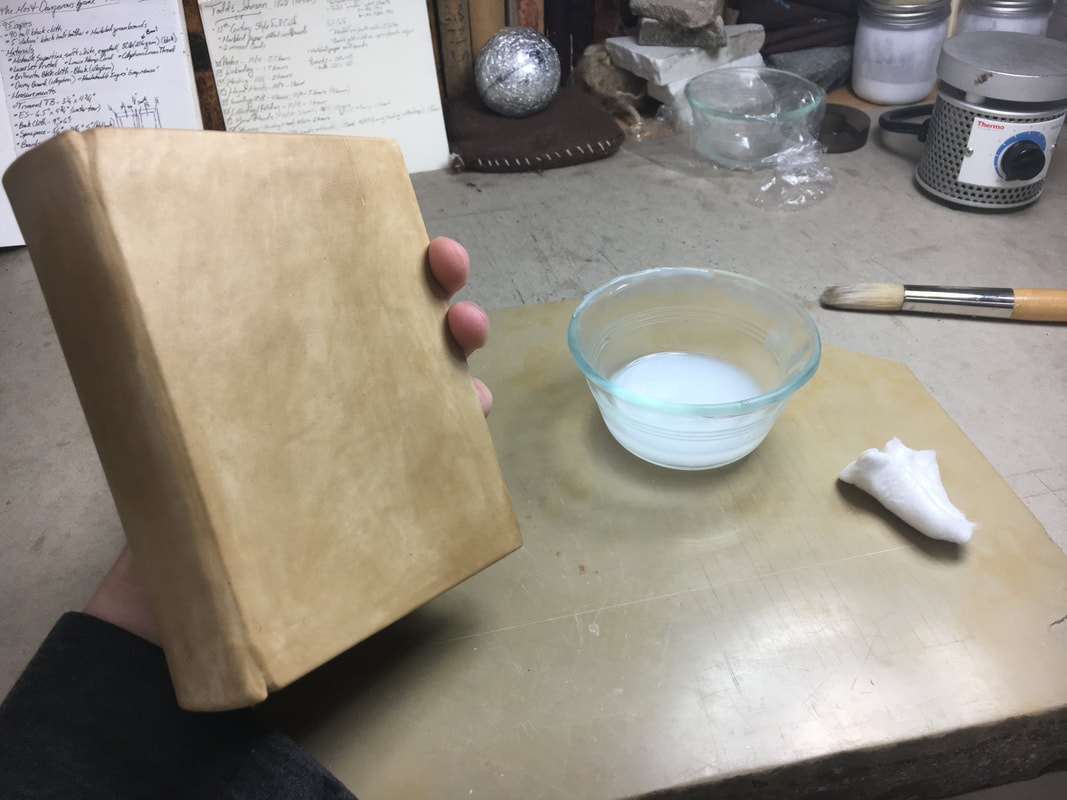
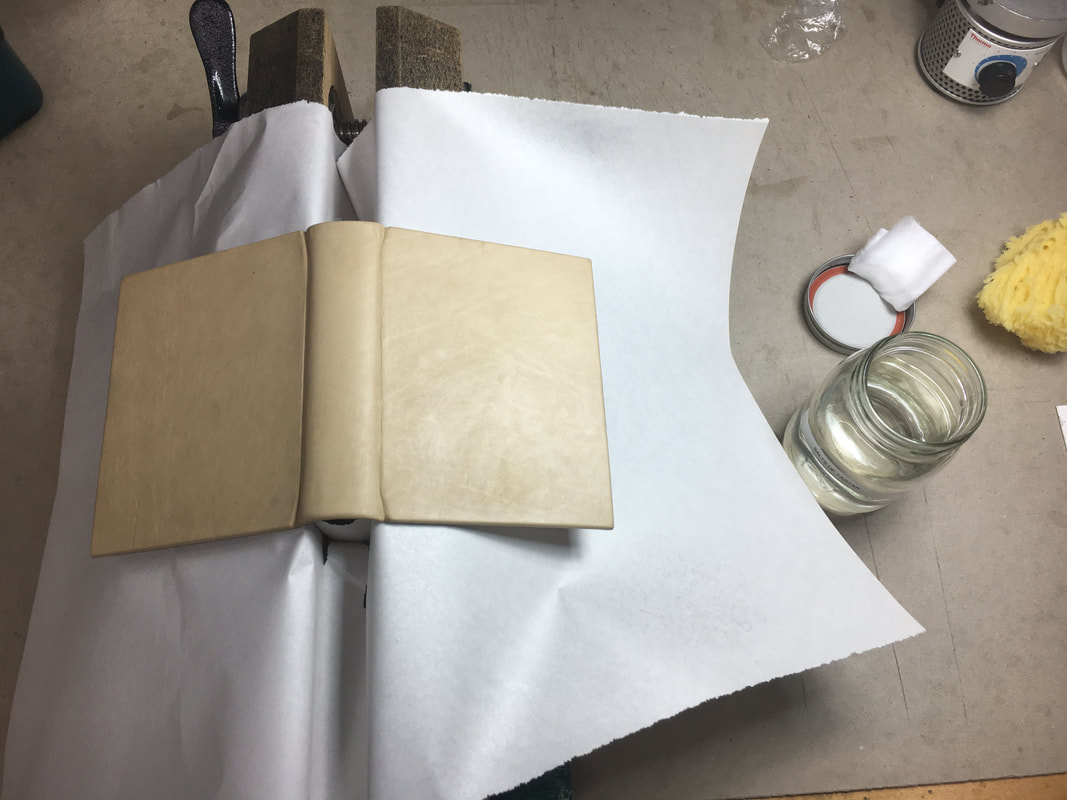
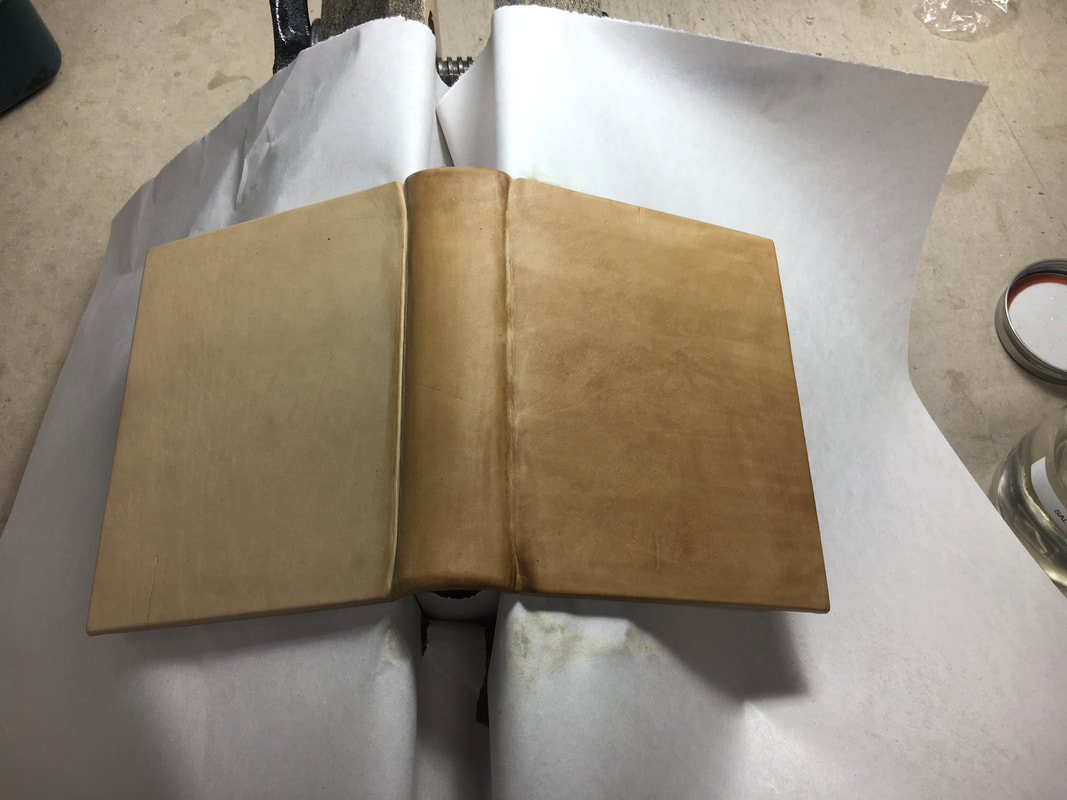
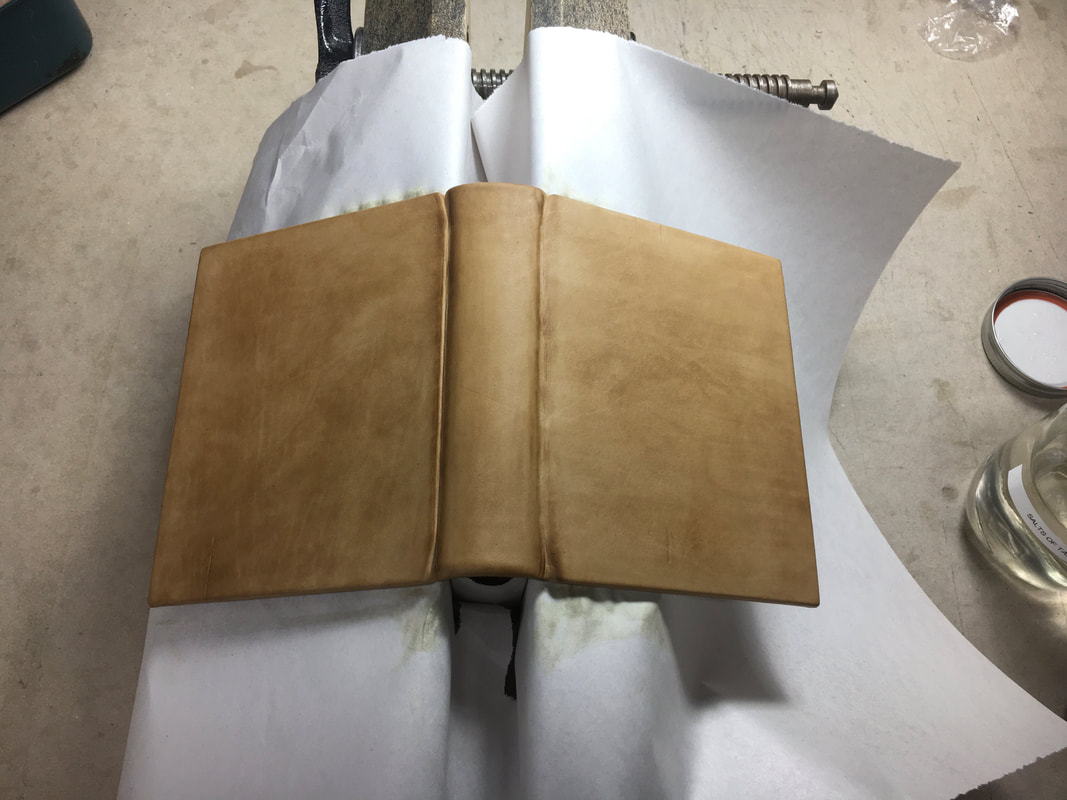
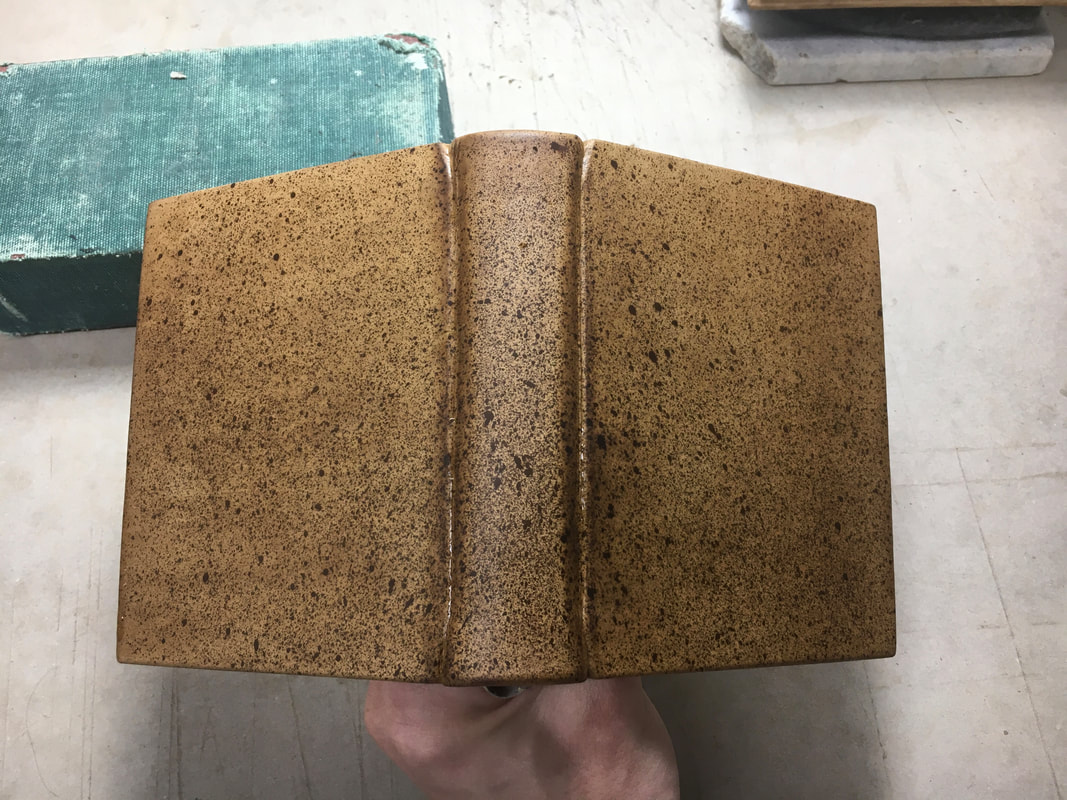
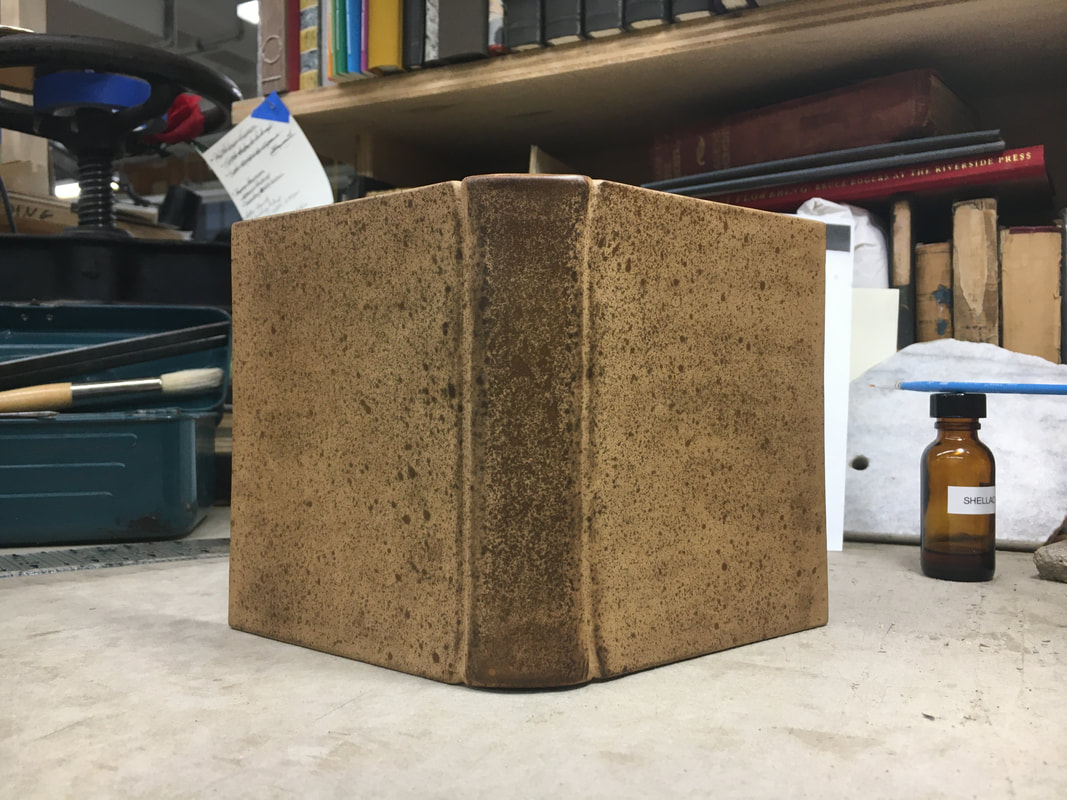
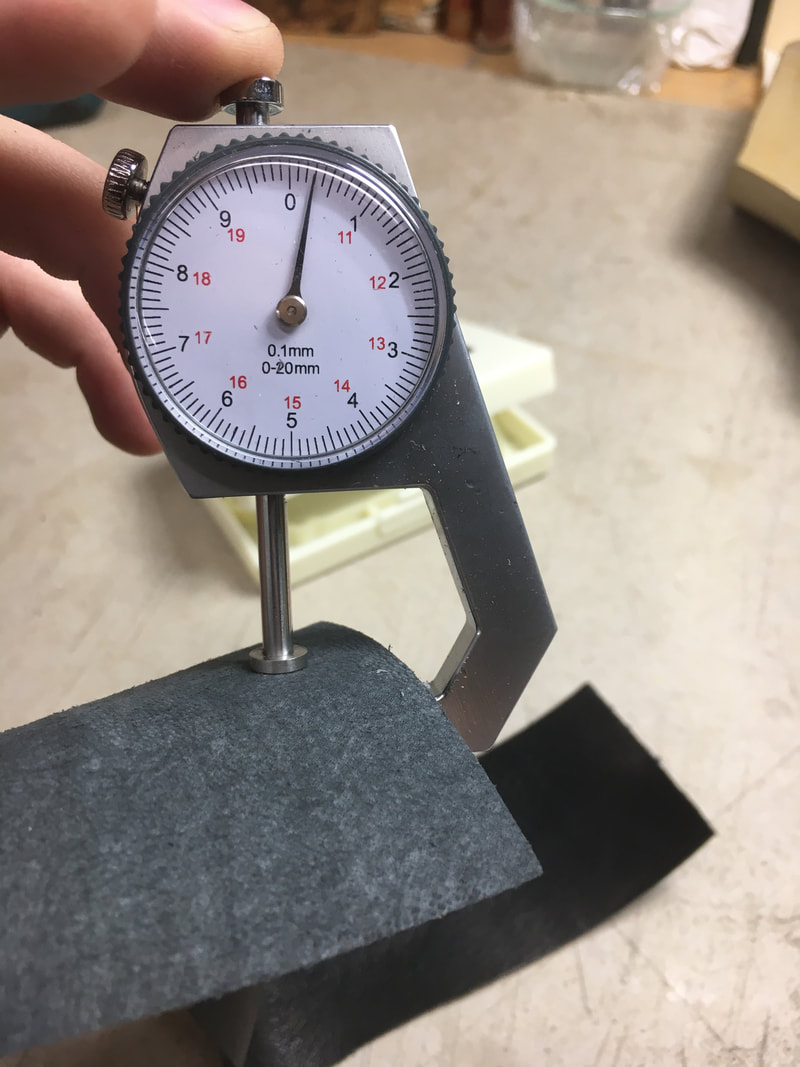
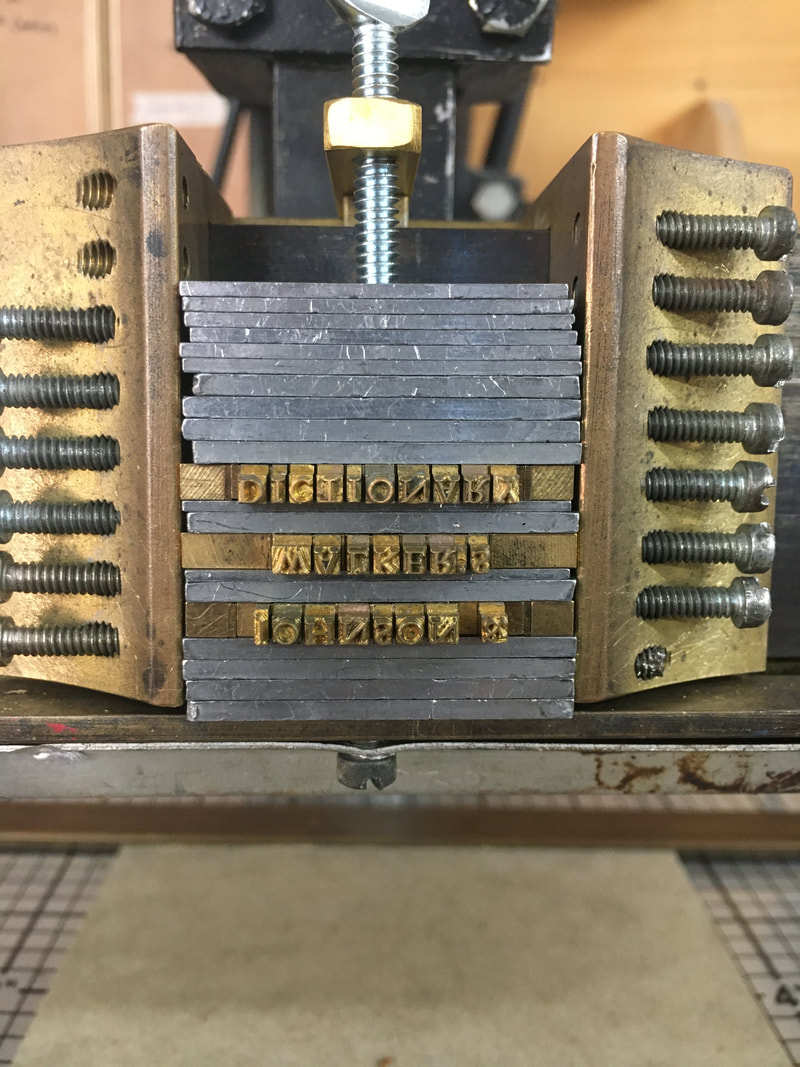
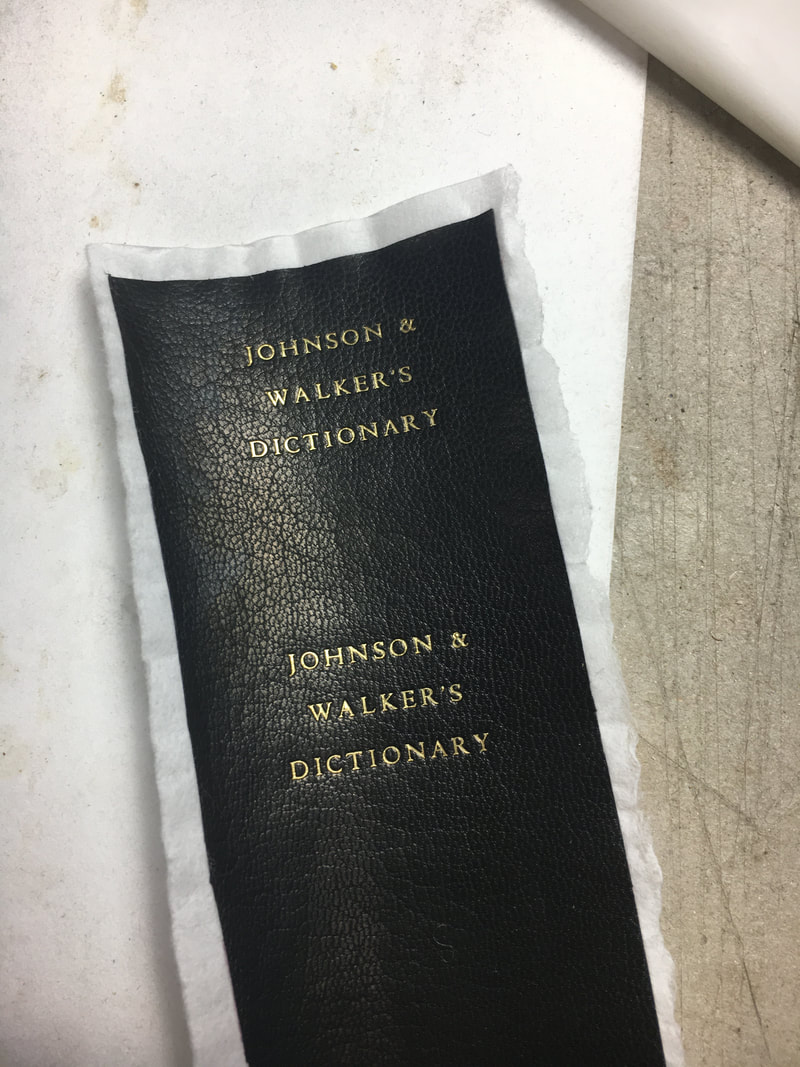
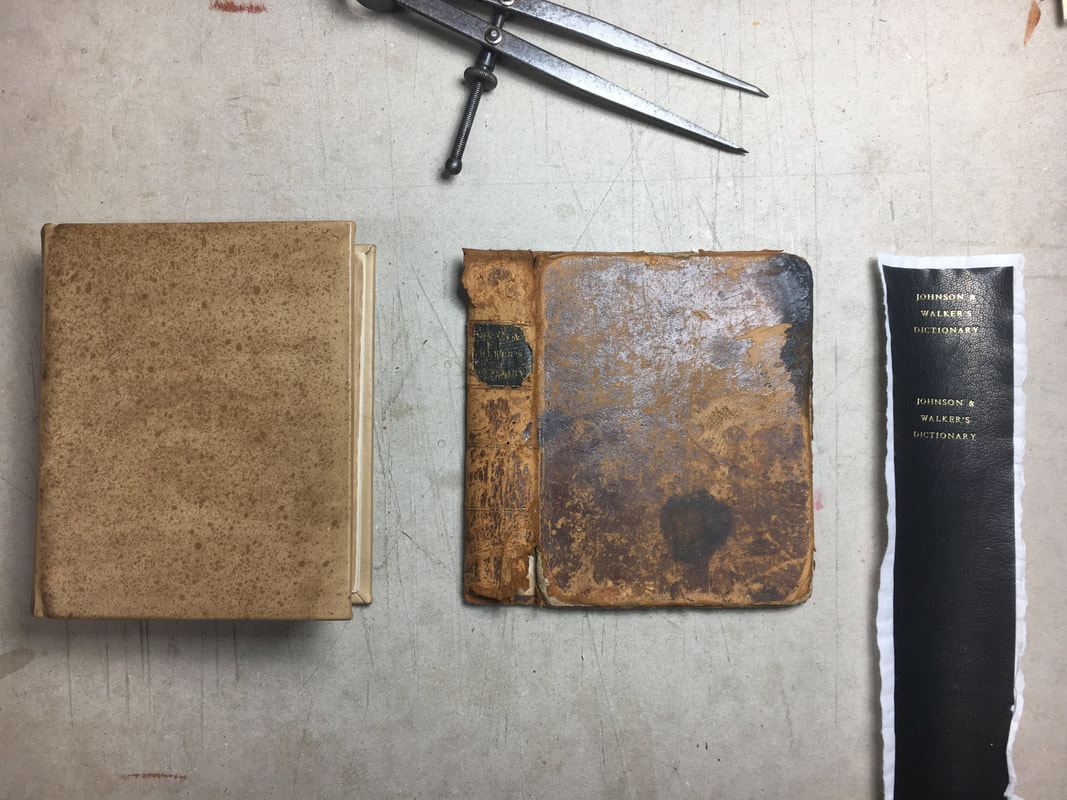
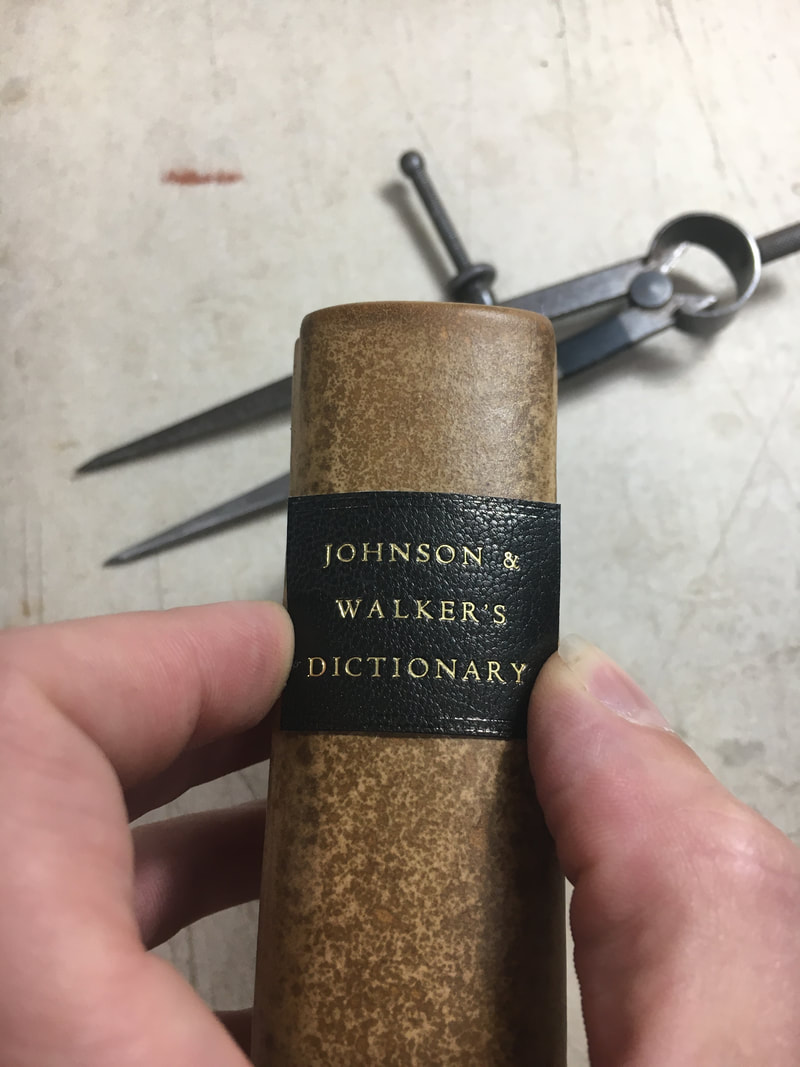
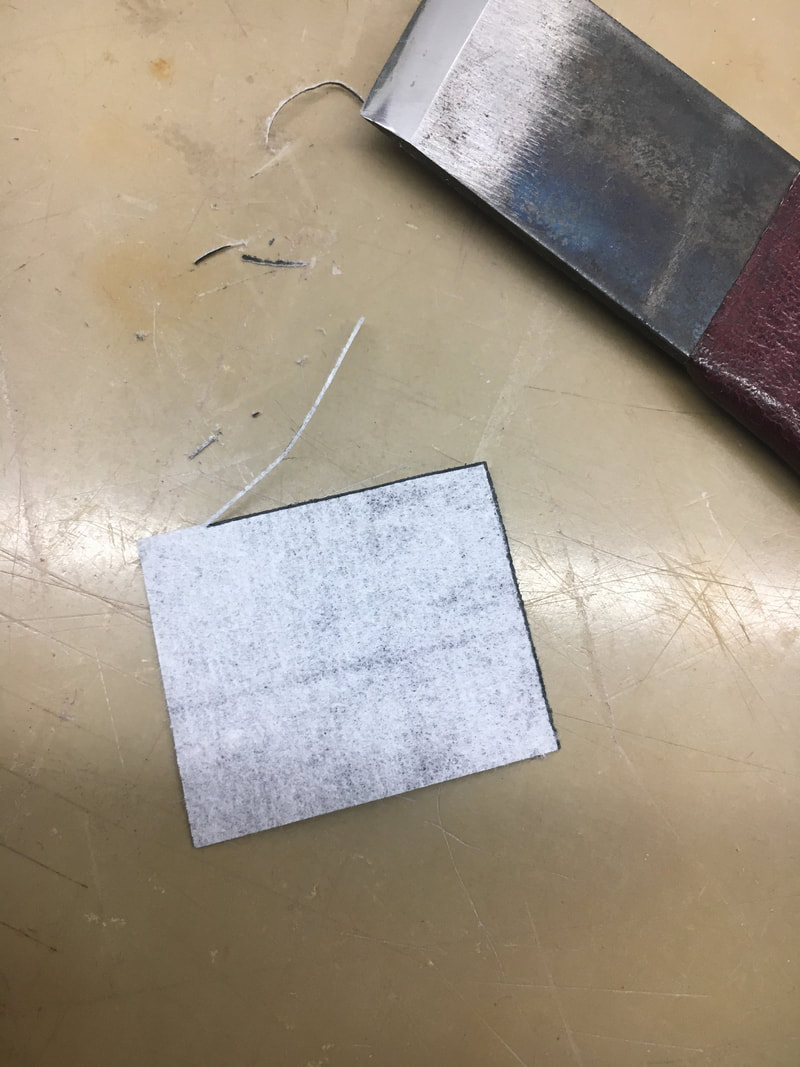
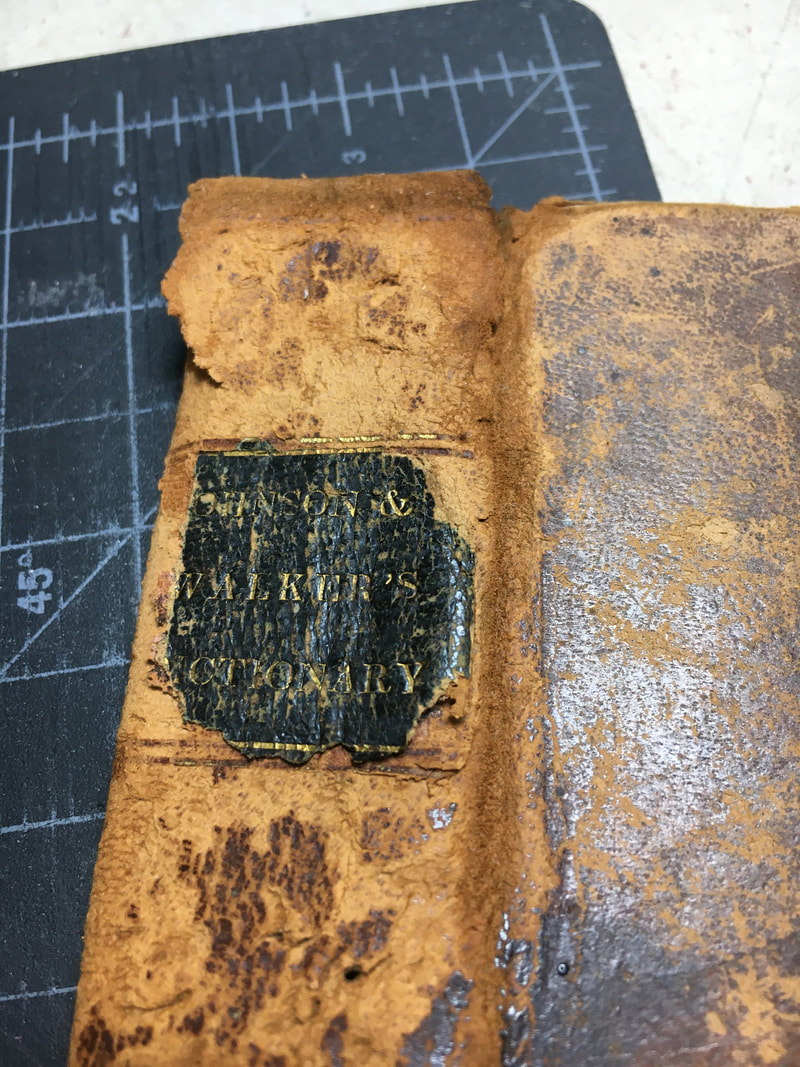
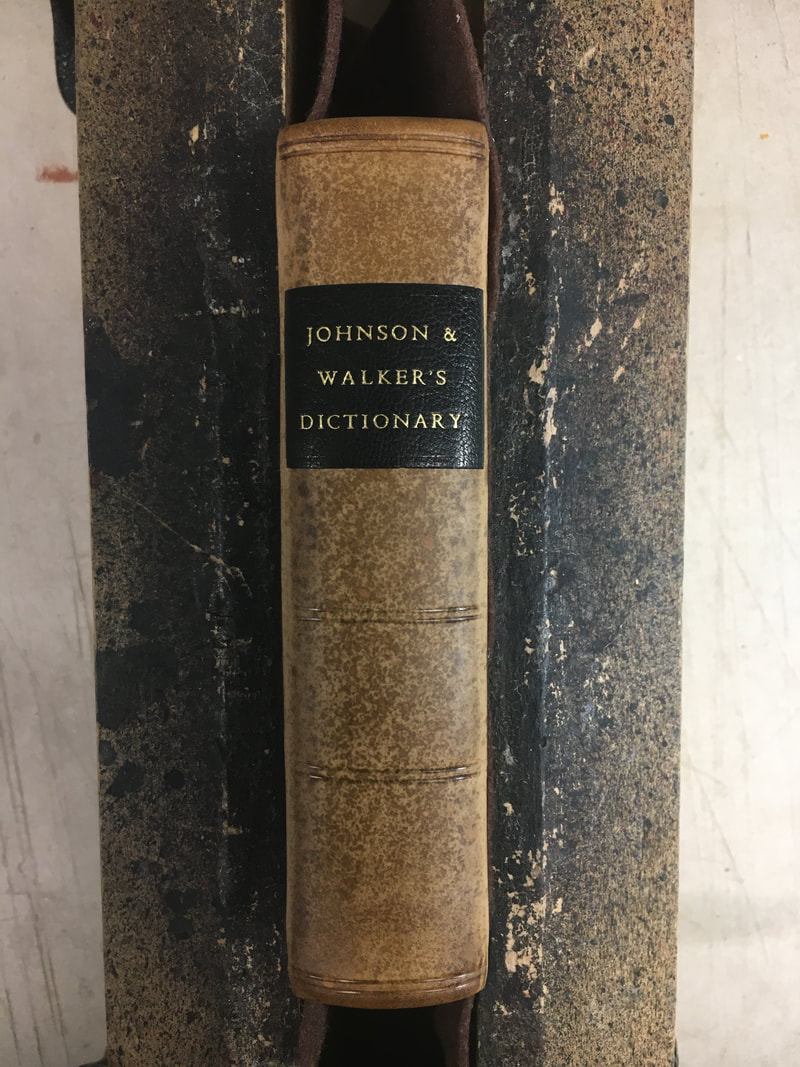
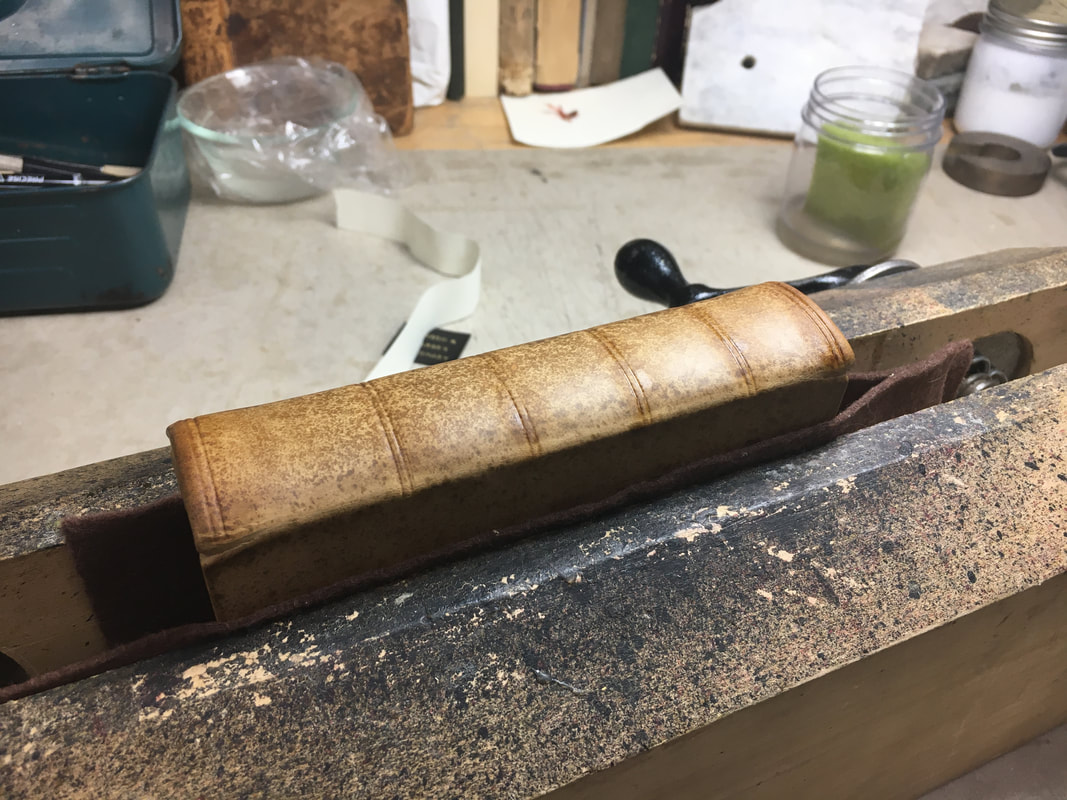
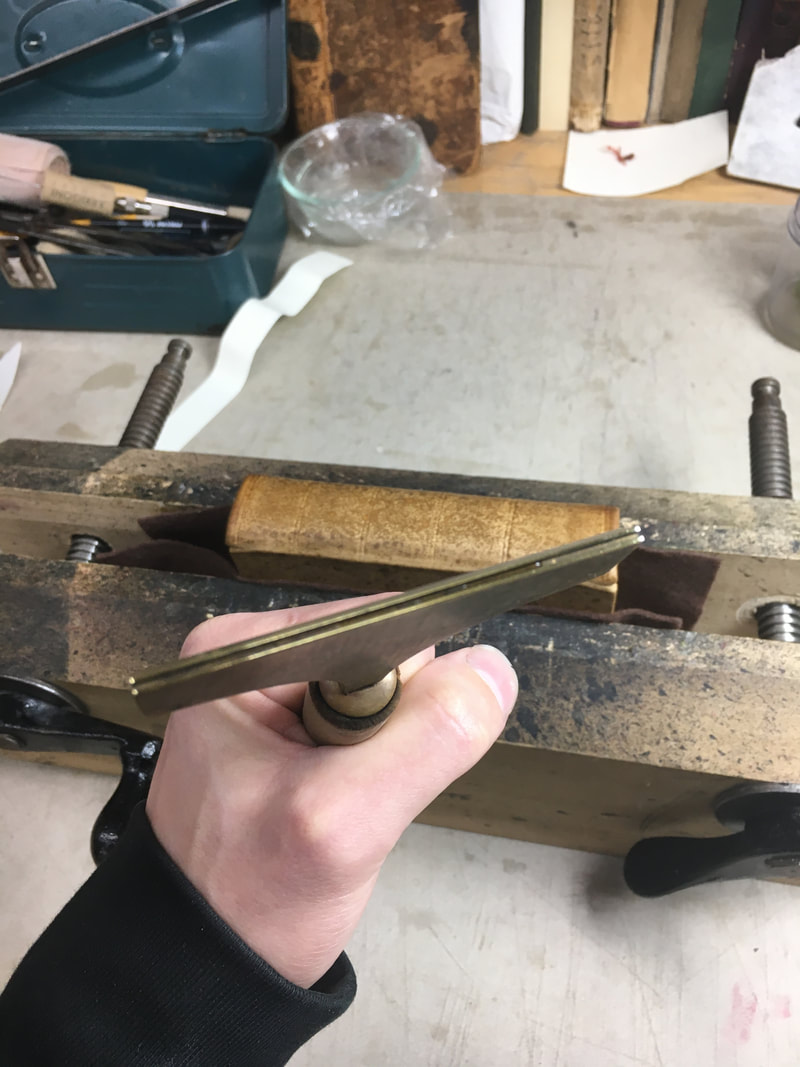
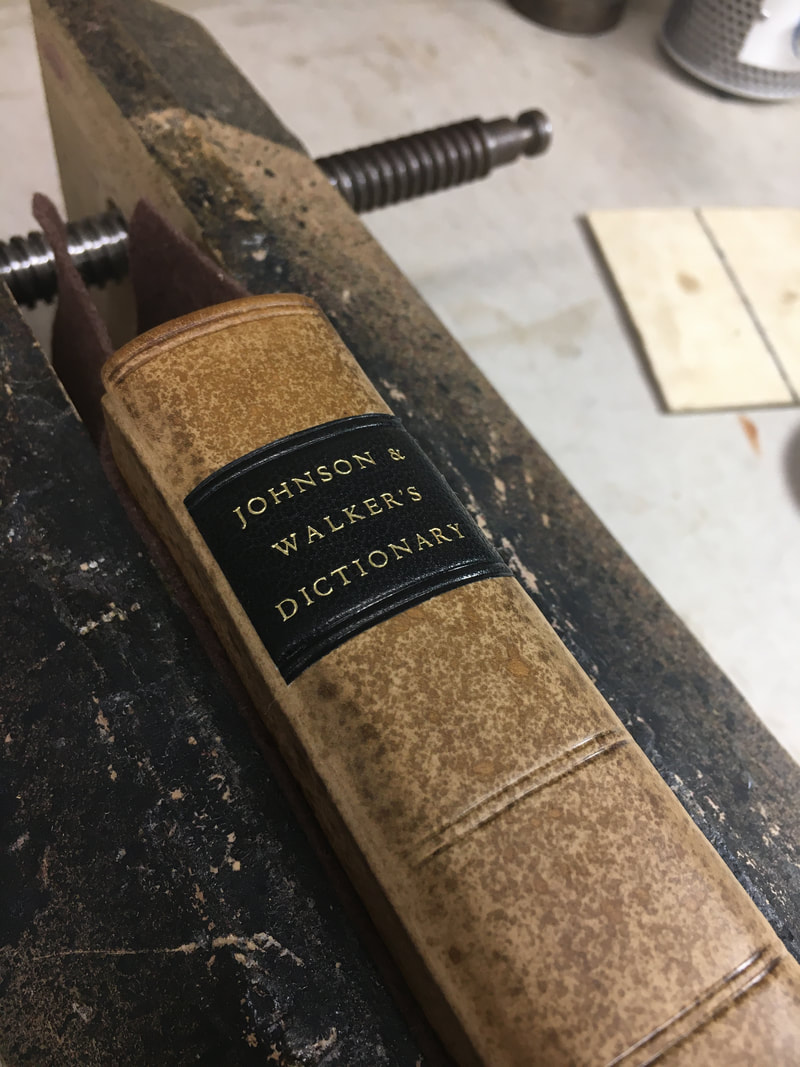
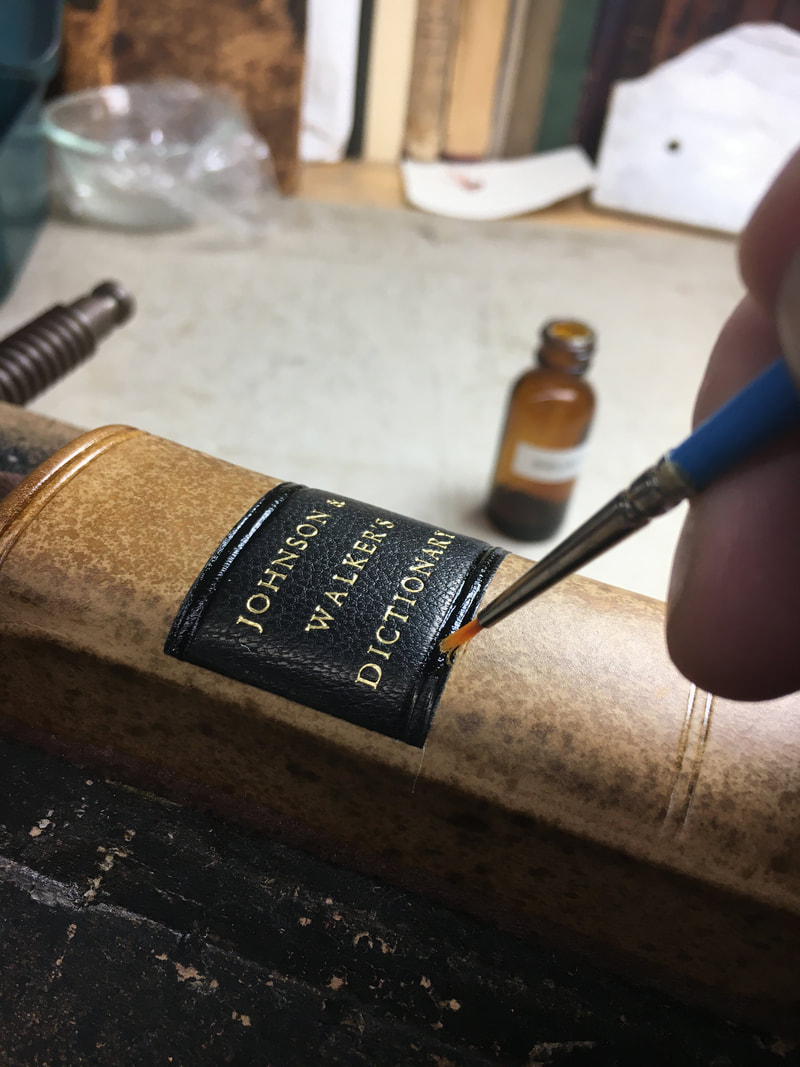
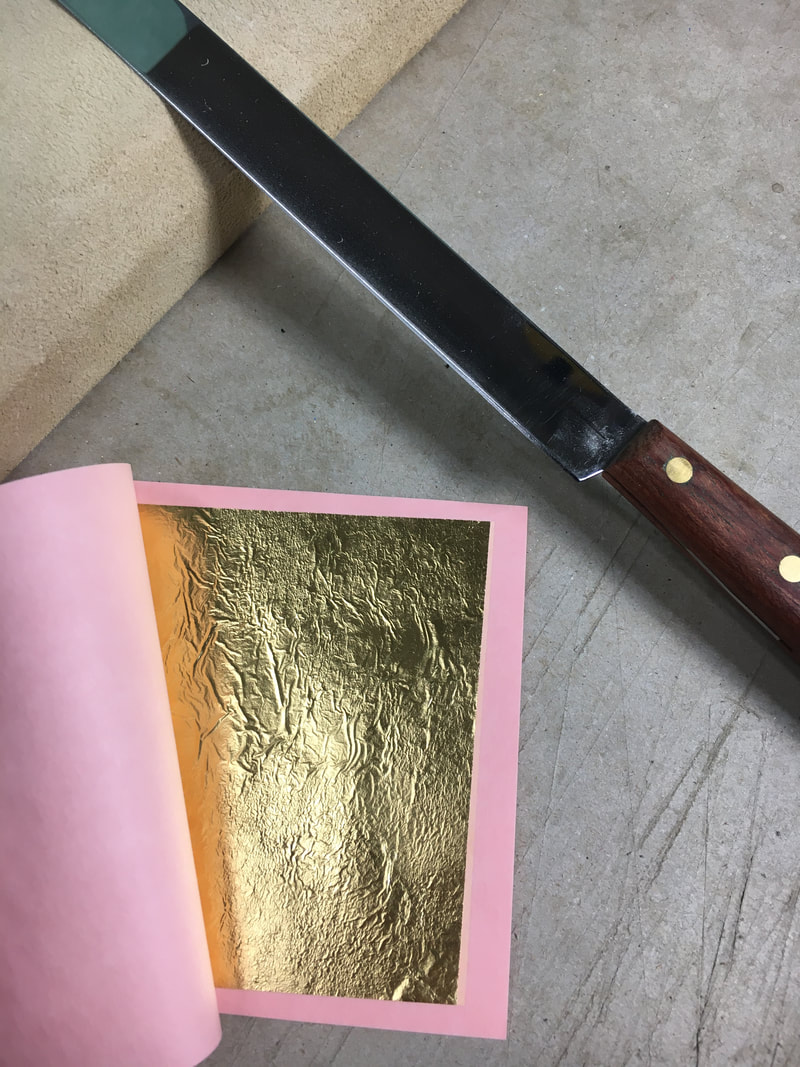
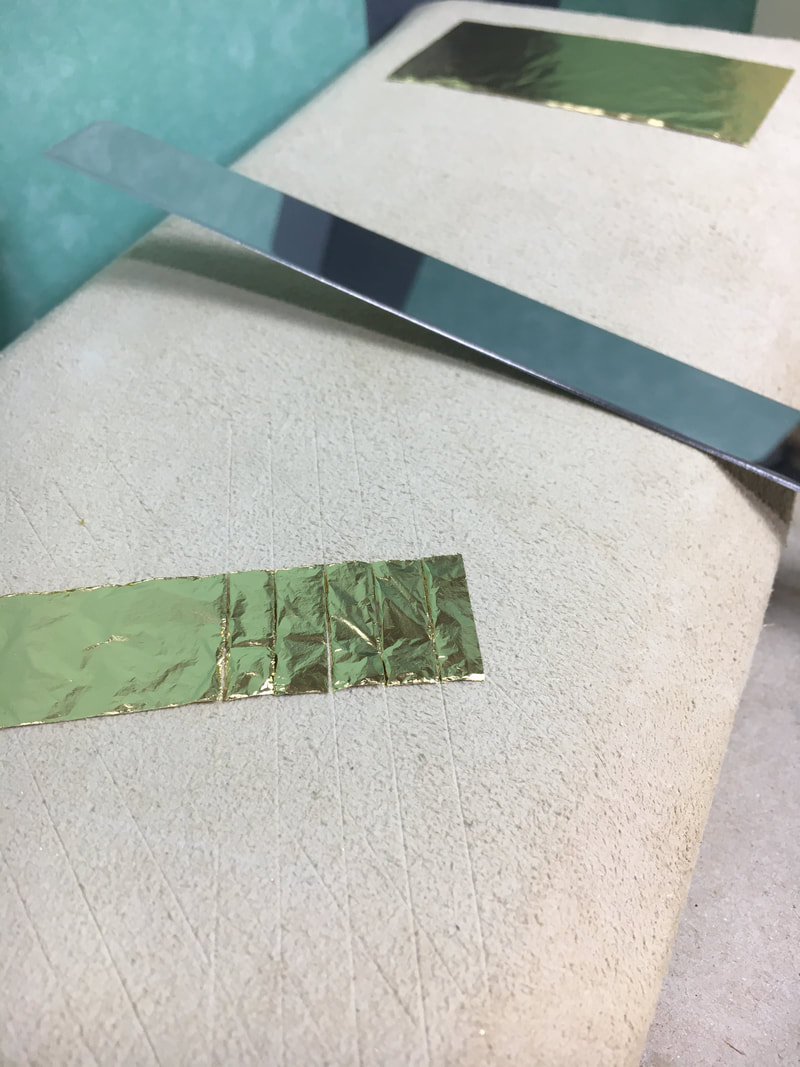
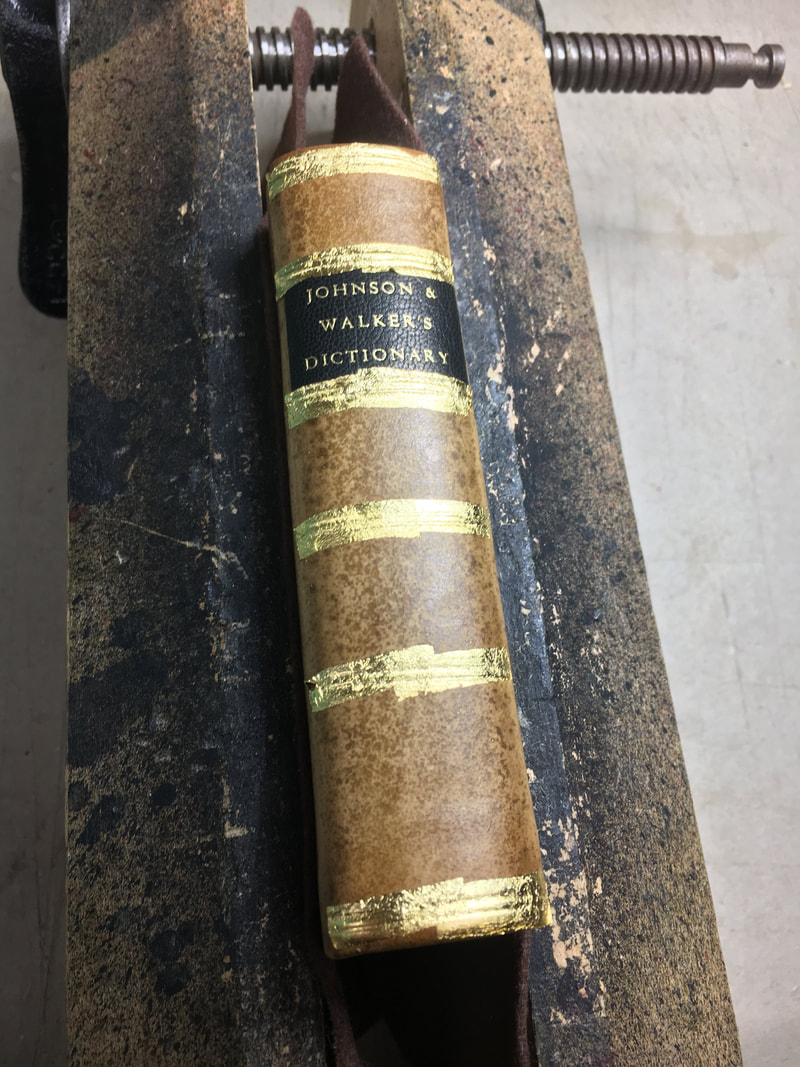
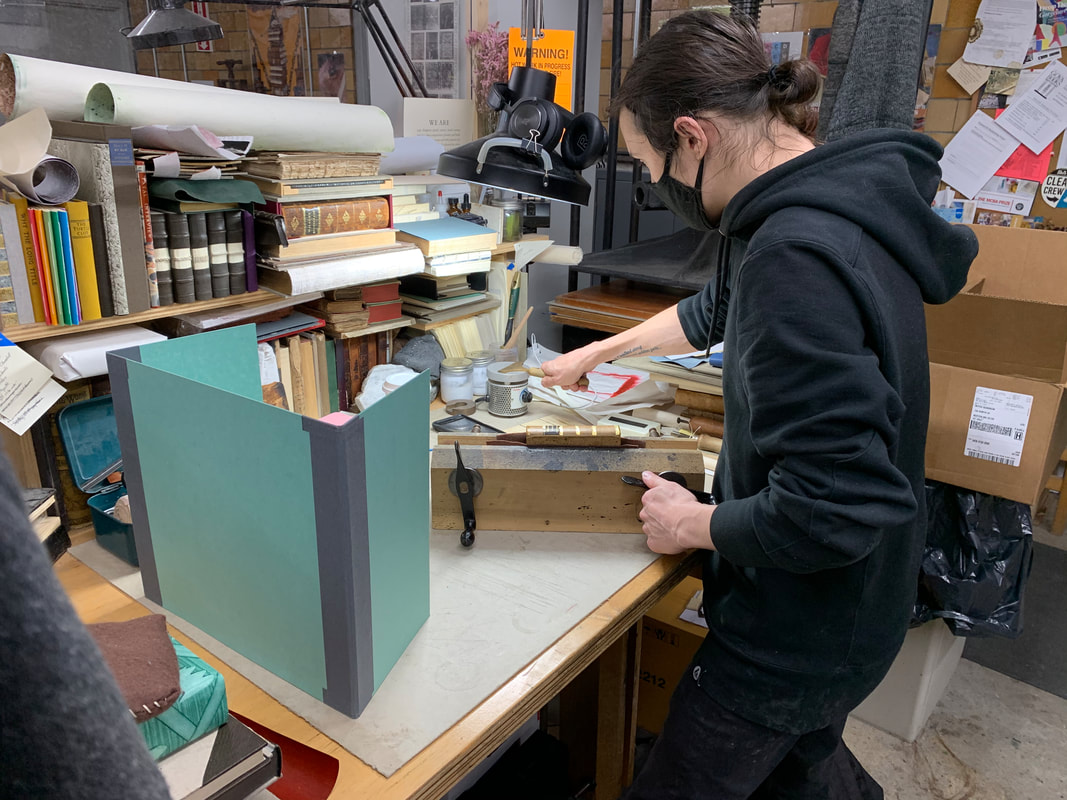
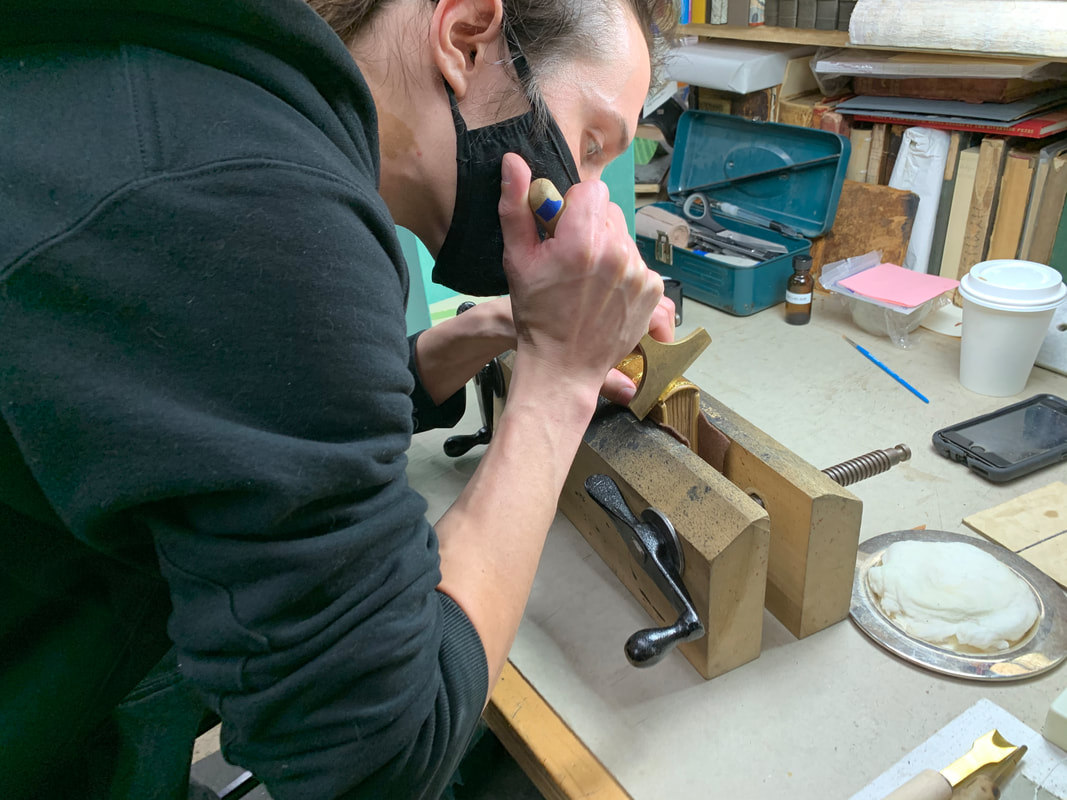
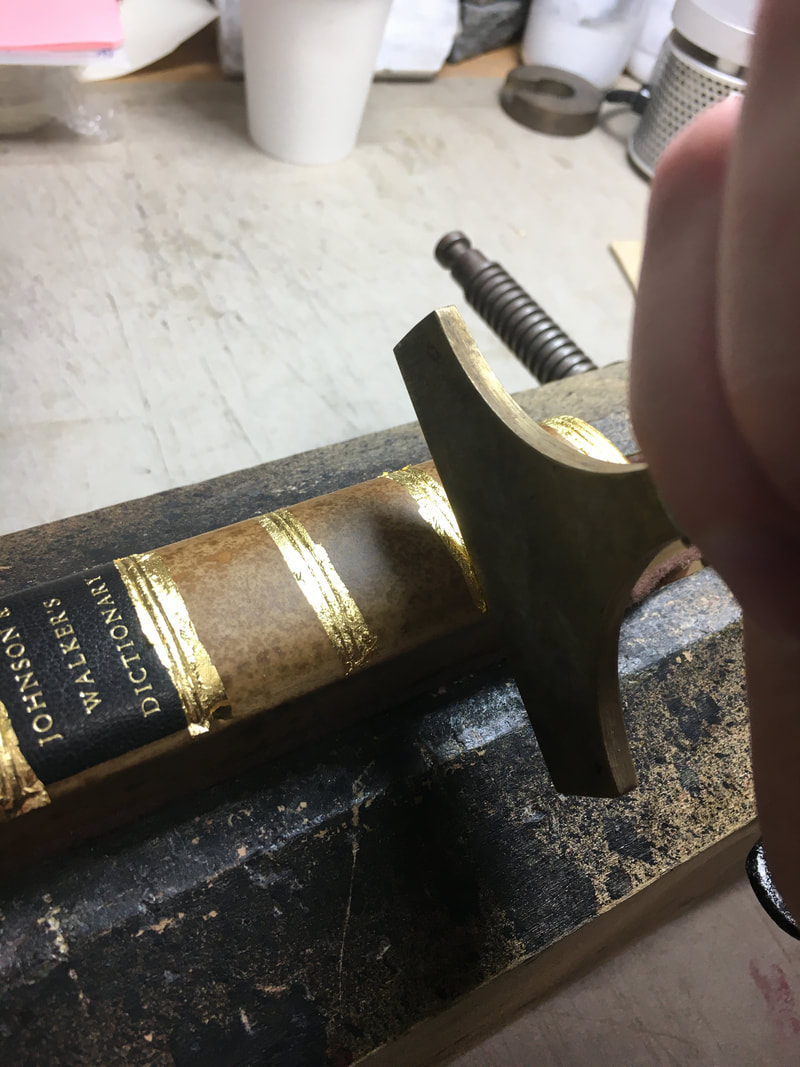
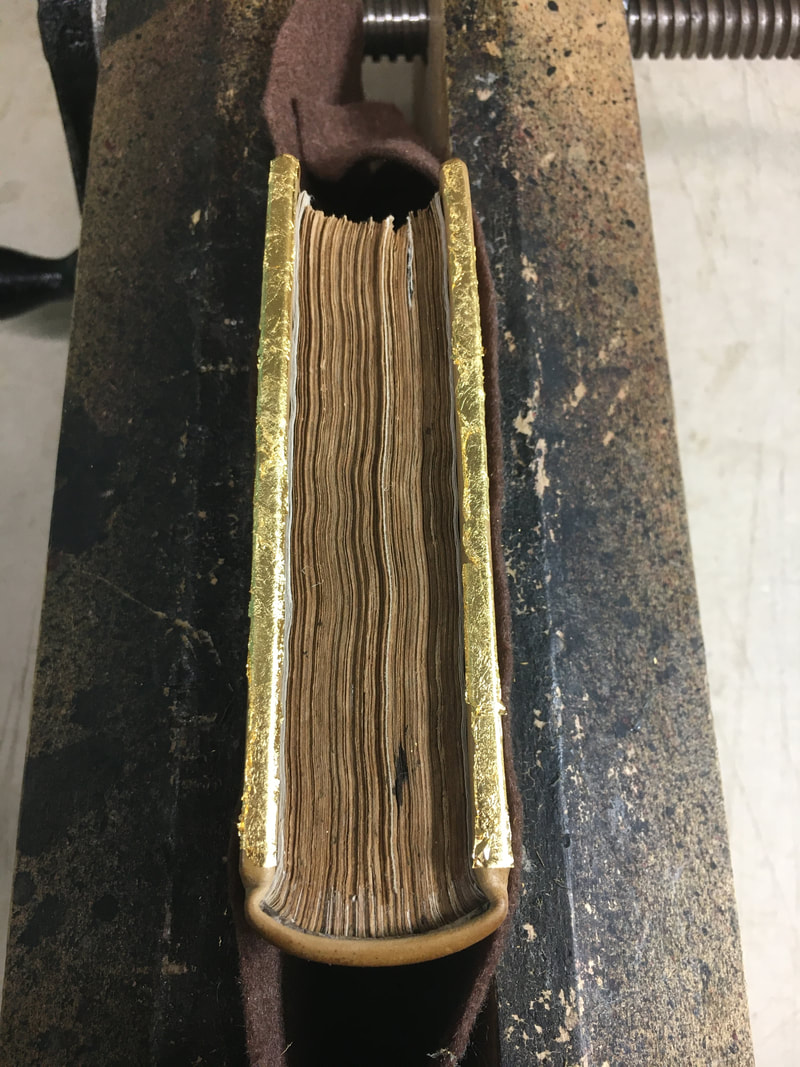
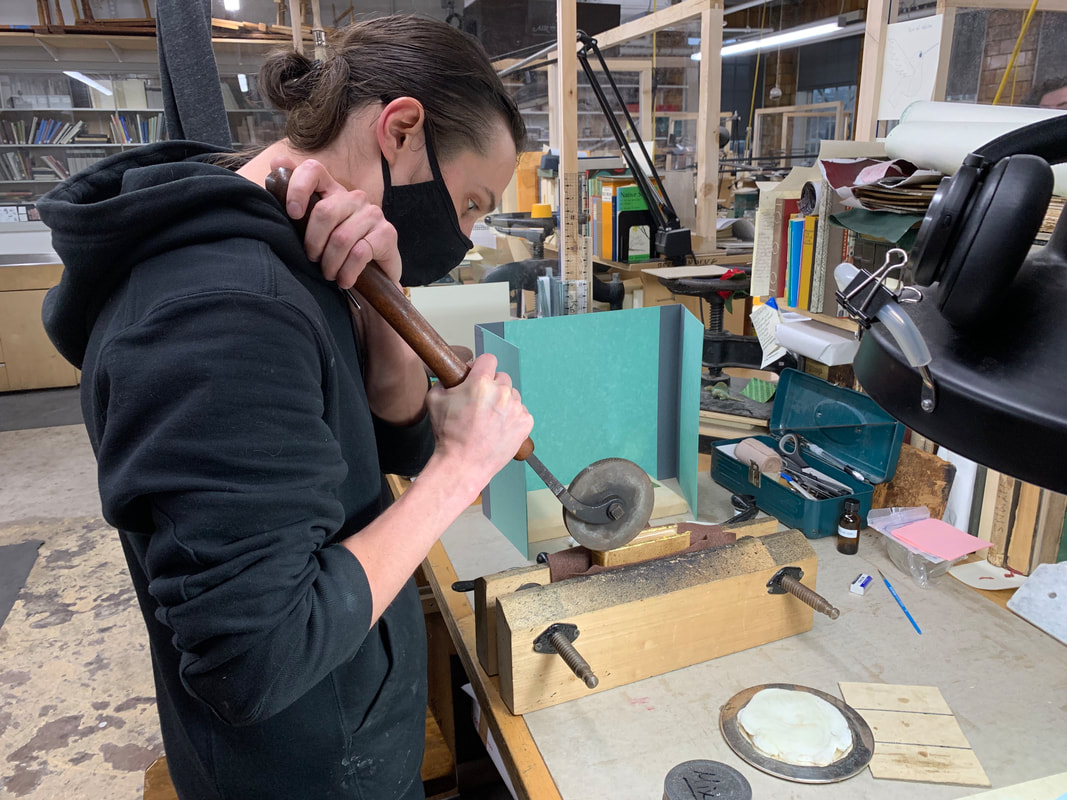
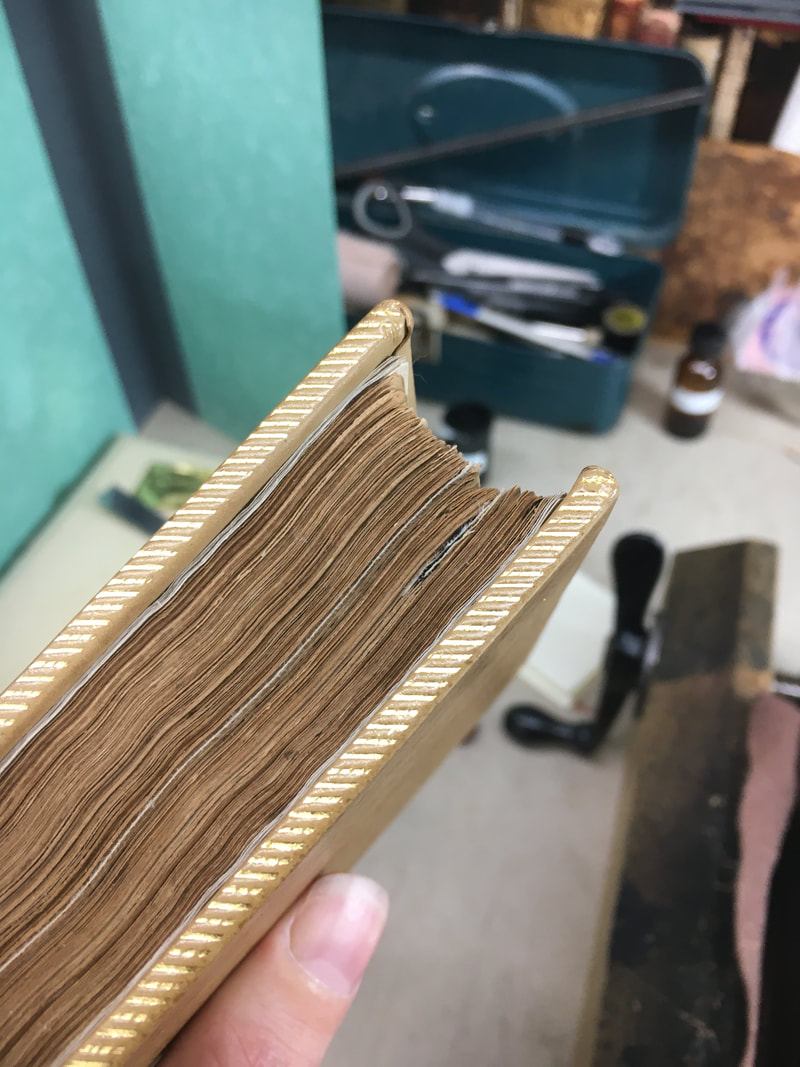
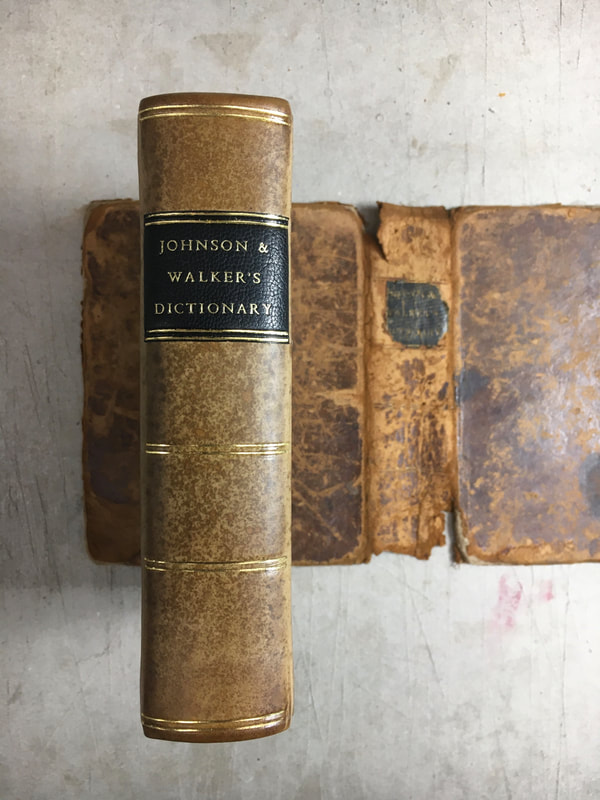
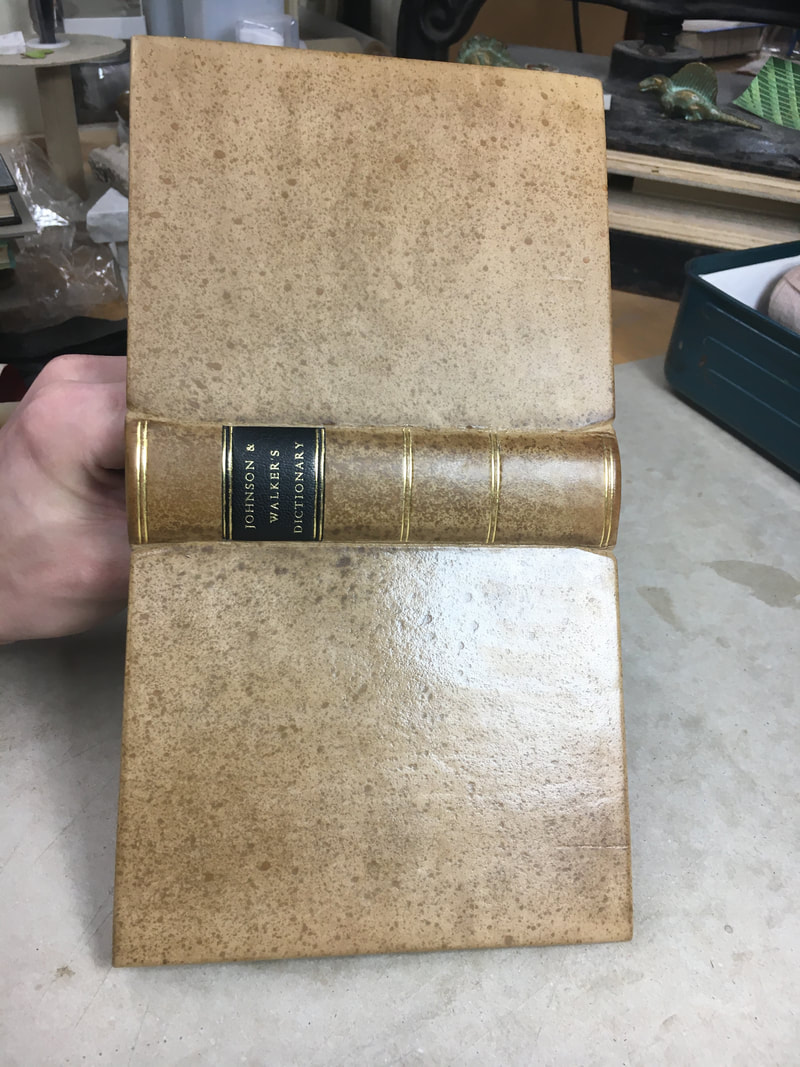
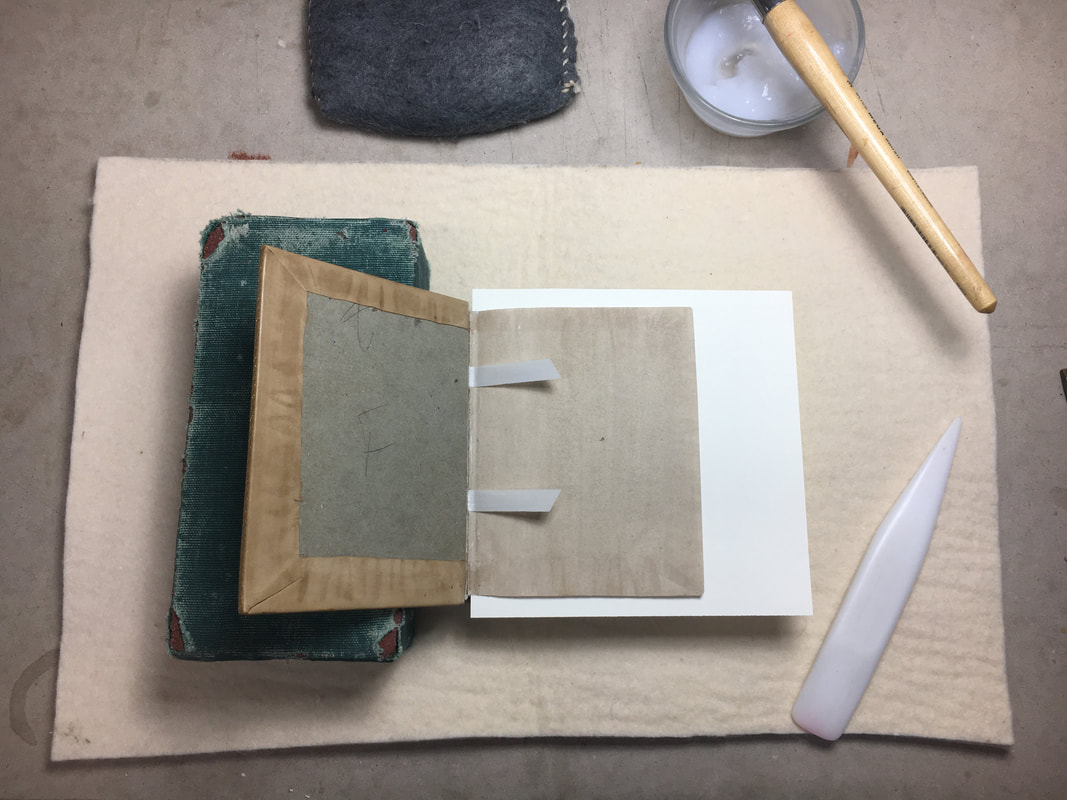
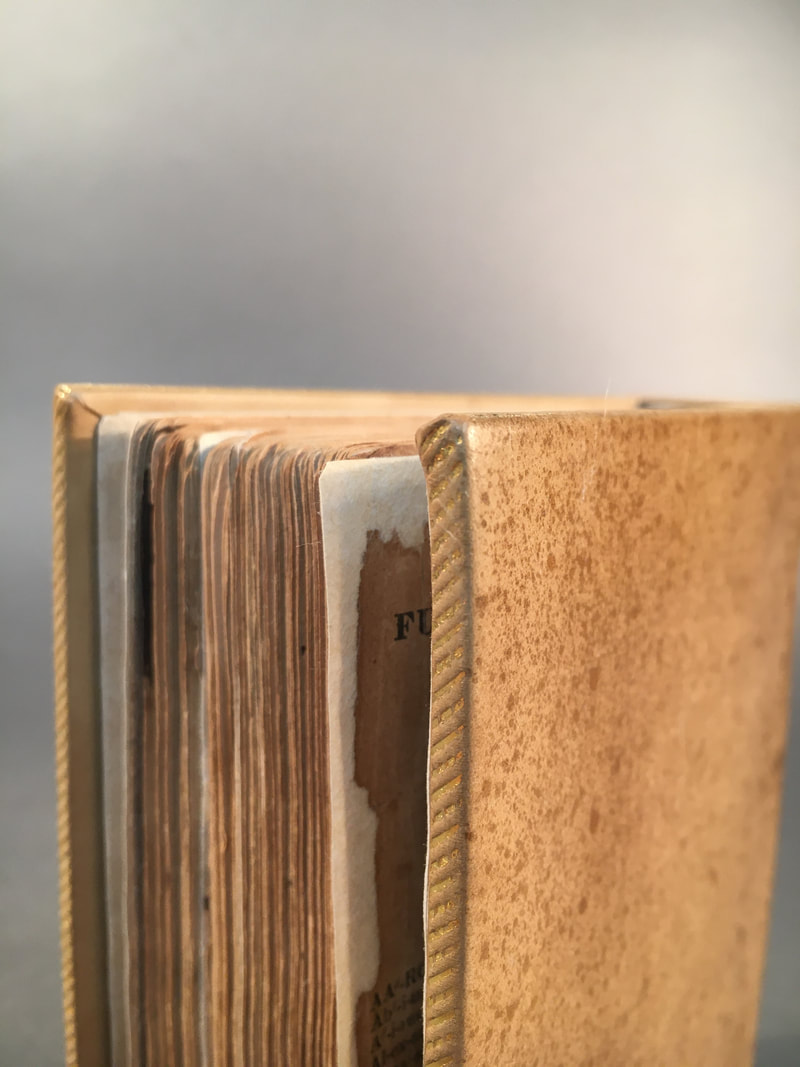
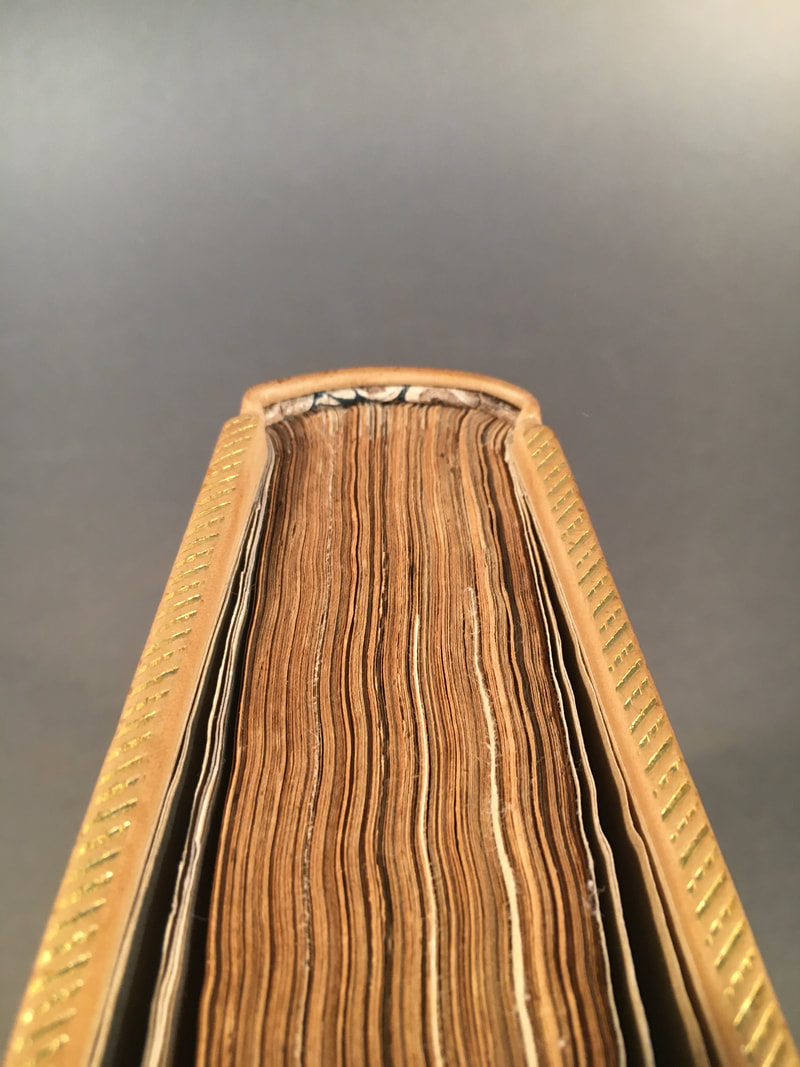
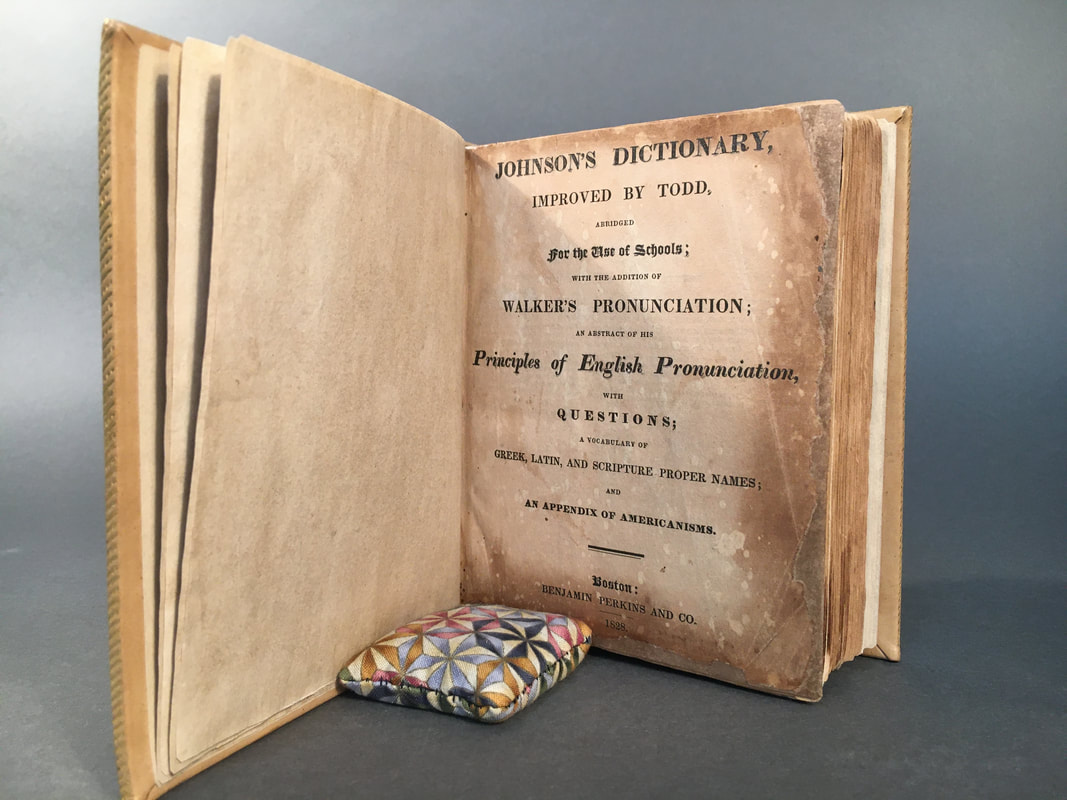
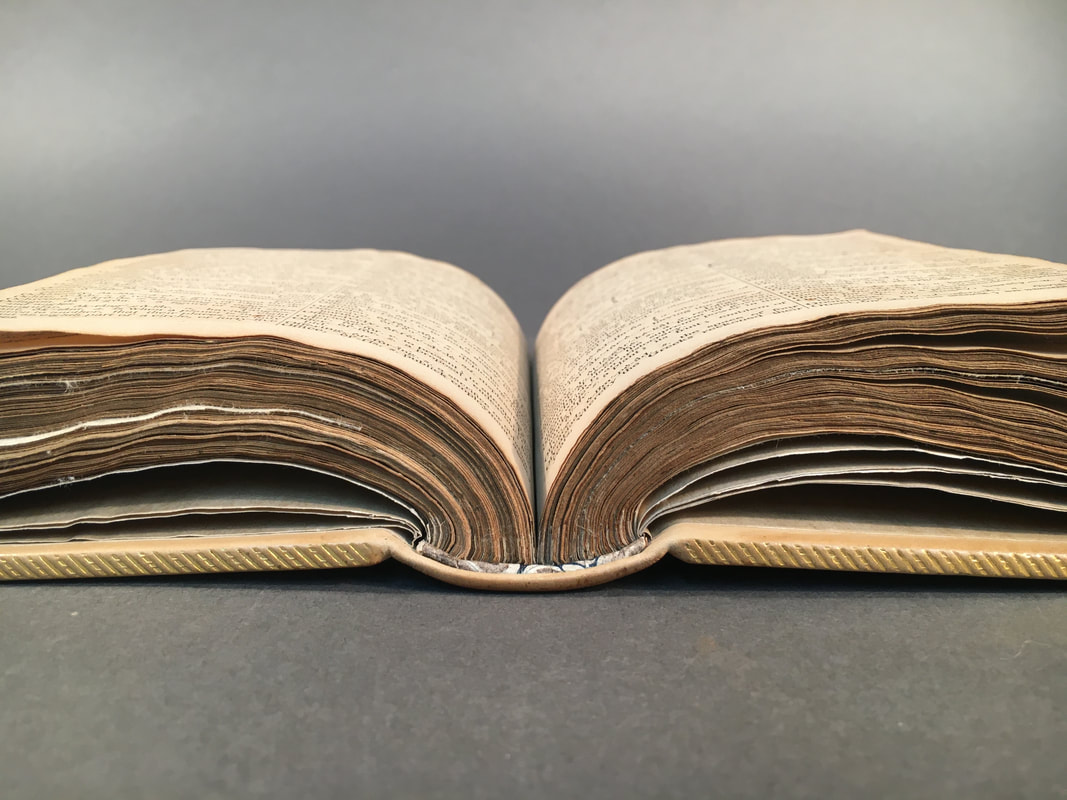
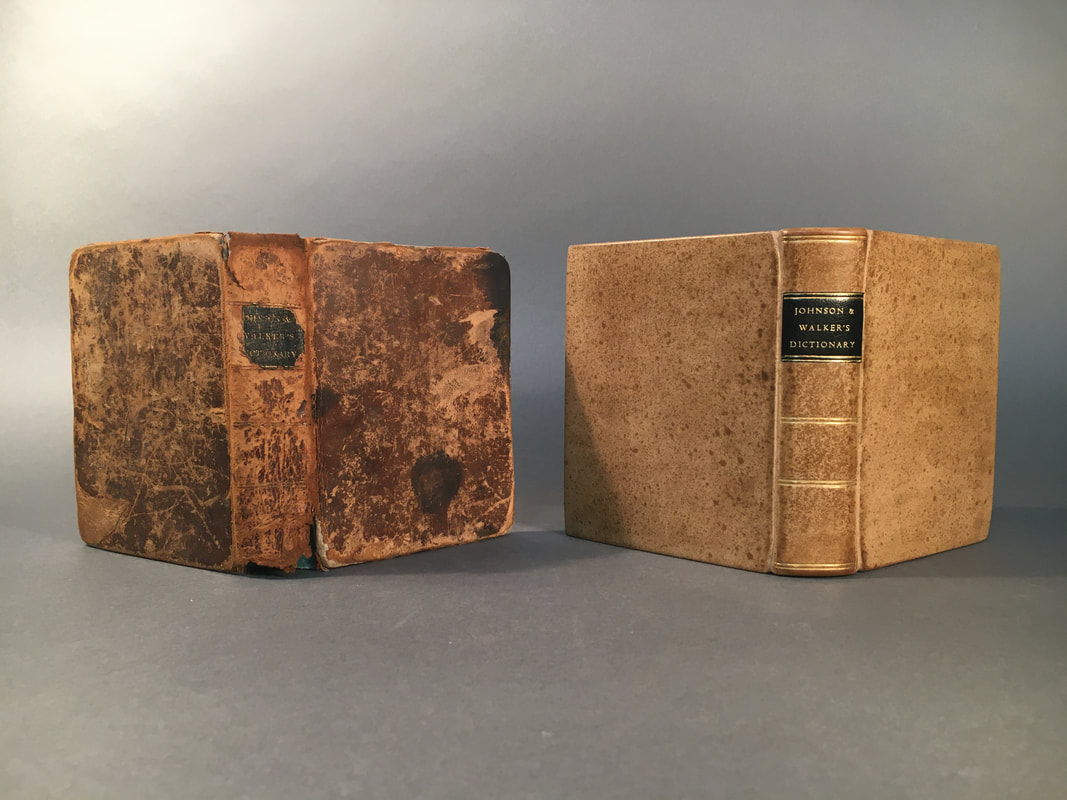
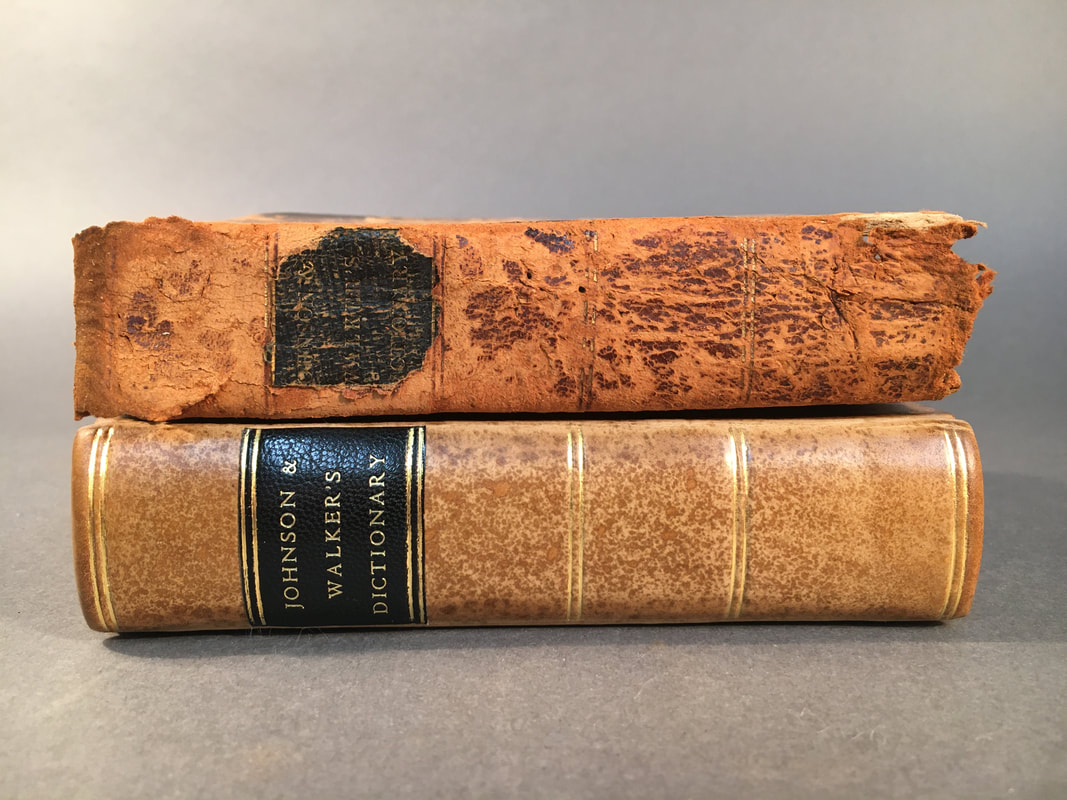
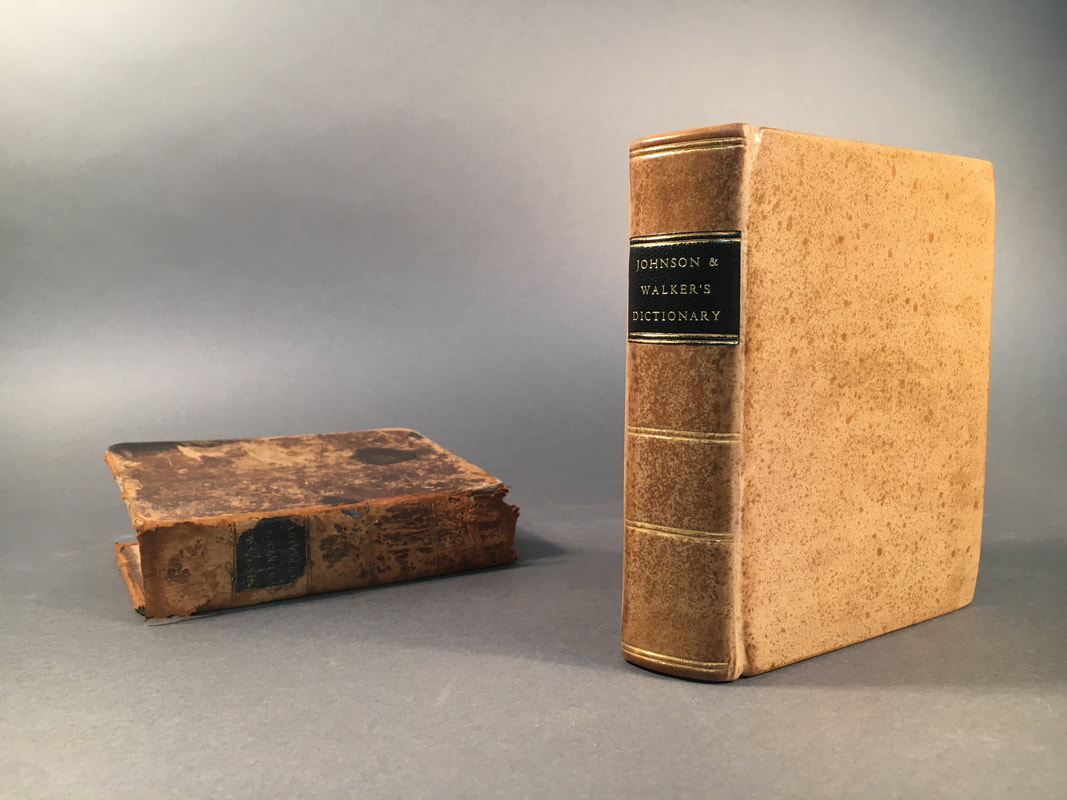
Welcome to this, the third and final installment of our historical rebinding of Johnson's Dictionary Improved by Todd, Boston, 1828. At the end of Part 2, we had just finished covering the fully disbound, washed, mended, and resewn textblock in new full calfskin. This post will walk through the traditional leather staining, gold-tooling, and final touches undertaken to bring the binding to completion. After the book was covered, I was overcome with relief: no matter what happened from there forward, even if my tooling or staining ended terribly, it was almost entirely aesthetic, and the structural integrity of the book was secured for the first time in 100 years or more. The heavy boards, the thick calf skin, the mended pages and freshly sewn textblock—the book felt solid, and it already seemed like we'd given it another go at life by this stage. But the real fun was just beginning! For a traditional 18th-century leather staining decoration, we start with a wheat paste wash over the entire leather surface... ...followed by a sponged coating of salts of tartar, a mild acid which tones the raw, undyed calf from its original pale beige to a much warmer brown color. Successive coats render an increasingly darkened color, so it's important to apply the salts evenly across the covers and wait for it to dry and reach its full color before applying more. When the desired "base color" is achieved, the book is wiped down with a coating of egg glaire to mediate the final step, sprinkling the leather with a compound called copperas, made from iron sulfate crystals dissolved in water. Where the copperas hits the leather, a dark brown or black color is made, caused by the acid burning into the hide. After the intial application, the color darkens until it needs to be rinsed off with running water after about 20 seconds. The result is a gorgeous speckle pattern so often seen on books from this era, including the more popular "Cambridge Panel" and "Tree Calf" styles. Once the leather was stained, all that remained was tooling and pastedowns. We placed an order for the leather I would use for the title label, and once it arrived... ...I set to work paring, lining, stamping, and trimming out the new title label. The leather was pared very thin to 0.3mm, then lined with a thin Japanese tissue. The title information, pulled from the remains of the original label, was set in the Kwikprint machine and stamped into the leather with gold foil. The label was trimmed to size, keeping in mind that the spine would be divided into five regularly-spaced panels (excluding the tail panel, which is traditionally a bit larger to make the book look taller) and that the label would fit right in between two sets of gold lines. Once it was sized appropriately, the edges were carefully beveled so that it would lay nicely on the spine without a leather-thickness stepped edge. With the label attached, we're ready for gold-tooling! Actually, that's not quite true. Wanting to know exactly where the label was going to sit between the gold bands and wanting it sit there nicely, the lines were first tooled in blind with a hot tool on dry leather to get an initial impression, then with a slightly less hot tool on dampened leather to darken and "set" the impressions The lines are made with a "pallet", a brass hand tool with a plain or decorative line design which is heated on a stove, cooled quickly on a wet pad, then impressed across the spine manually. Then the title label was adhered with PVA, and the lines were retooled to press the label leather snugly into the initial impressions. Once the impressions are set in blind, they are painted in with a shellac size which acts as the glue to which the gold leaf will stick. The size is carefully painted in only where we want the gold to stick, allowed to dry for an hour or more... ...and then we break out the gold. The 23 1/2 karat gold leaf is very thin: about 1/225,000th of an inch. The slightest breeze or breath in the wrong direction can blow the entire carefully manipulated leaf onto the floor, where it will be impossible to recover. For these reasons, gold work is done behind a large screen, and the leaf is carefully handled on a suede cushion coated with talc powder to prevent it from sticking. A long, thin knife is used to slice the leaf into manageable pieces, after which it is picked up with a cotton swab or slip of paper. The swab is lightly greased with oils from the scalp or face, and the leaf sticks to this oil, allowing it to be moved. The spine of the book is more heavily greased with almond oil, causing the leaf to readily move from the swab to the book. Because of the thinness of the leaf and its propensity to crack and leave gaps, multiple layers are applied before tooling begins. When the gold fully applied, the brass tools needed are heated on a small electric stove, then quickly cooled on a pad of wet cotton batting. The hisssss of steam when the metal hits the cooling pad confirms the tool is hot enough to melt the shellac size and set the gold leaf. Once the cool is tooled to just below a hissing temperature, the tooling begins. For Todd's Johnson, I mimicked the tooling from the original covers, with simple double rules across the spine. The original materials were too badly damaged to discern board edge tooling, but as it was normal to see gold edge tooling on these sorts of bindings, I went ahead with a hatched board edge design using the large roll pictured. Reference against the original, heavily worn leather cover. Turning out nicely. Not pictured here is the 3-4 iterations of tooling, cleaning, re-applying gold leaf, and tooling again to ensure an even application across the spine rules. Once the gold was set, the book was polished with a leather conditioner, giving it a wonderful shine and protective coating. Finally, the sewing supports were frayed out, the pastedowns were pasted up, and the book was officially "cased-in".
From disbinding to washing to sewing to binding to tooling, we've see this book all the way through the original binding processes it would've first experienced nearly 200 years ago, and I'm confident that it hasn't felt as good as it does now since then. Thank you for watching!
2 Comments
CANDI BUNOW
12/9/2020 02:20:15 pm
Beautiful work! I am in search of someone who can and will rebind paperback books into attractive hardbacks. I do not necessarily need calfskin with gold leafing, as beautiful as it is I have many books to be bound. Do you take that kind of commission?
Reply
Mitch
12/9/2020 07:14:36 pm
Thanks Candi! I'd be happy to help you rebind your paperbacks into hard covers. Feel free to send me an email at boundlessbw@gmail.com with some photos of your collection and what you'd like to see in the rebindings and we can go from there.
Reply
Leave a Reply. |

