|
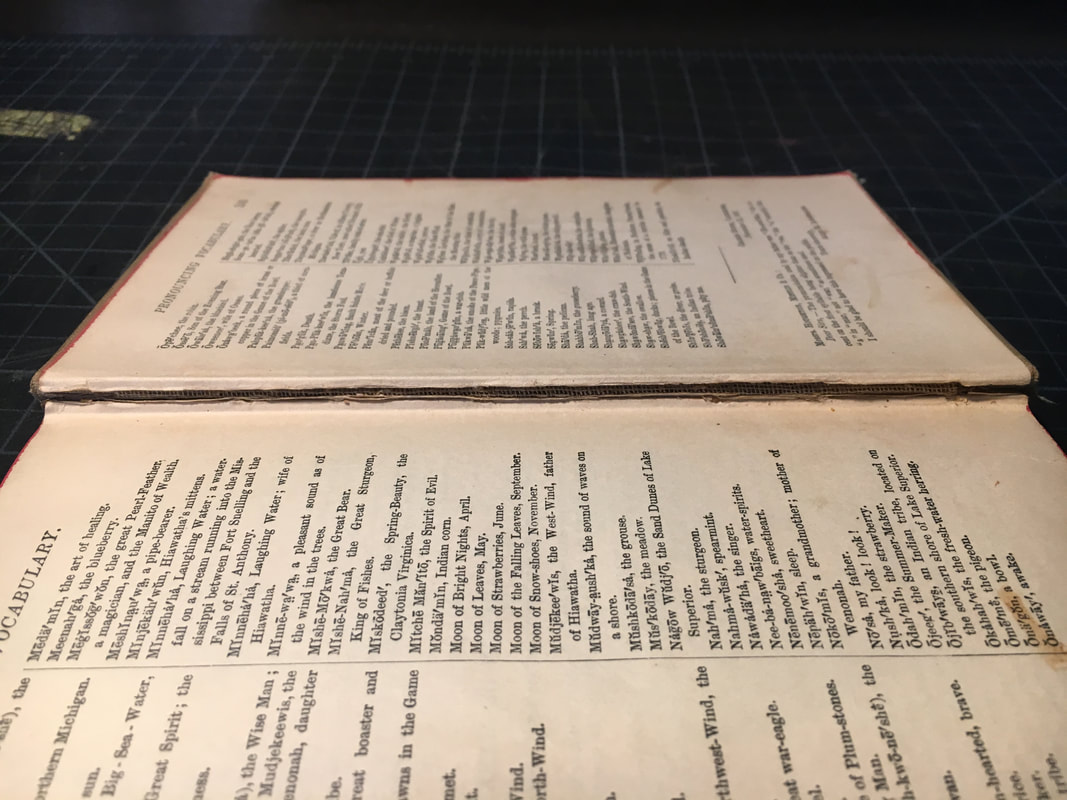
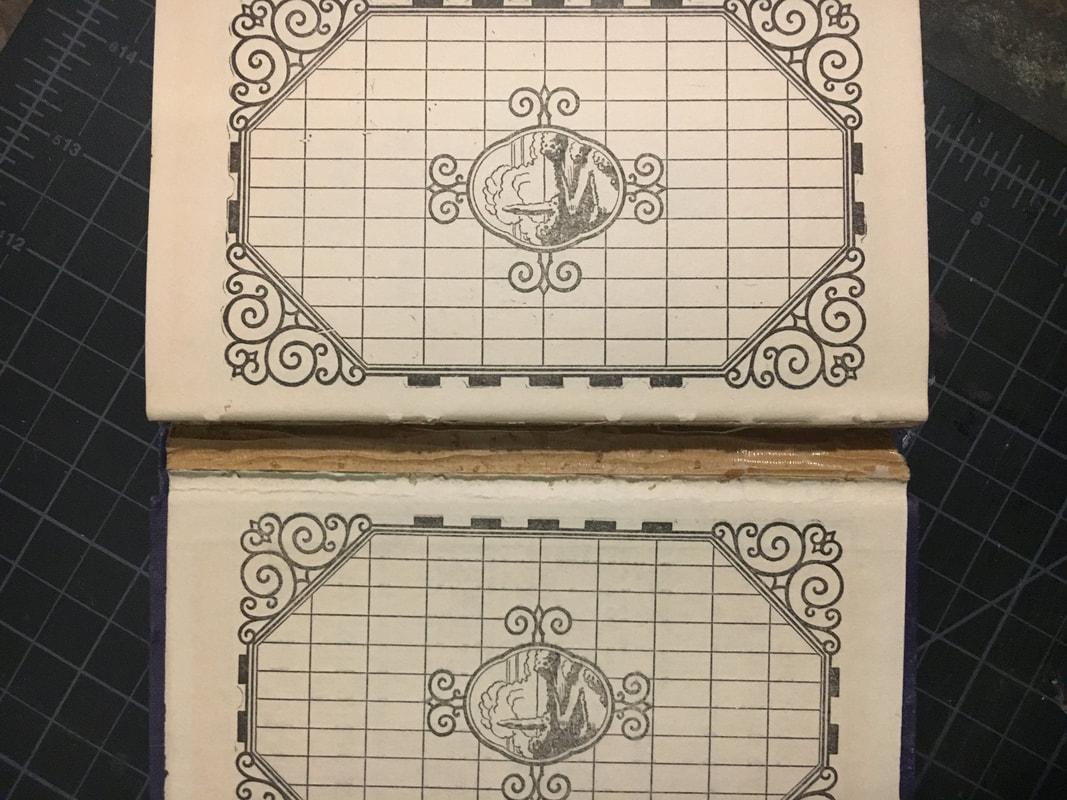
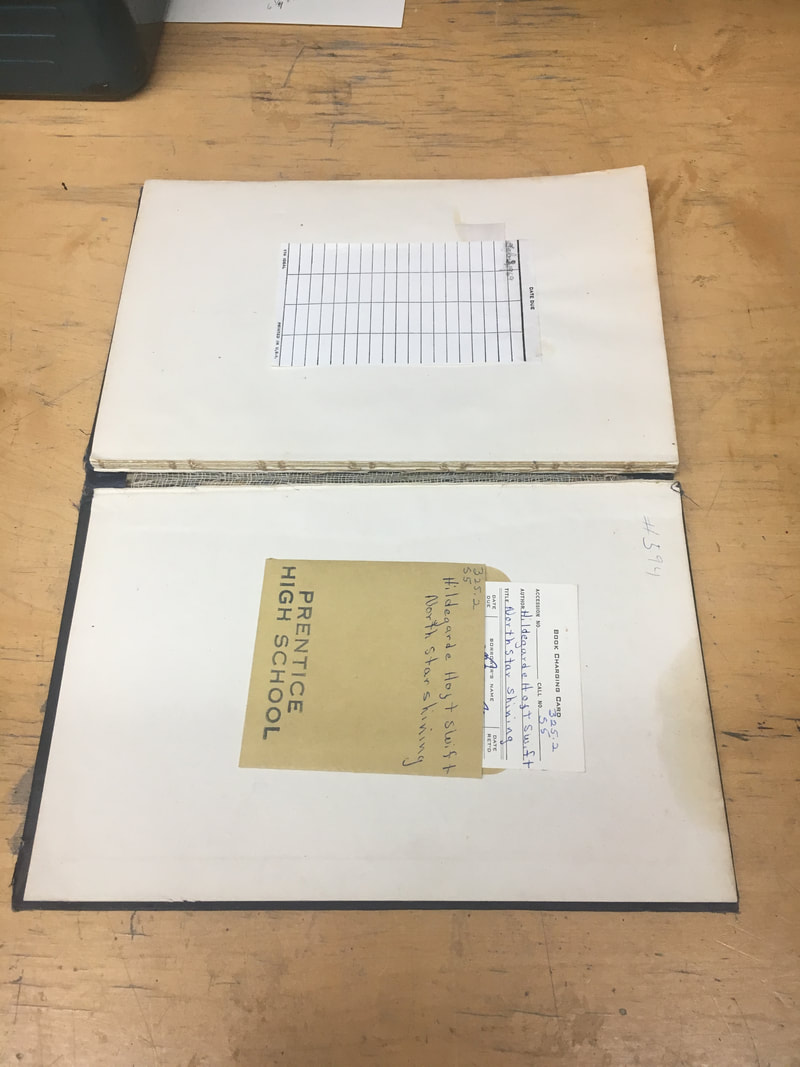
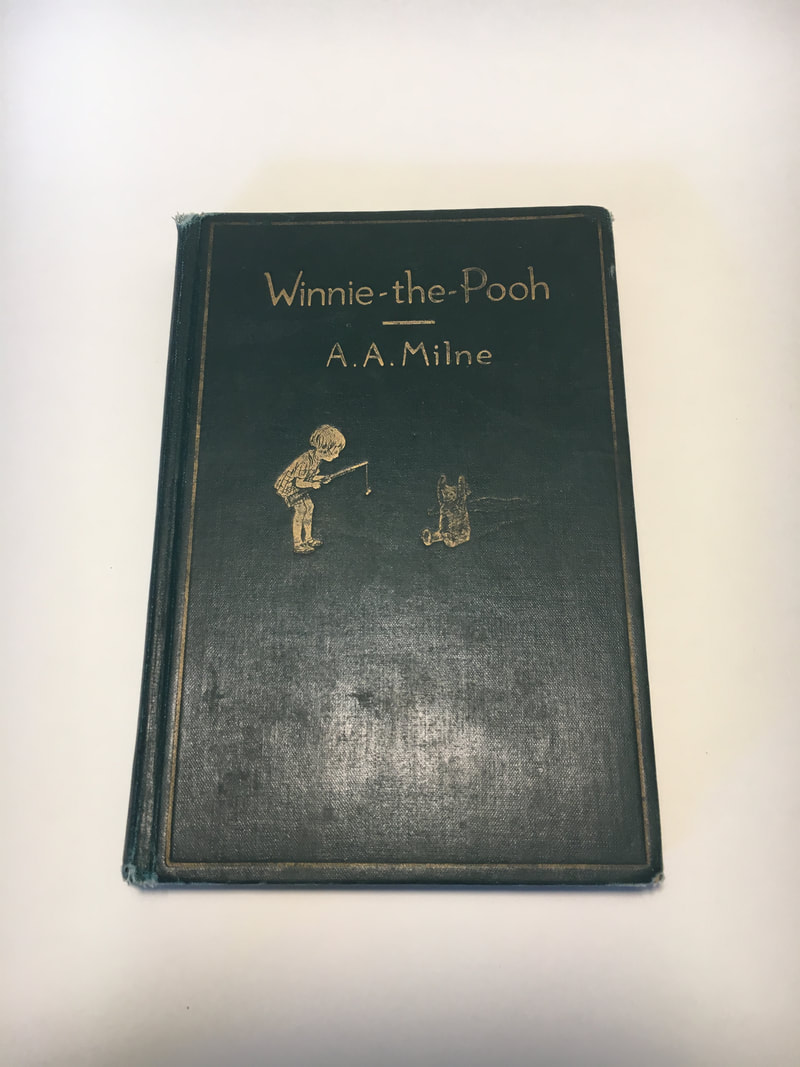
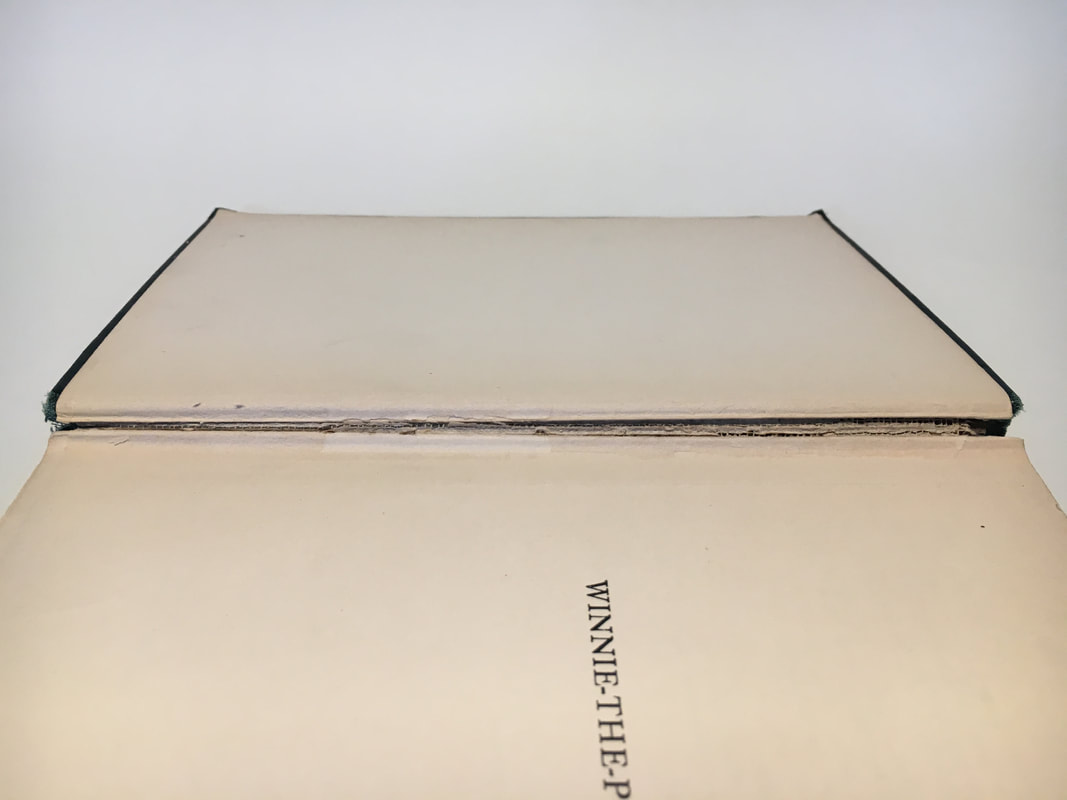
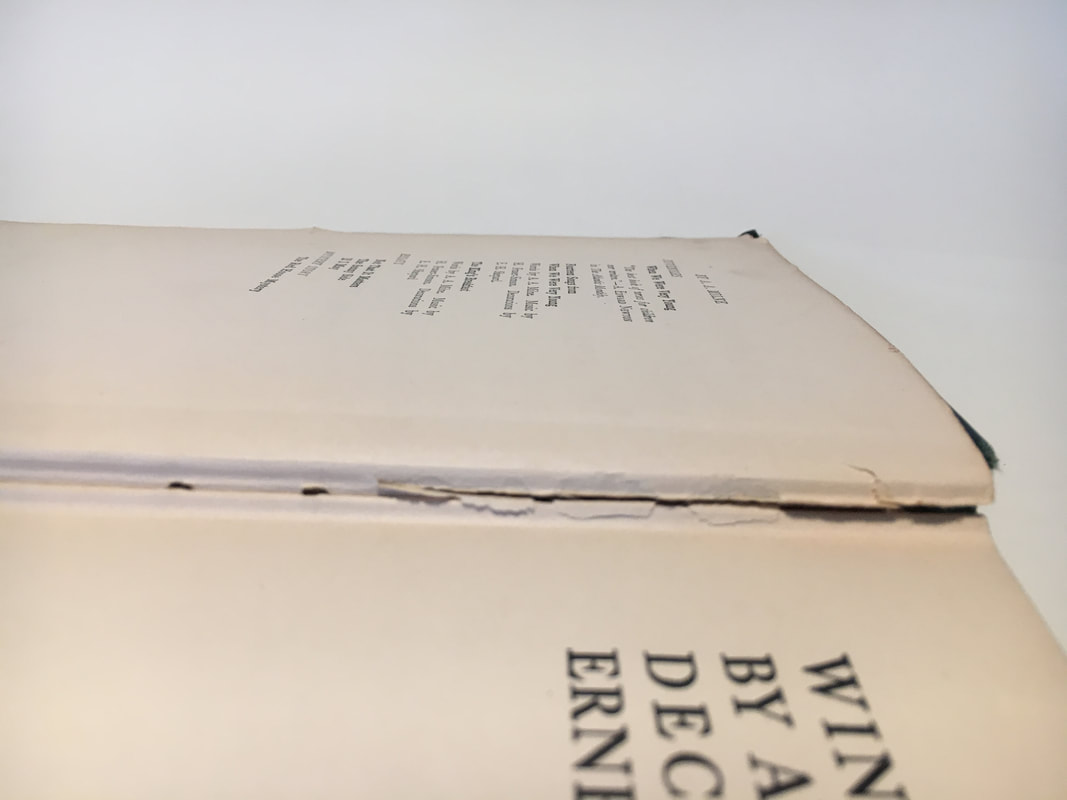
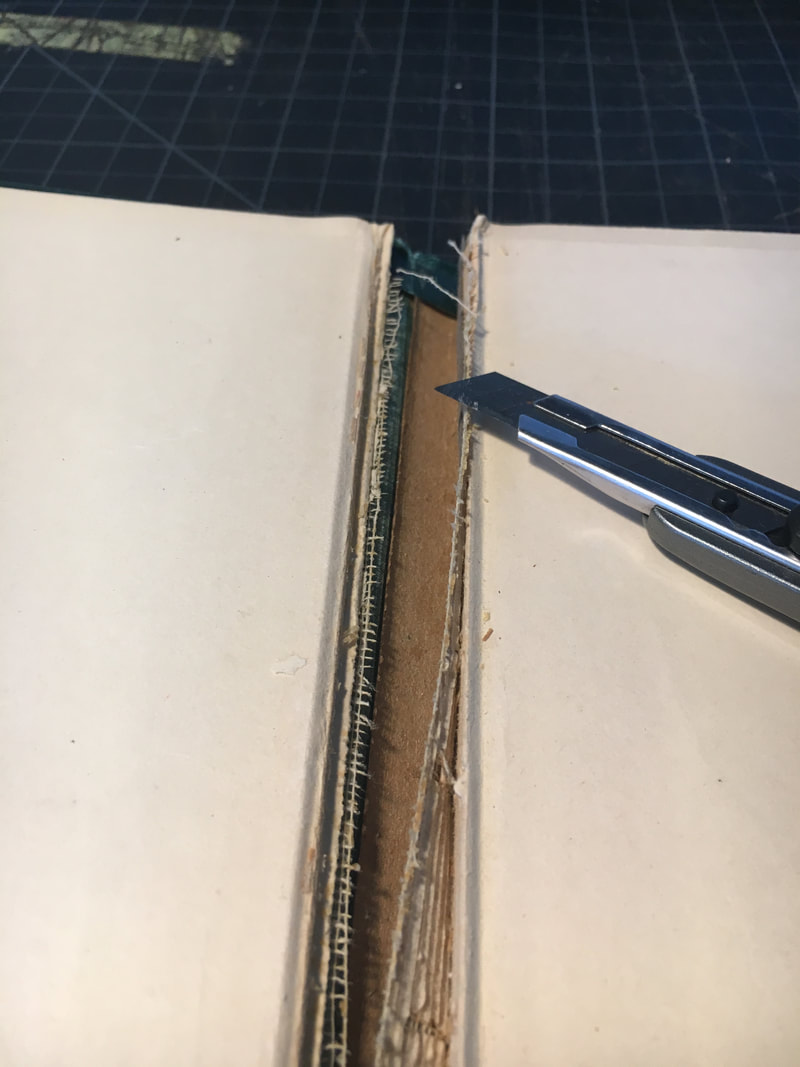
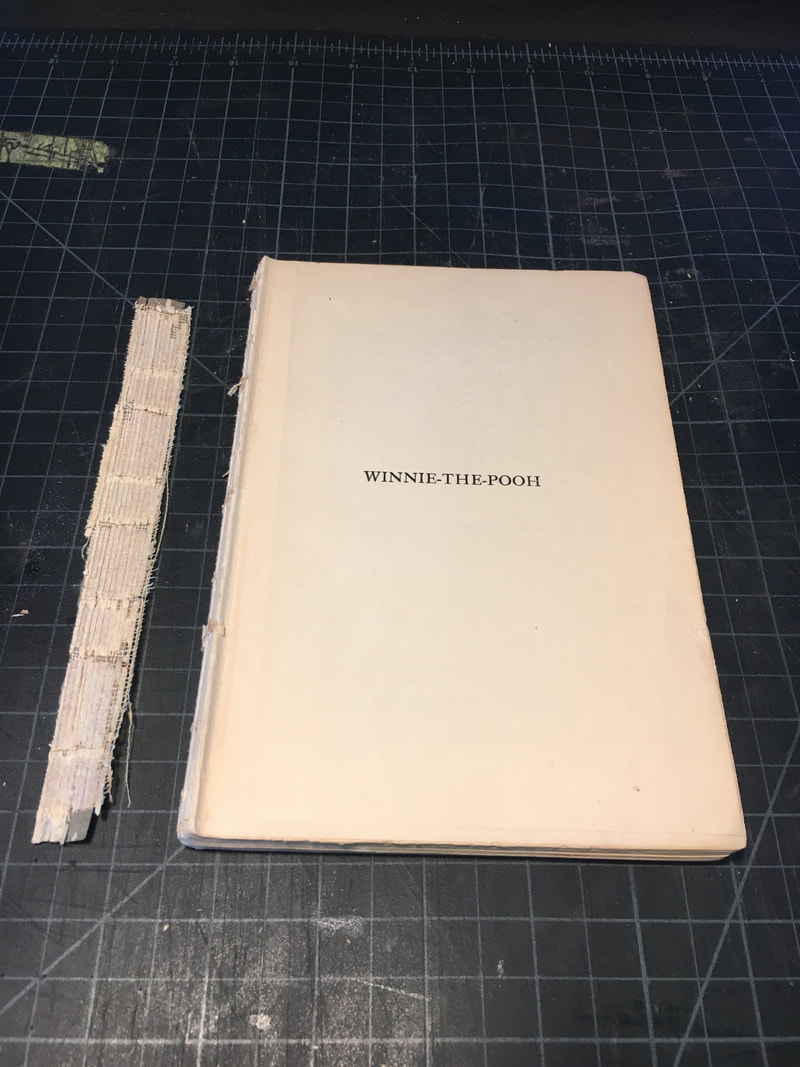
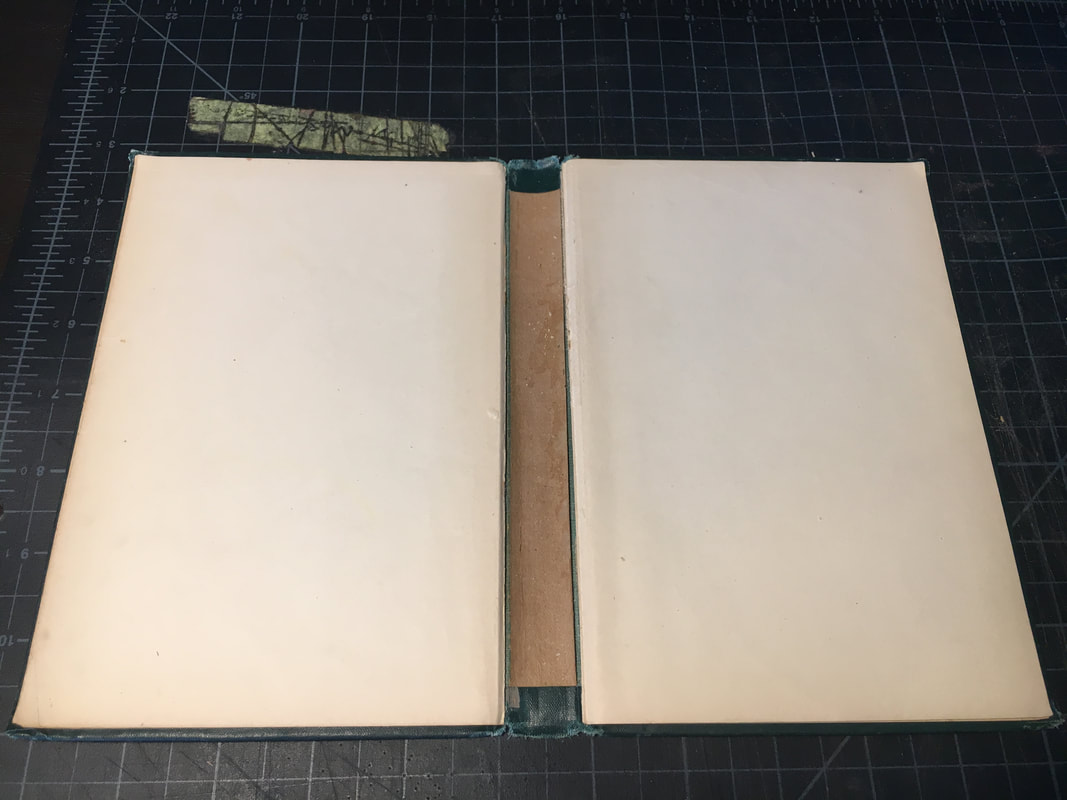
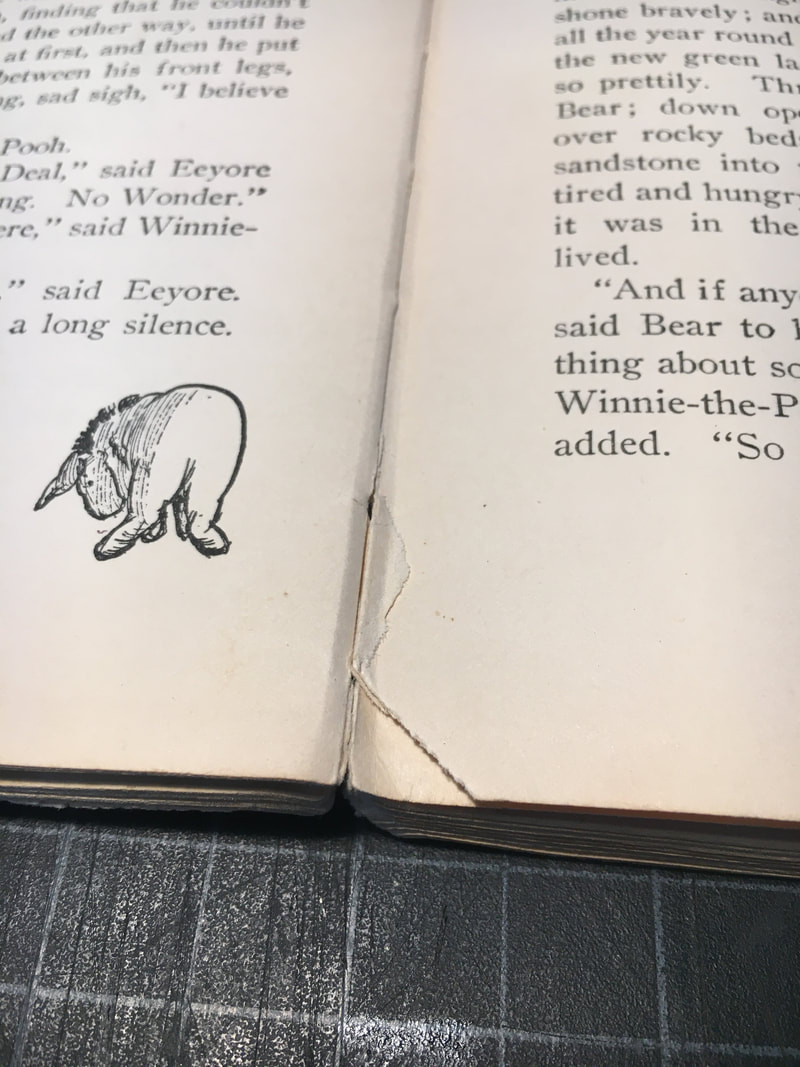
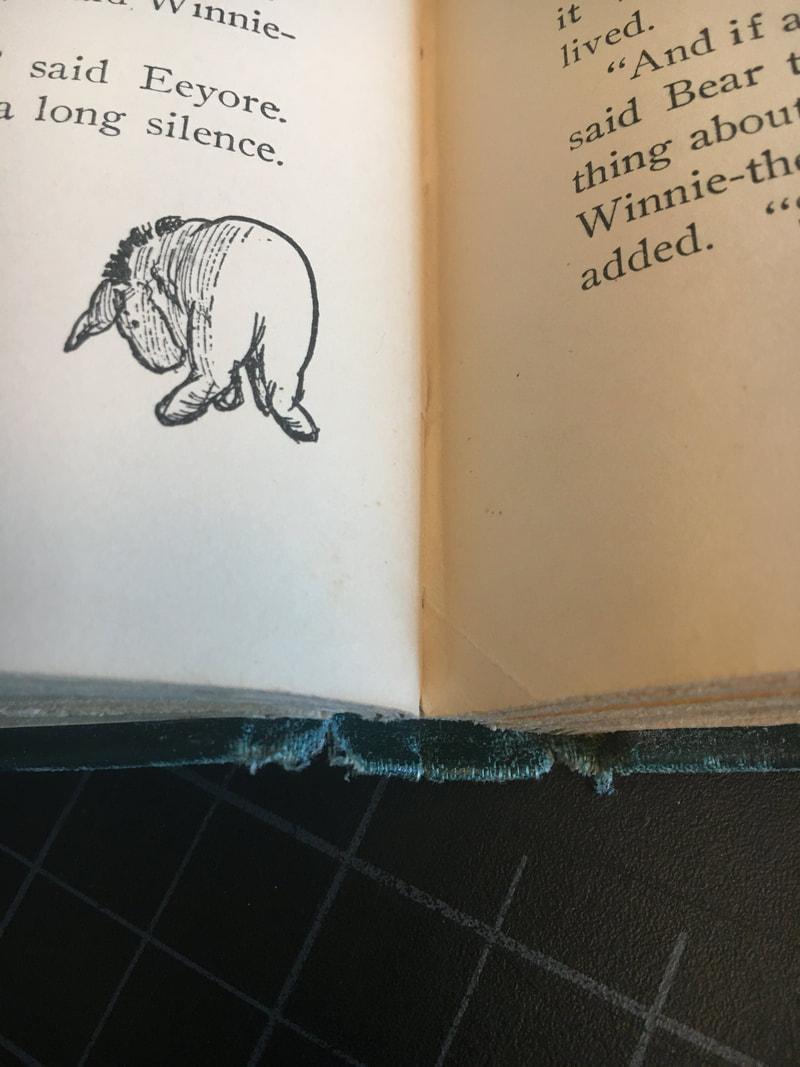
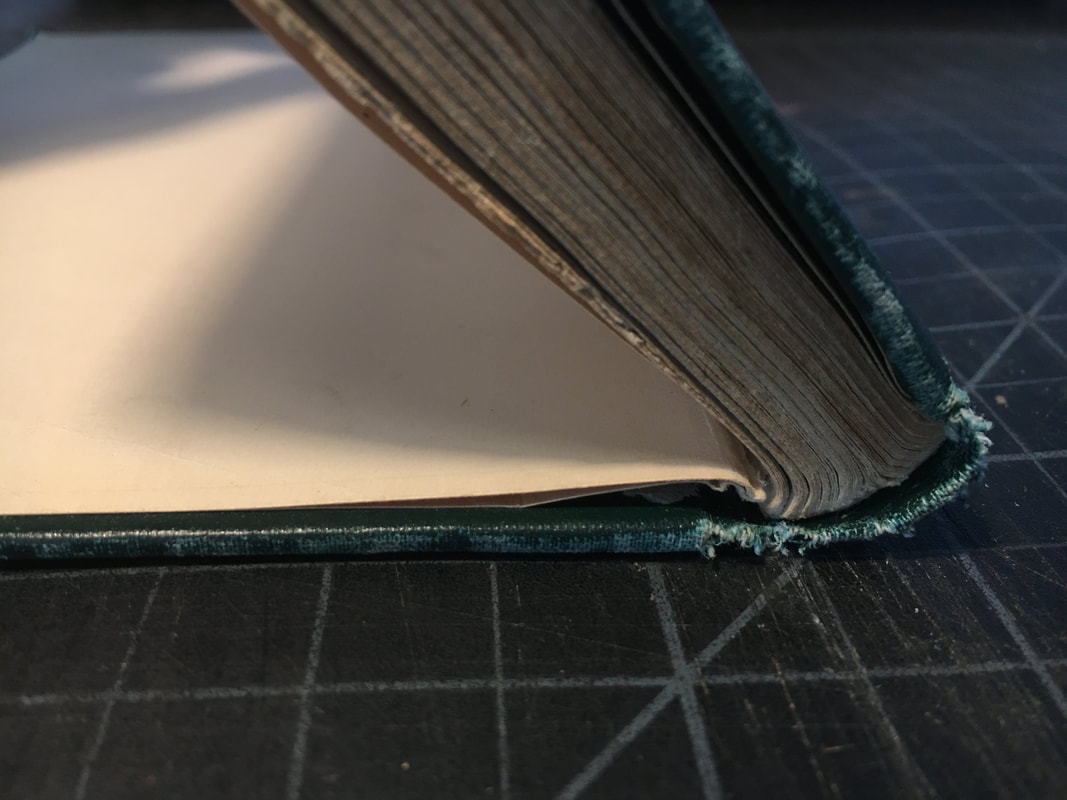
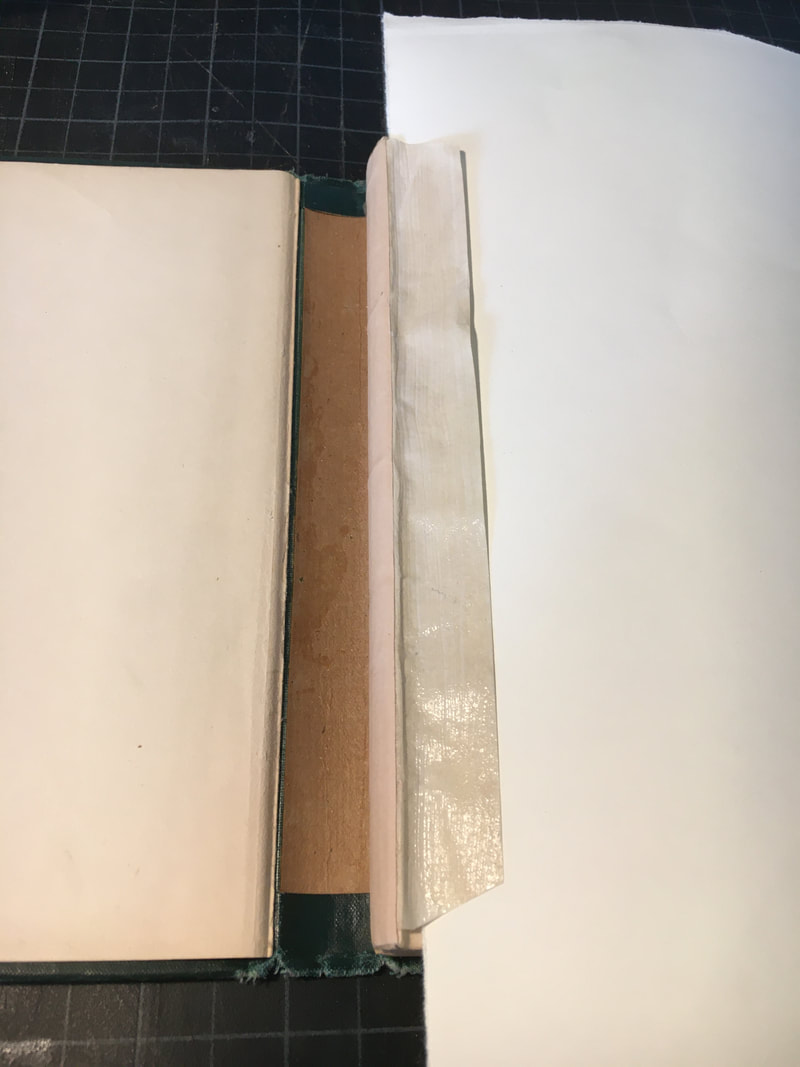
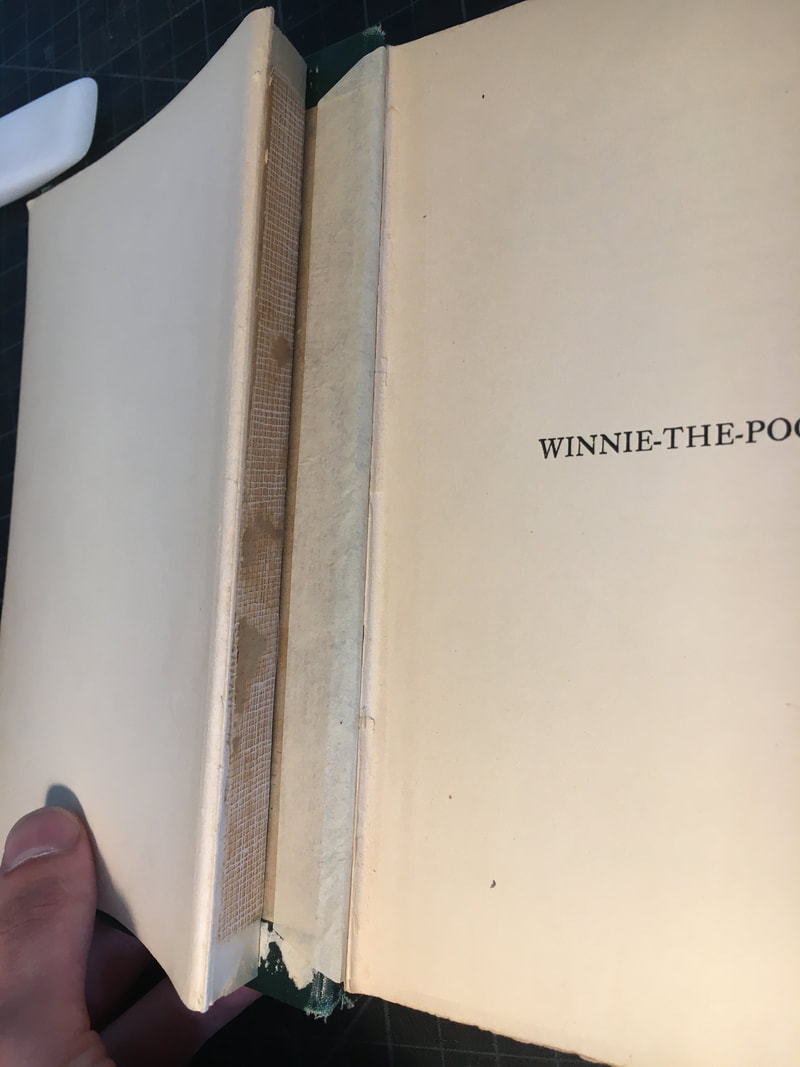
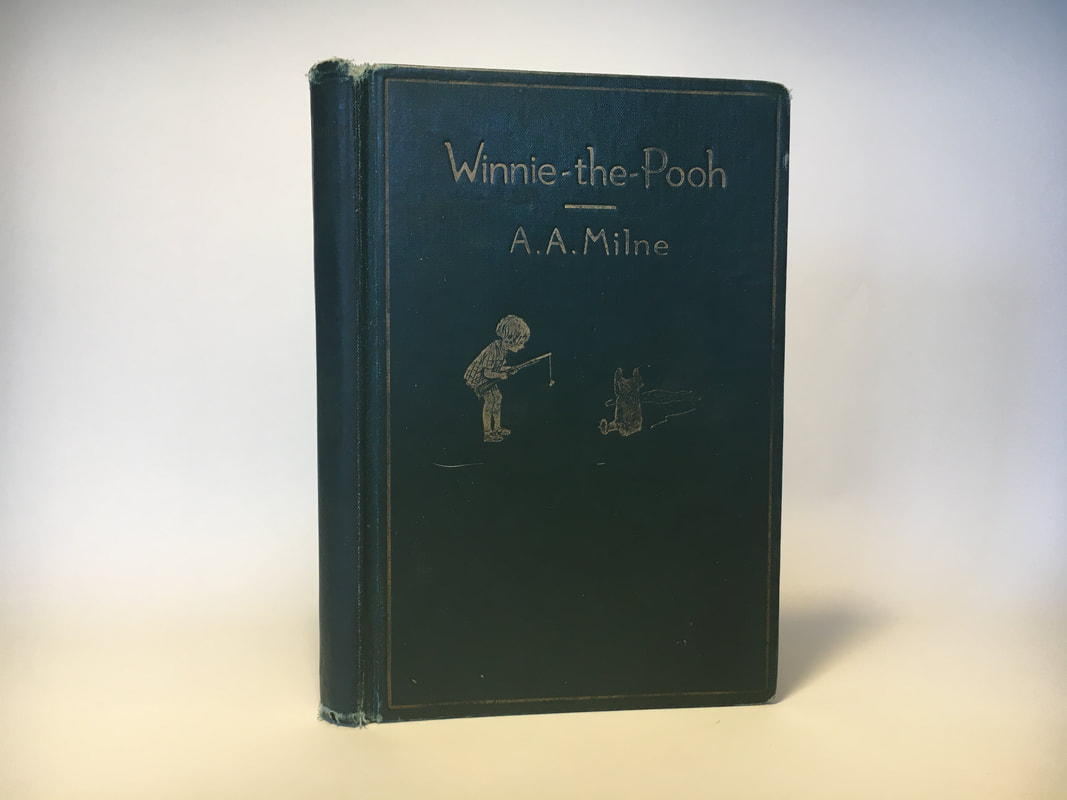
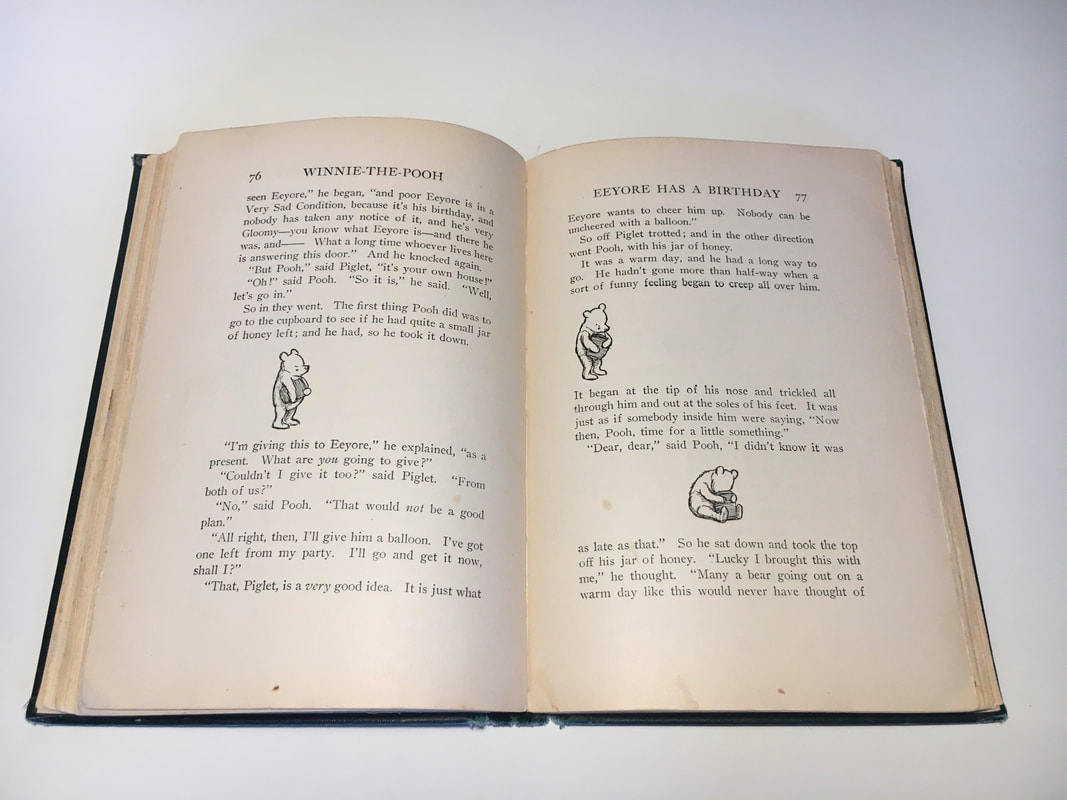
Anyone who handles old books knows the above images well: the spine lining, glue, or endsheets on that 20th-century case binding have finally given out, and the textblock has all but ripped itself out of its covering. If the cloth case is also in tatters, a cloth re-back is often the surest course of action to get the book back into working order. Oftentimes, however, when it's only the cheap mull or excessive hide glue that have loosed the book from its place, the case itself is in more or less perfect order, and it seems a shame to carve it up to complete a full re-back. Enter the Cloth Re-casing, a sort of modified reback procedure that offers the strengths of a full reback while maintaining even more of the original case materials, resulting in an almost invisible repair. This first American edition of A.A. Milne's Winnie-The-Pooh came to me in the perfect state for demonstrating this method. The book was in generally very neat shape: the case was solid with only minor wear to the head, tail and corners, and the textblock as a whole was tight clean. Only the mull lining had stretched and pulled loose, leaving the textblock dangling in its case. One might be tempted to "treat" this issue by simply re-tipping the endsheets back on with PVA, but this would amount to treating a symptom rather than the underlying illness, which is the deteriorating mull lining. Without addressing the lining, the textblock will continue to pull away from the case, now with new stresses placed on the paper where the pages are glued together. Tipping-on will come later. For now, work remains to be done. The first step in this treatment is finishing what nature has started and fully removing the textblock from its case, using a sharp craft knife to slice through the mull lining where its exposed along the spine. These pictures show even more clearly the severity of the underlying problem: the spine lining is already partly torn away from the textblock and it doesn't take much effort to peel most of lining off in one piece. Time and gravity would have eventually brought this about anyway, and most "quick repairs" would have done more harm than good in the long run.
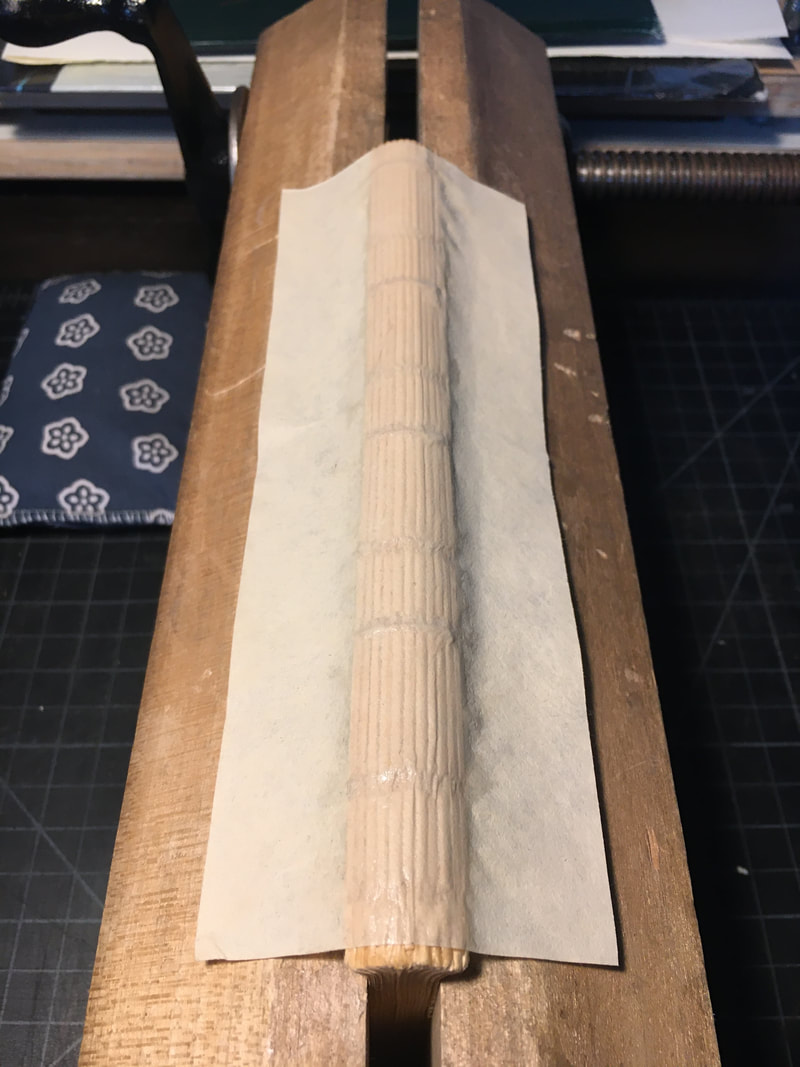
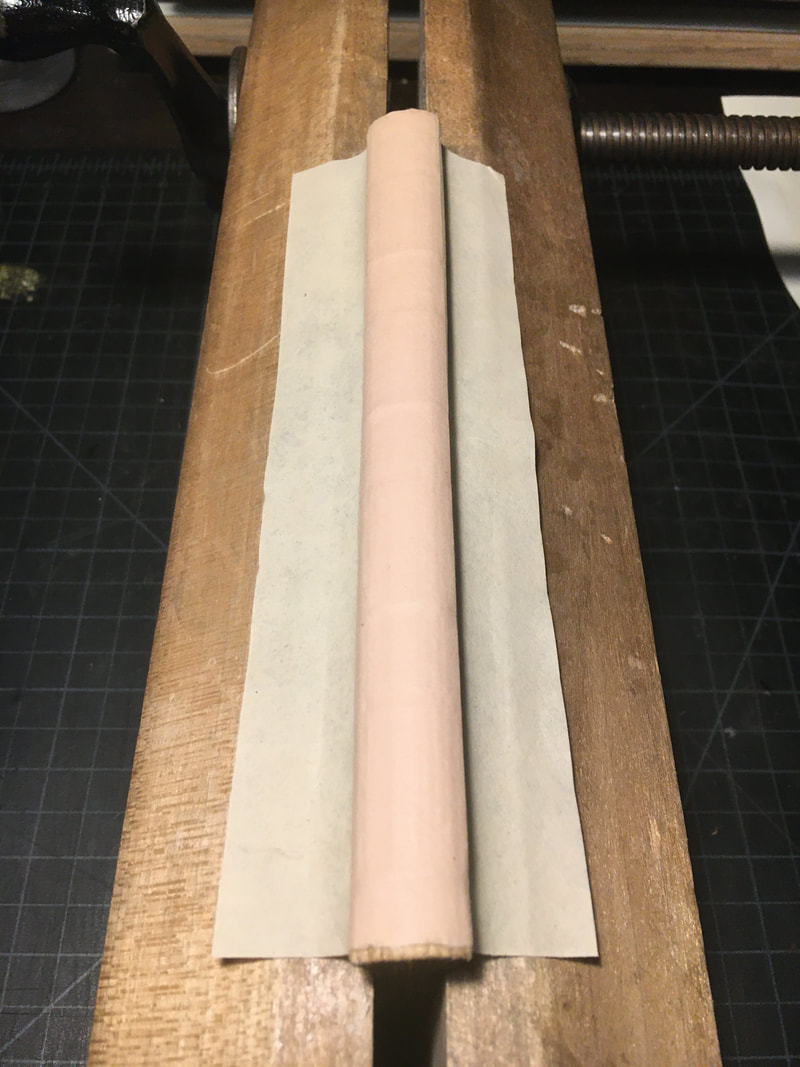
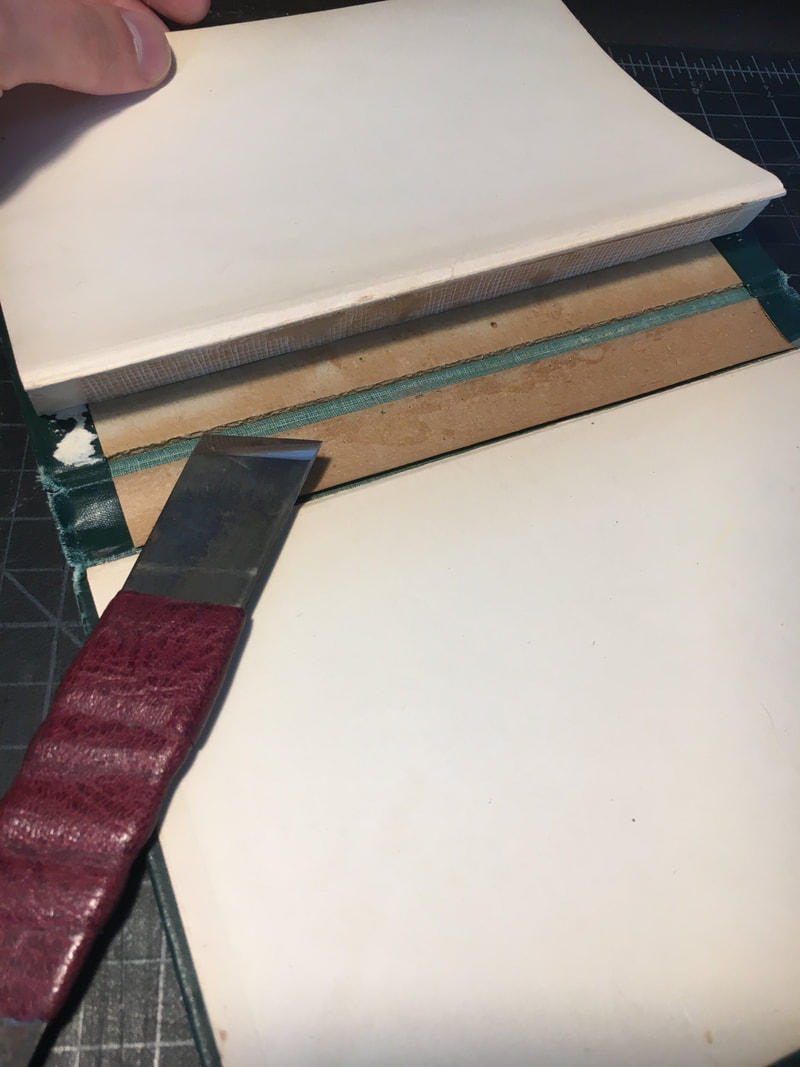
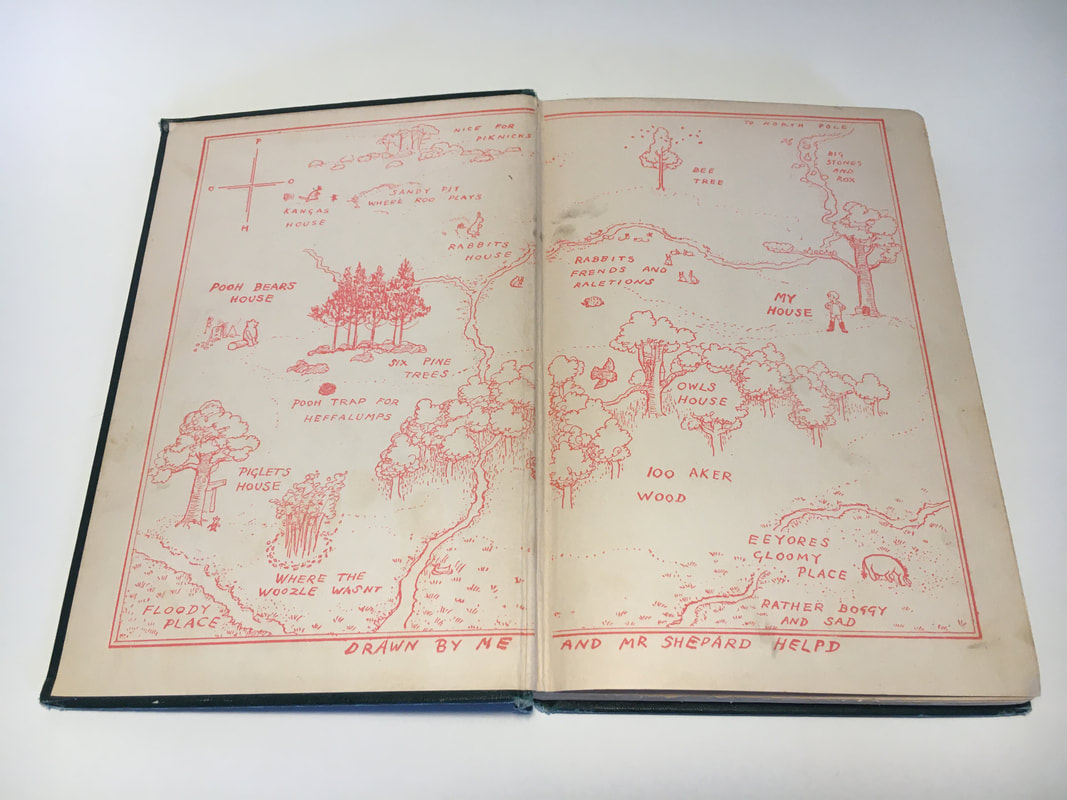
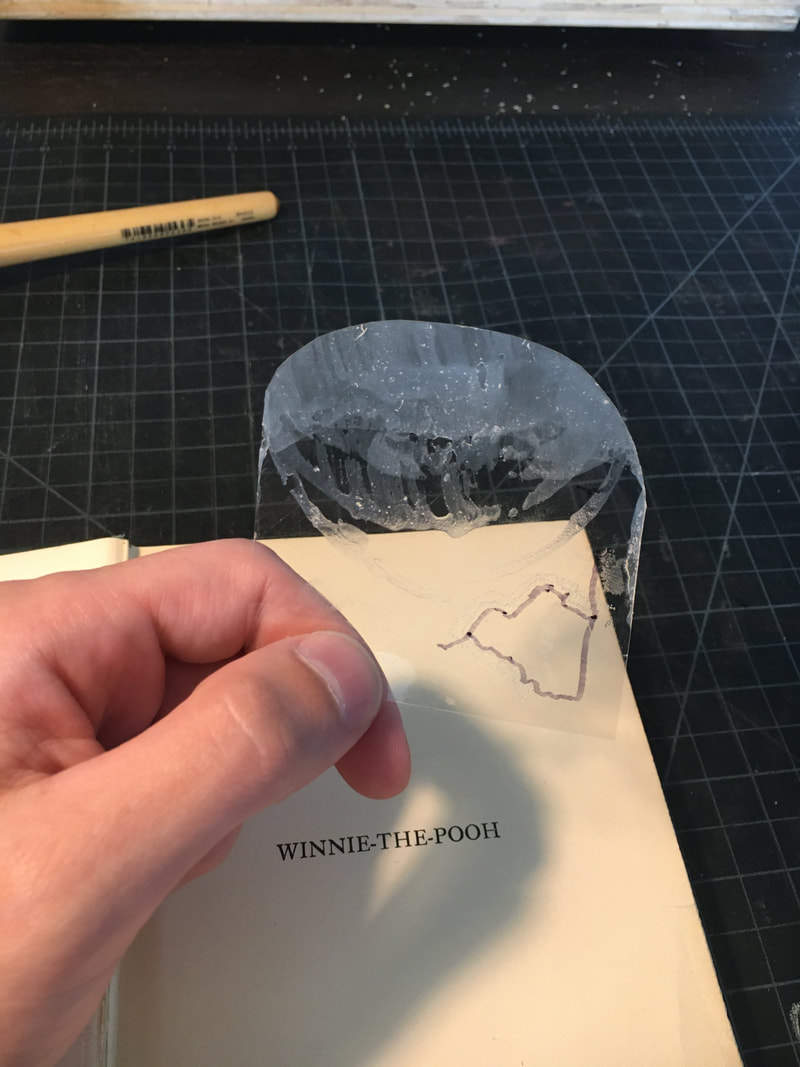
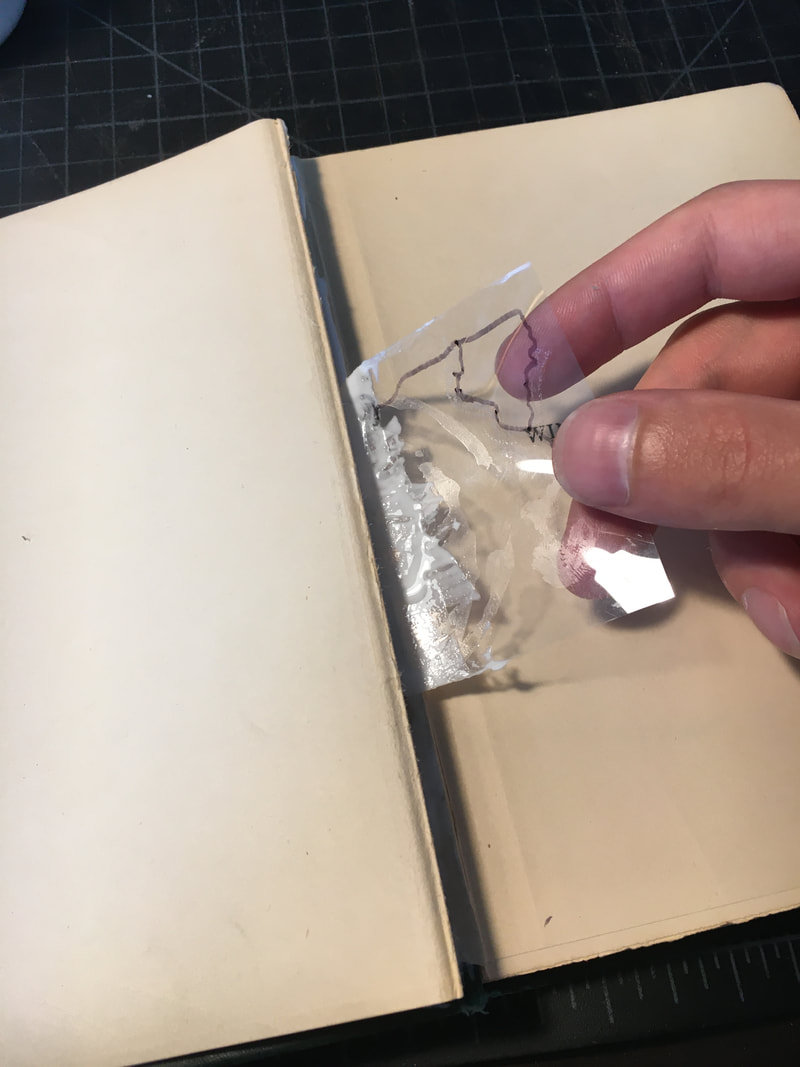
With crispy hide glue, I prefer to carefully clean the spine with a microspatula and/or pin vice, picking loose bits of glue and lining from between the signatures and taking care not to damage the paper. Once the spine is clean and I can best assess and access the paper and sewing, I move on to paper repairs, carefully mending small tears, creases, and losses with Japanese tissue and methyl cellulose or wheat starch paste. For small, scarfed tears, often adhesive and pressure is enough. Once the textblock is mended, it's ready to be relined. I use a medium-light weight (~21gsm) Japanese tissue and add an extended lining with wheat starch paste, simultaneously creating a strong point of attachment for the boards and a water-reversible "buffer" layer that can be removed from the textblock by future conservators without damaging the signatures. I apply paste to both the lining and the spine and bone liberally to ensure adhesion between signatures and across the width of the textblock. Only after the tissue layer is completely dry to I move onto additional spine lining, if necessary. Too much spine lining will restrict opening and invite stress to the sewing and signatures; not enough will let the book open too wide and make the book unstable. I gauge the level of lining needed by adding a single strip of text-weight western paper to the spine with PVA and allowing to dry for a full 24 hours, after which the book opens comfortably to ~50-60°. While the spine lining dries, I move on to the preparing the case. After trimming and clearing away most of the remaining mull, I use a lifting knife to lift about 1" of both pastedowns along the spine edge. This is where the new tissue lining will hold the textblock into the case. Having complete and decorative endsheets can make this process all the more nerve-wracking, but I decided that the uninterrupted maps were worth the trouble. I also made several dry-fits of the textblock in the case to ensure that the tissue flange would fit in the space I created under the pastedown. The moment of truth! Once I'm satisfied with the fit of the freshly-lined textblock in its case, I first glue up the outside (board side) of the tissue flange and slide it underneath the pastedown, adhering it to the board but NOT to the pastedown. Using a 50/50 PVA-MC mix offers a nice degree of slip and working time while I position and smooth out the tissue. Keeping the textblock closed against this board while the glue is wet, I attach the back board in the same way. I then replace the lifted pastedowns by transferring small, even amounts of PVA-MC mix to the underside of the paper with a mylar "tongue". I glue out the length of the lifted pastedown and use a delrin folder to carefully smooth out any lumps, removing excess glue that squeezes out at the edges. The thinness of the tissue hinge will make it all but invisible underneath the pastedown, but its strength in comparison to the mull will be noticeable for decades. I use a thin brush to trace a thin line of PVA along the joint between the endsheets and the textblock, then close the book and leave it to dry under weight overnight. After treatment, the book stands up neatly without sagging in its case; the opening is smooth, the joints are tight, and the un-disturbed endsheets and cloth hinges make this recovery seem almost miraculous. I've used this technique on cloth case bindings where the case is stable enough to be saved, and the results are always satisfying.
1 Comment
|

