|
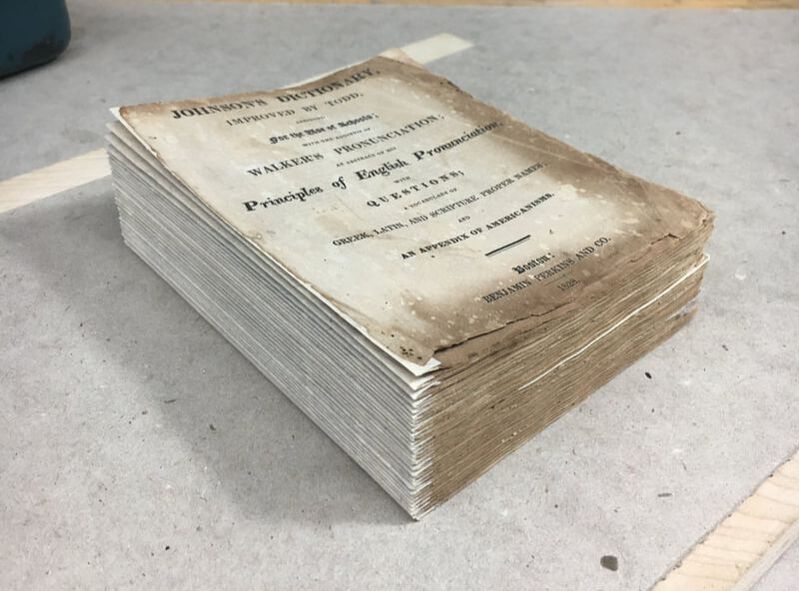
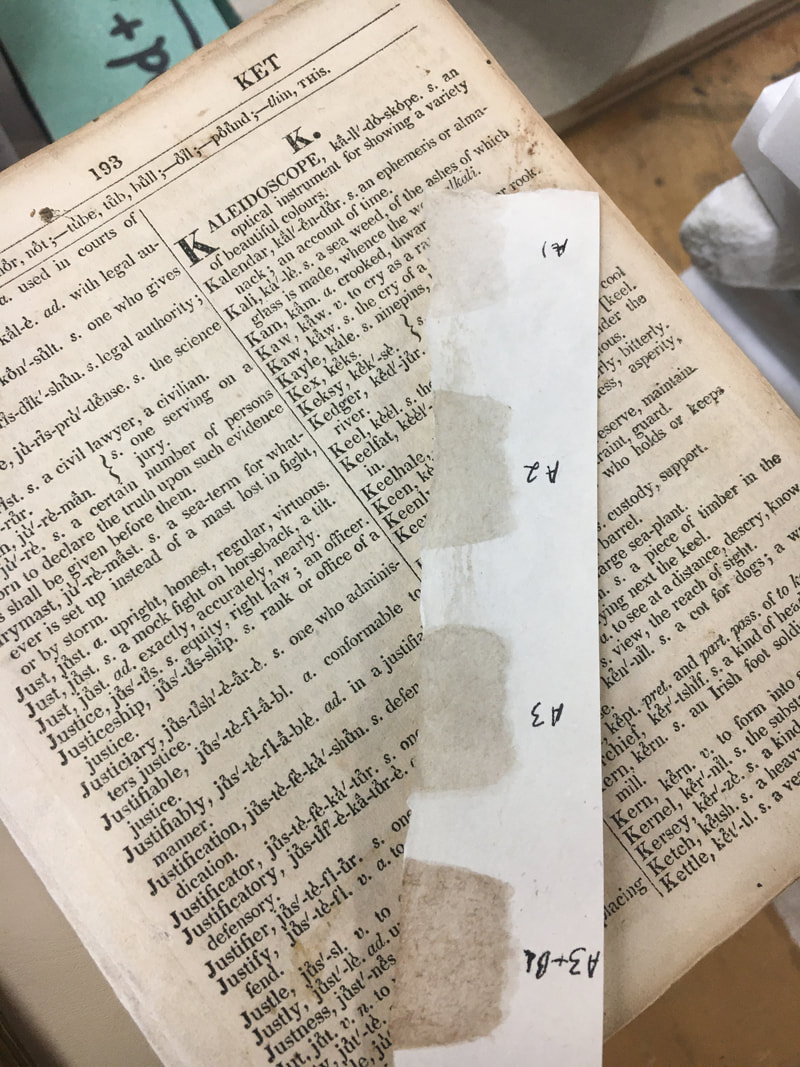
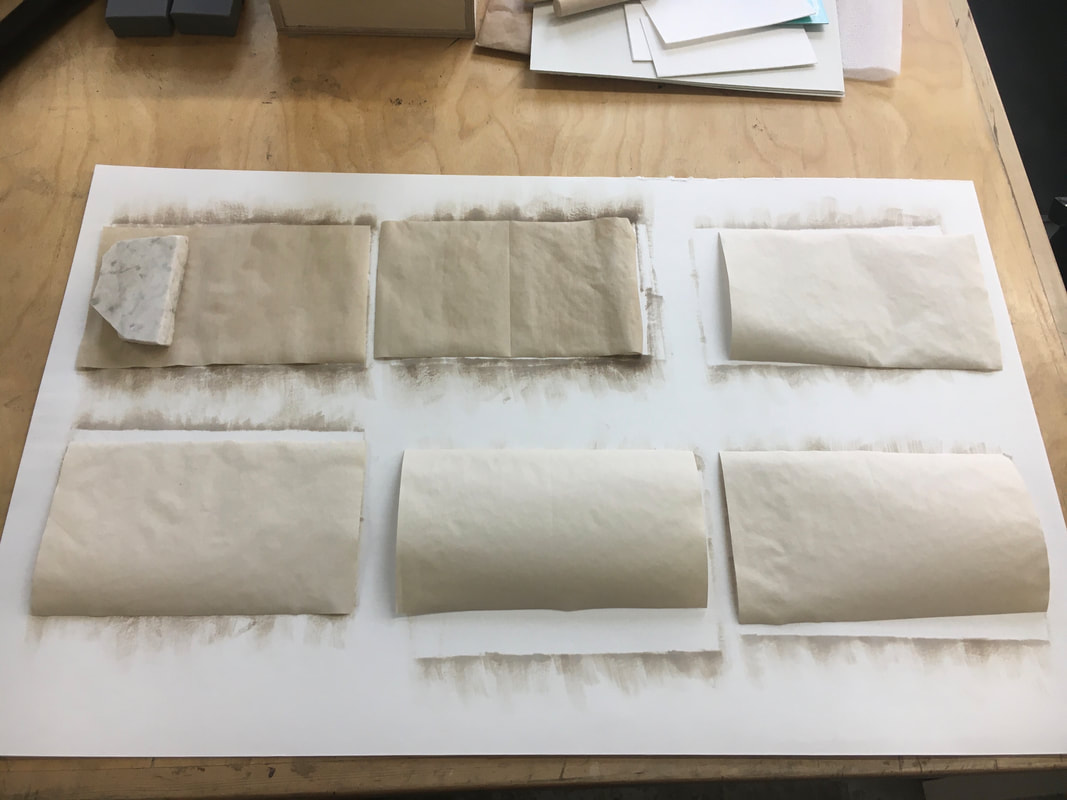
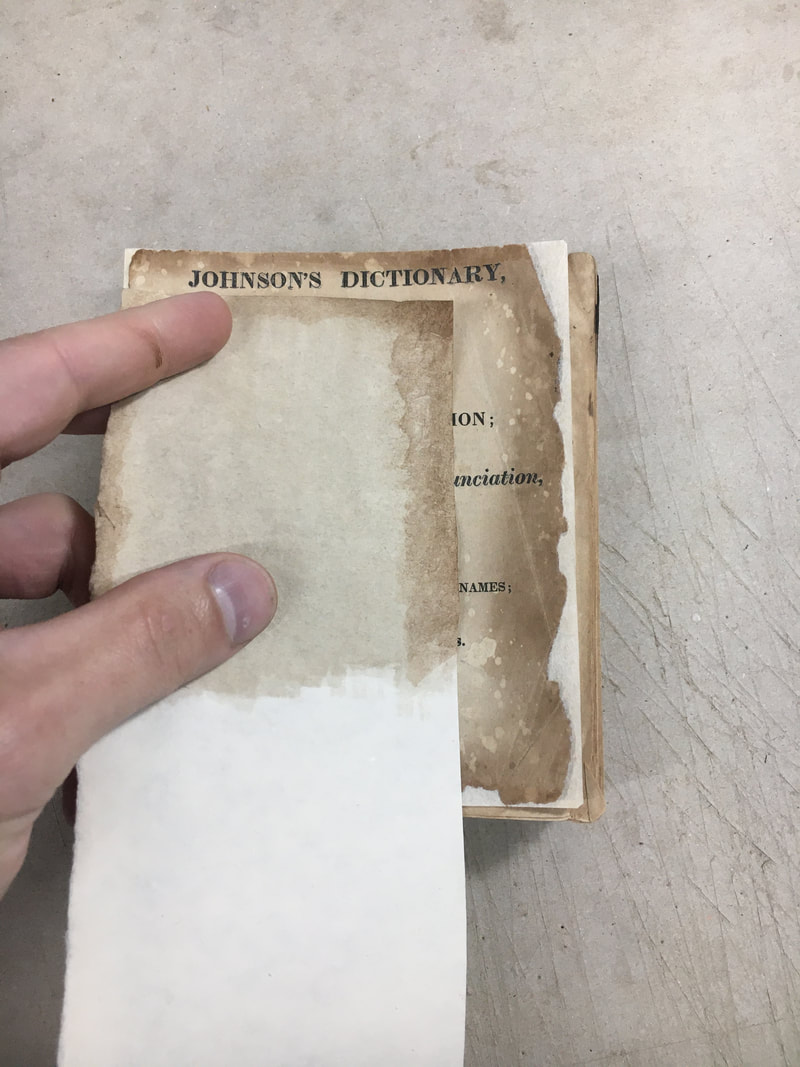
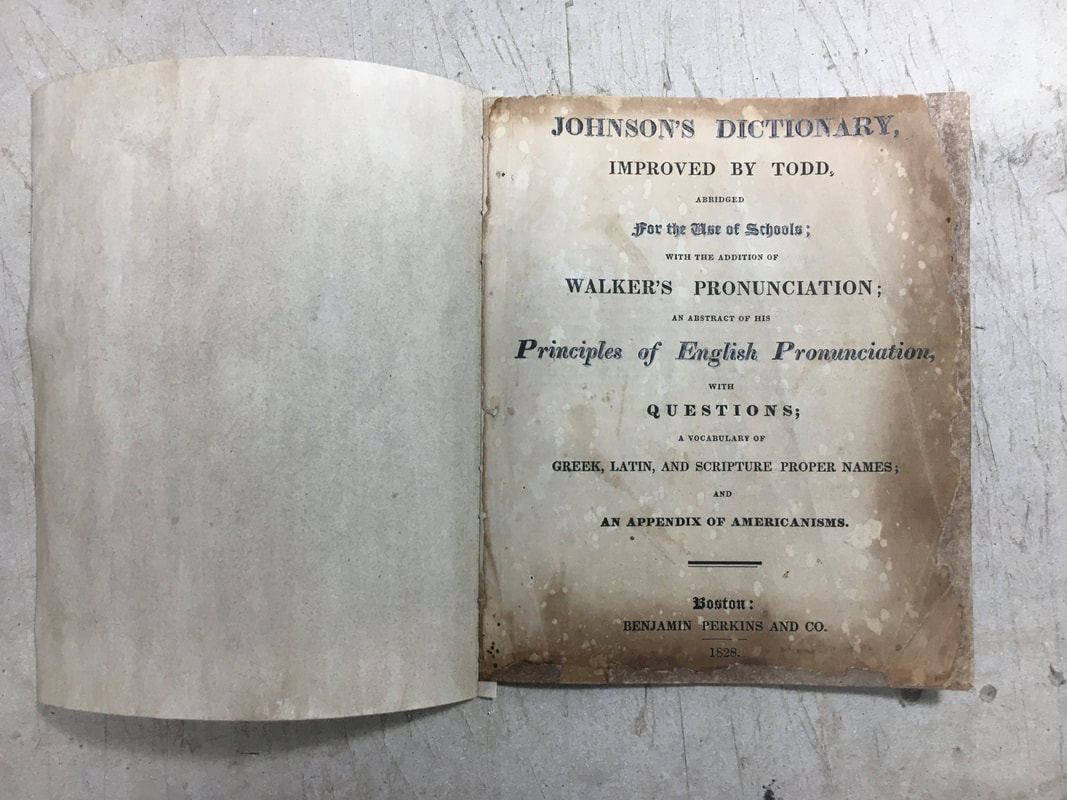
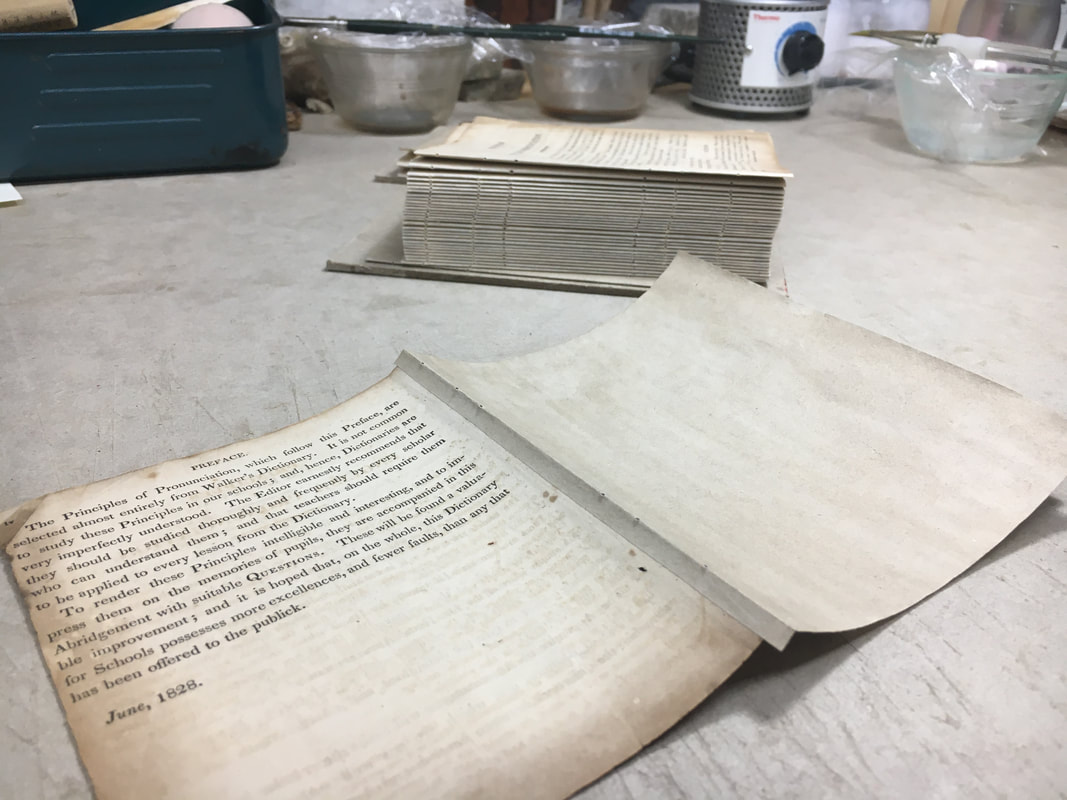
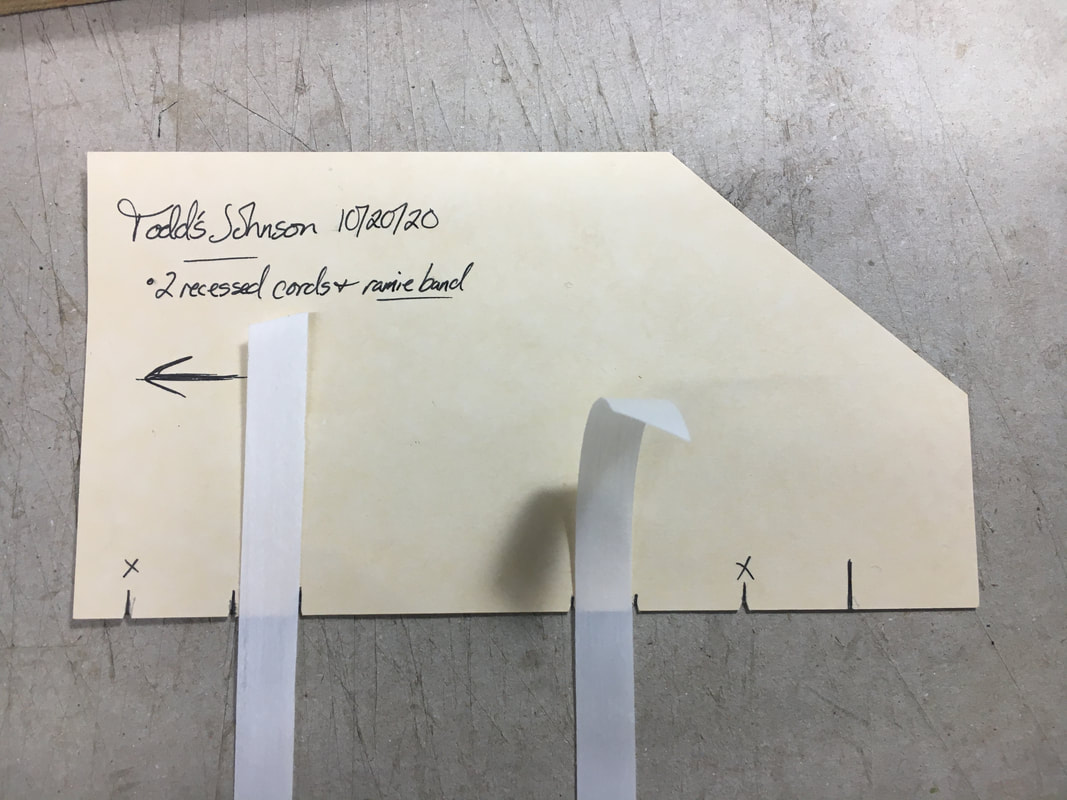
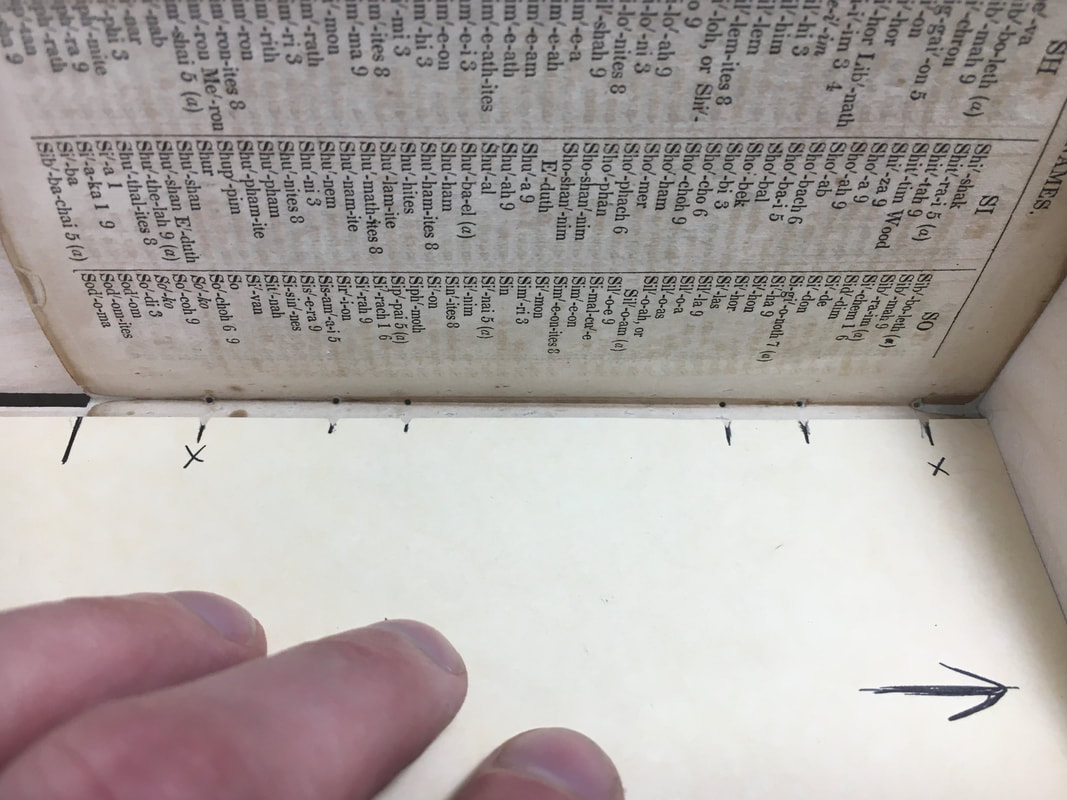
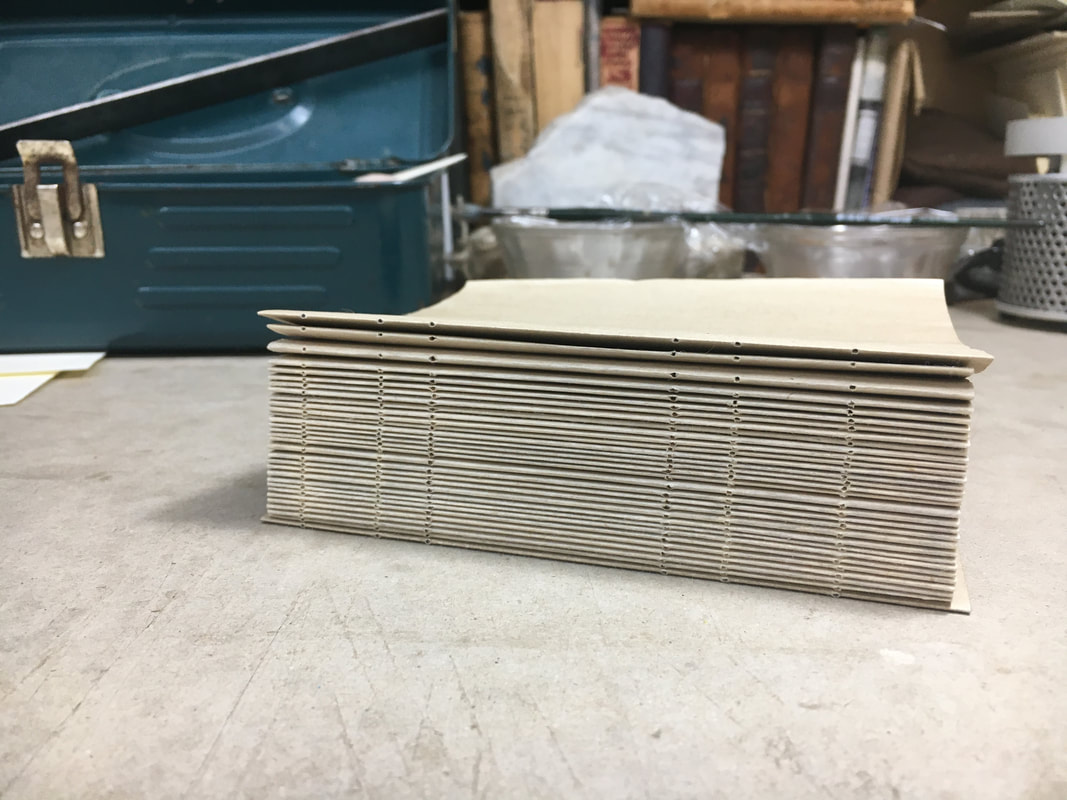
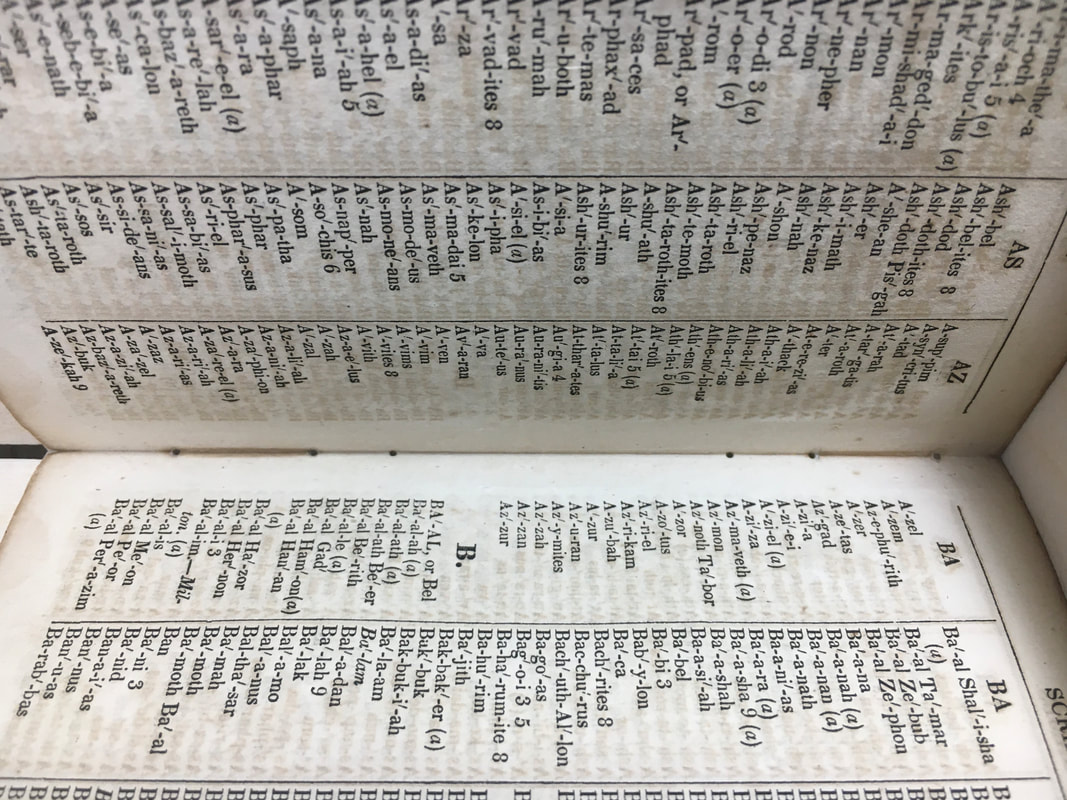
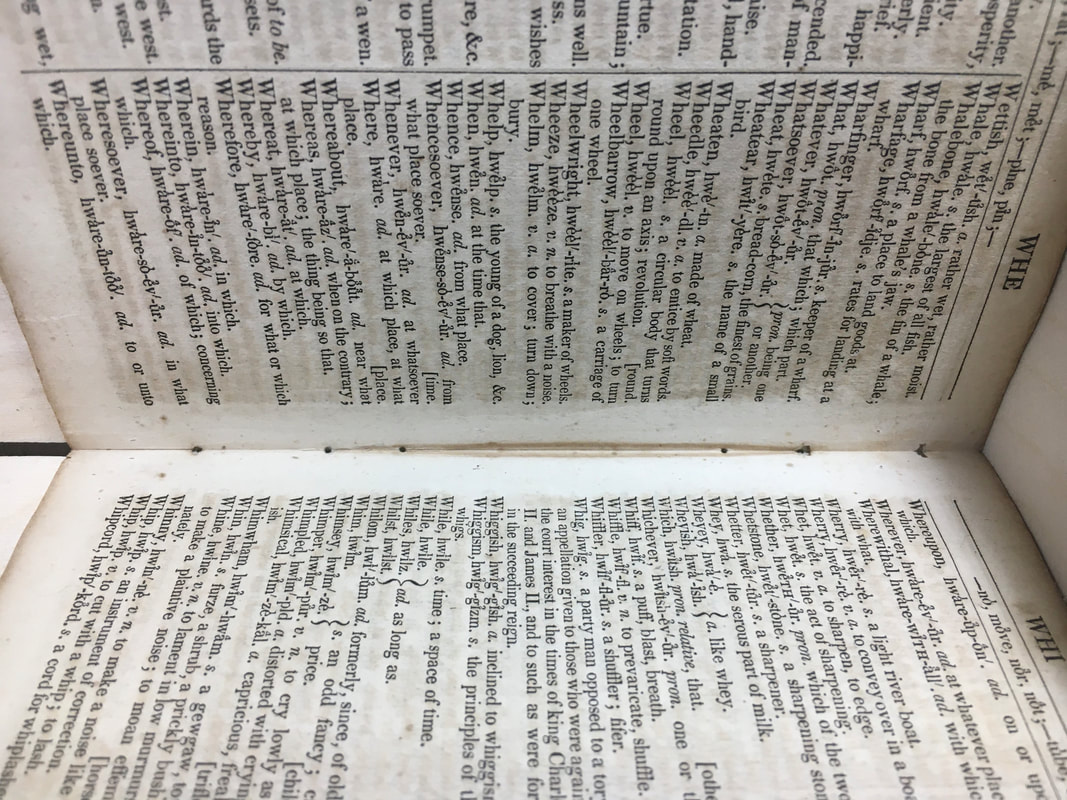
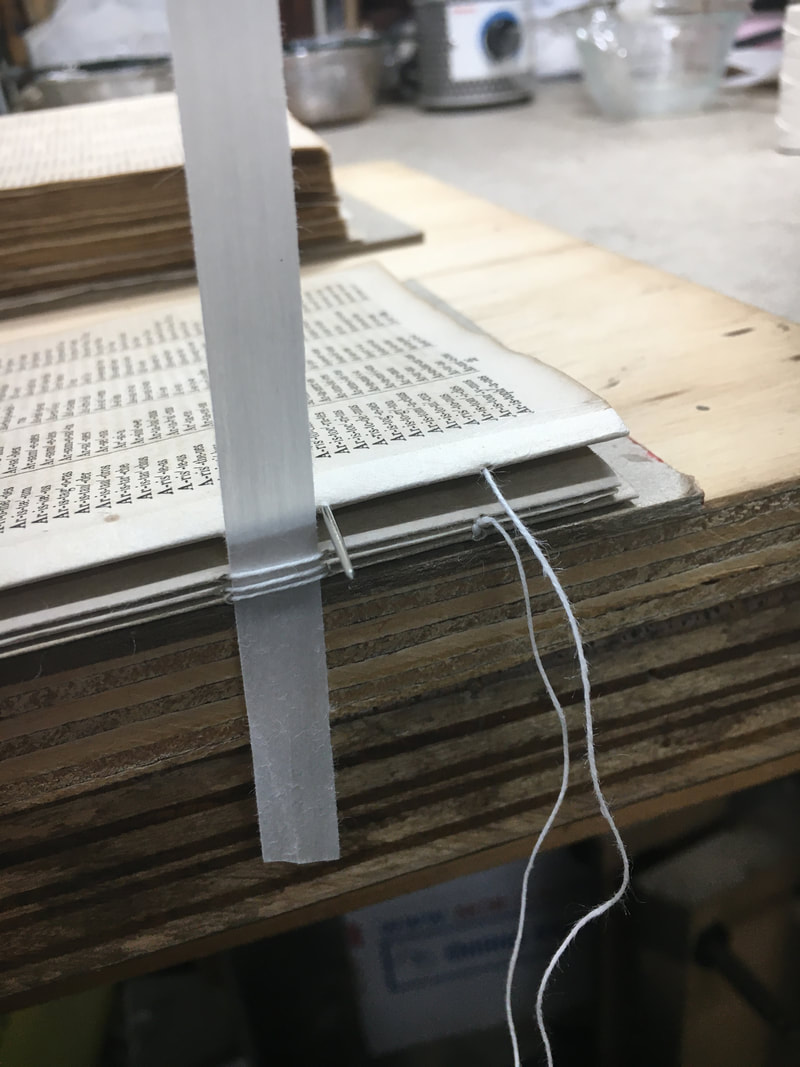
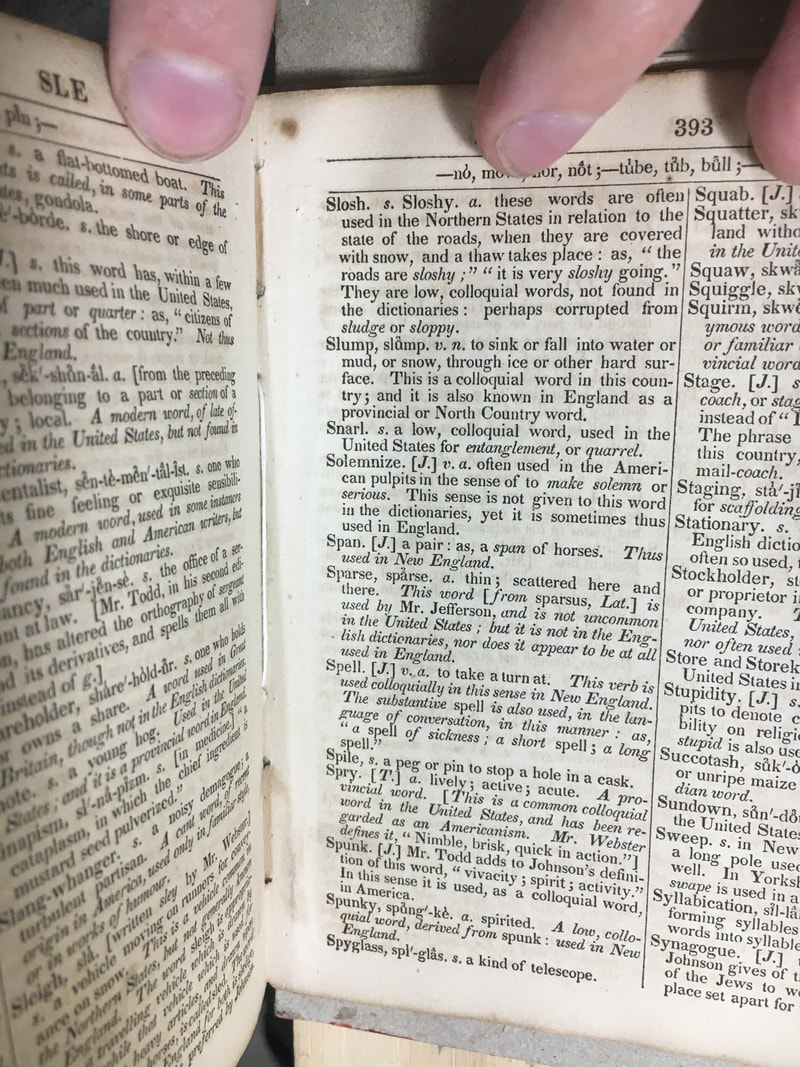
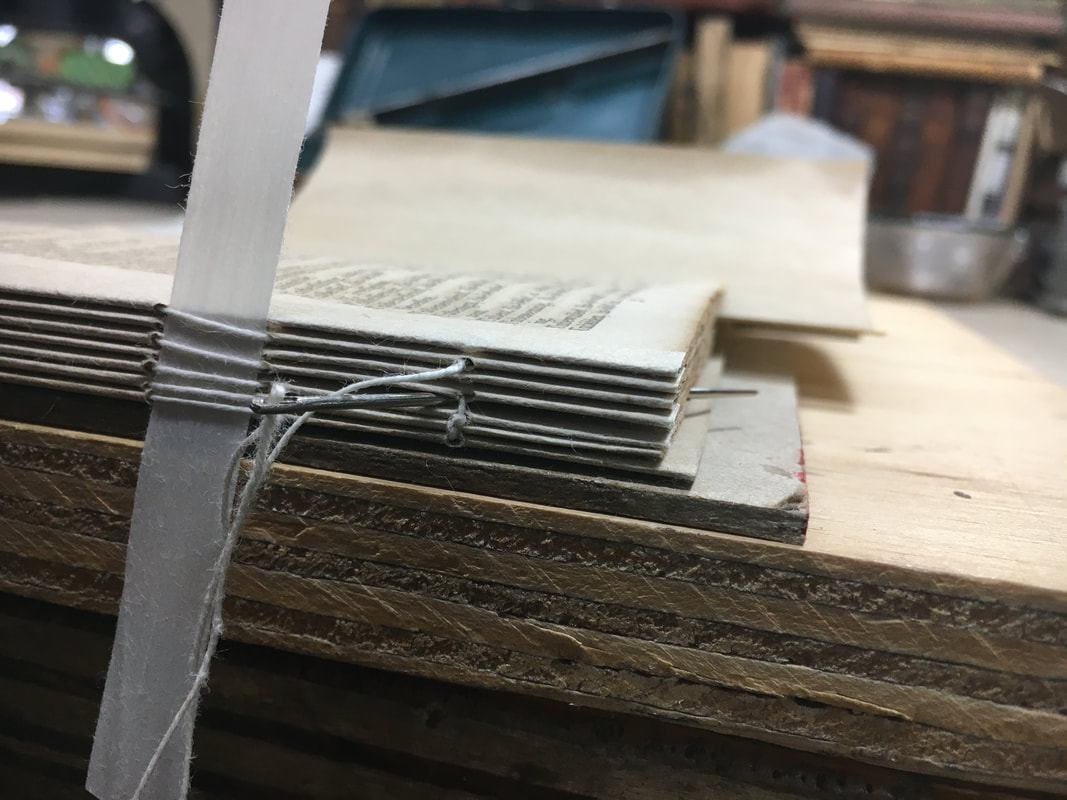
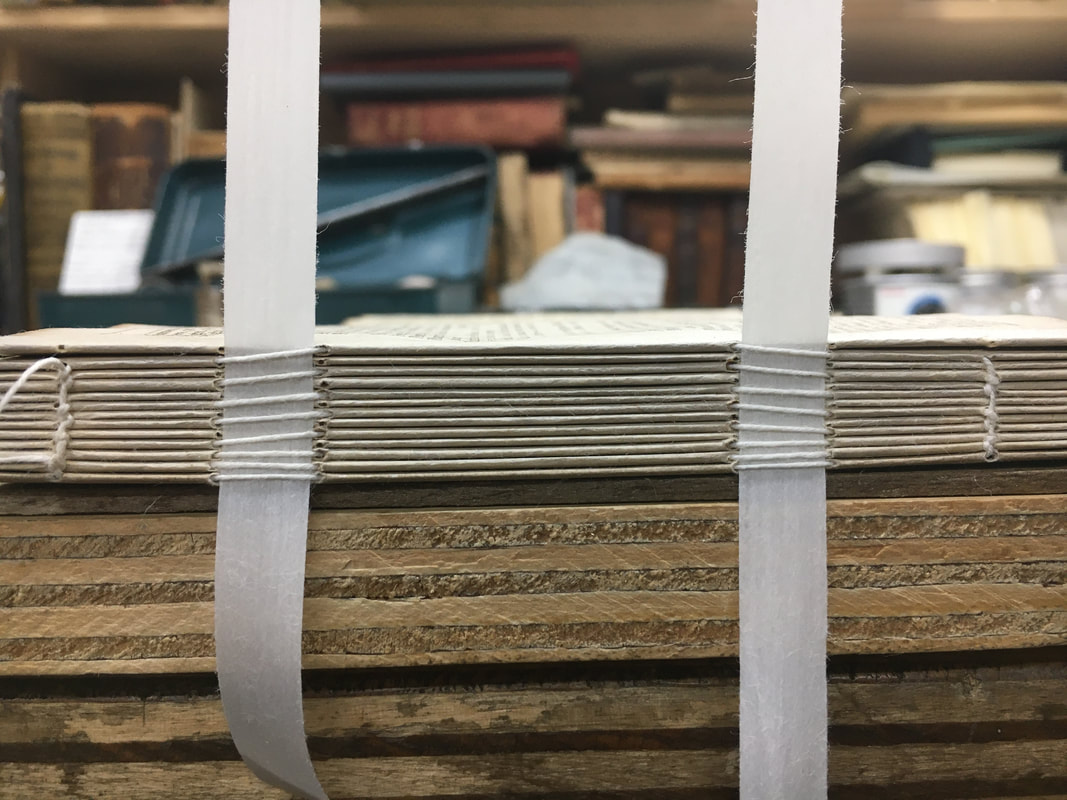
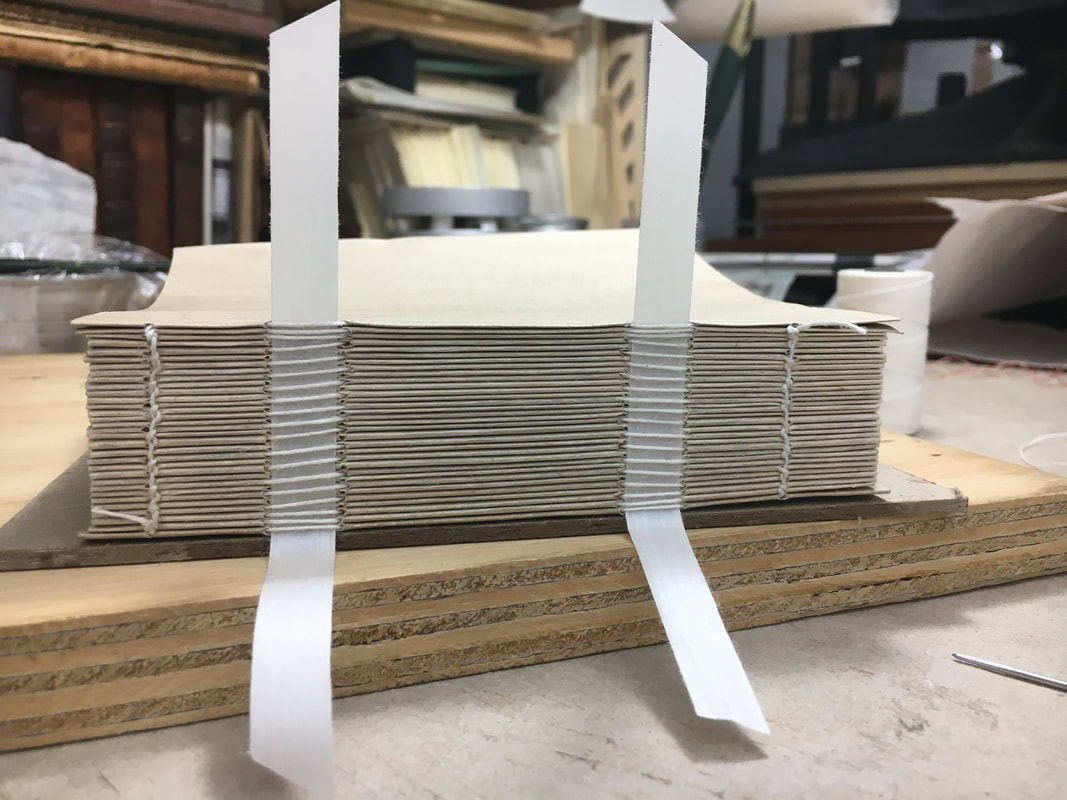
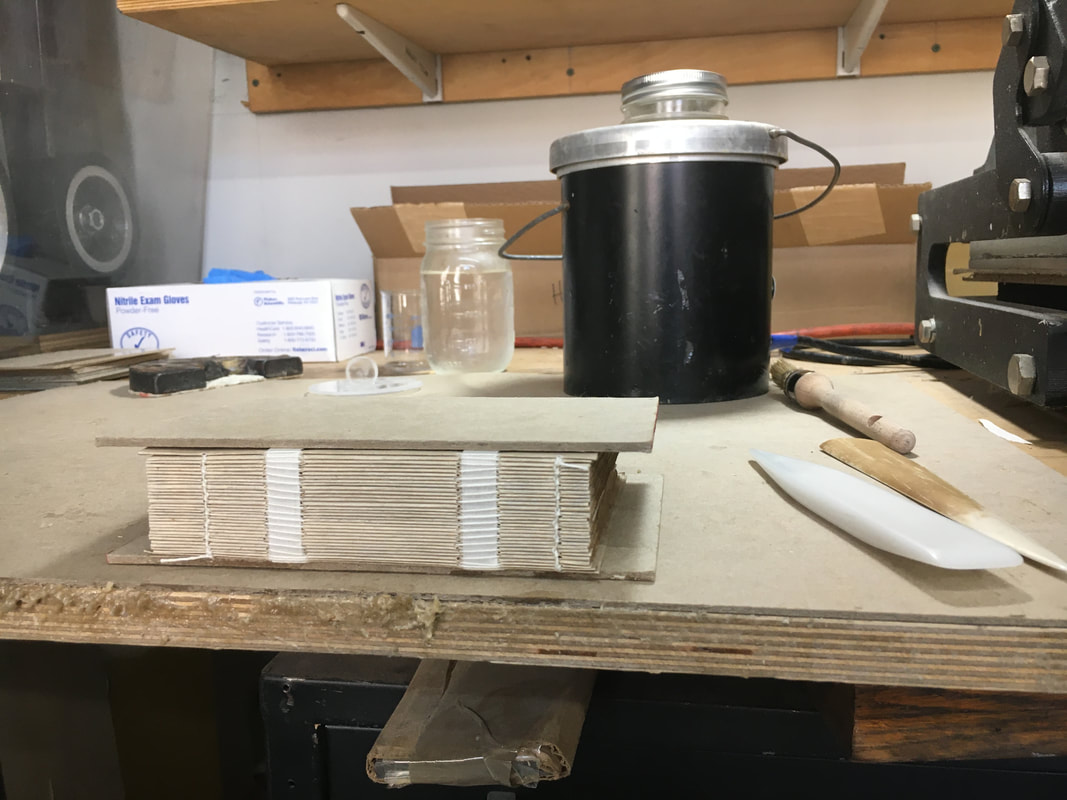
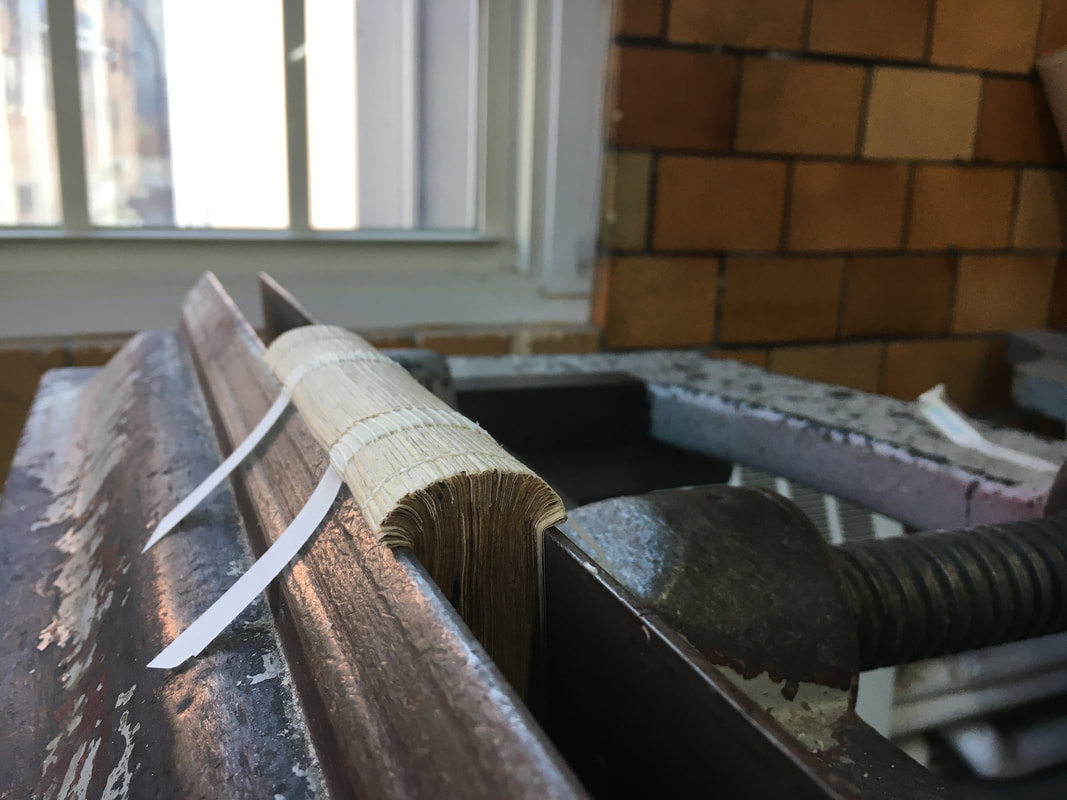
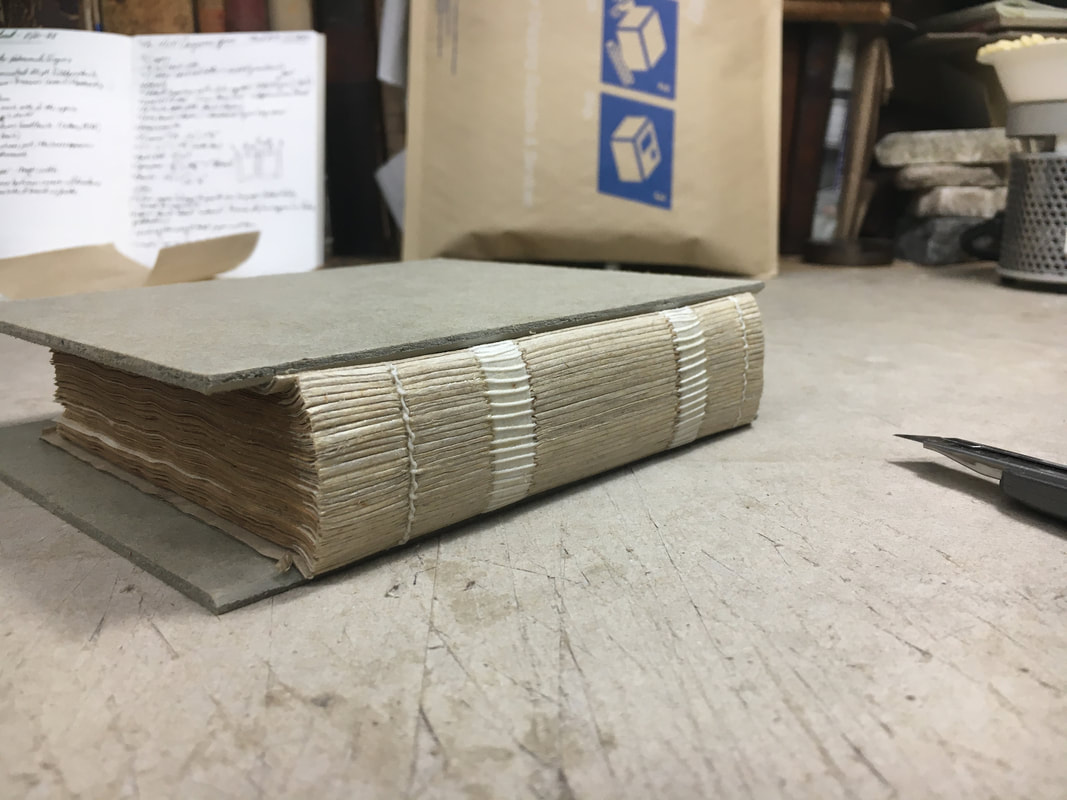
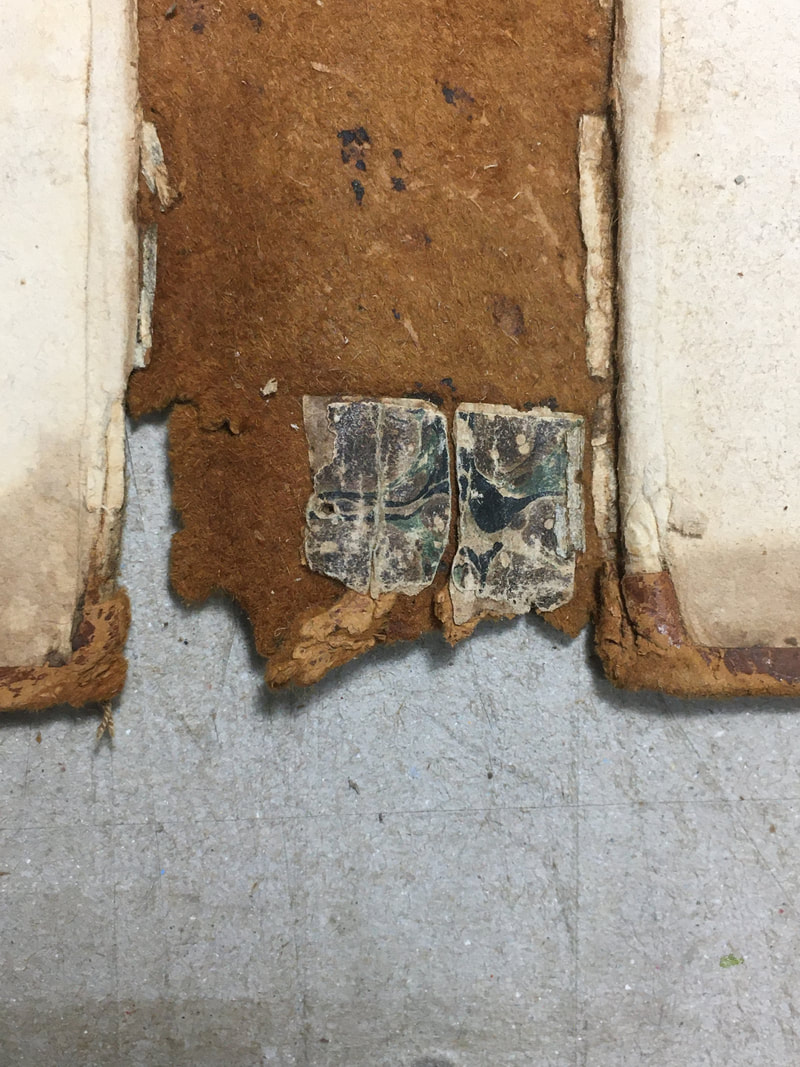
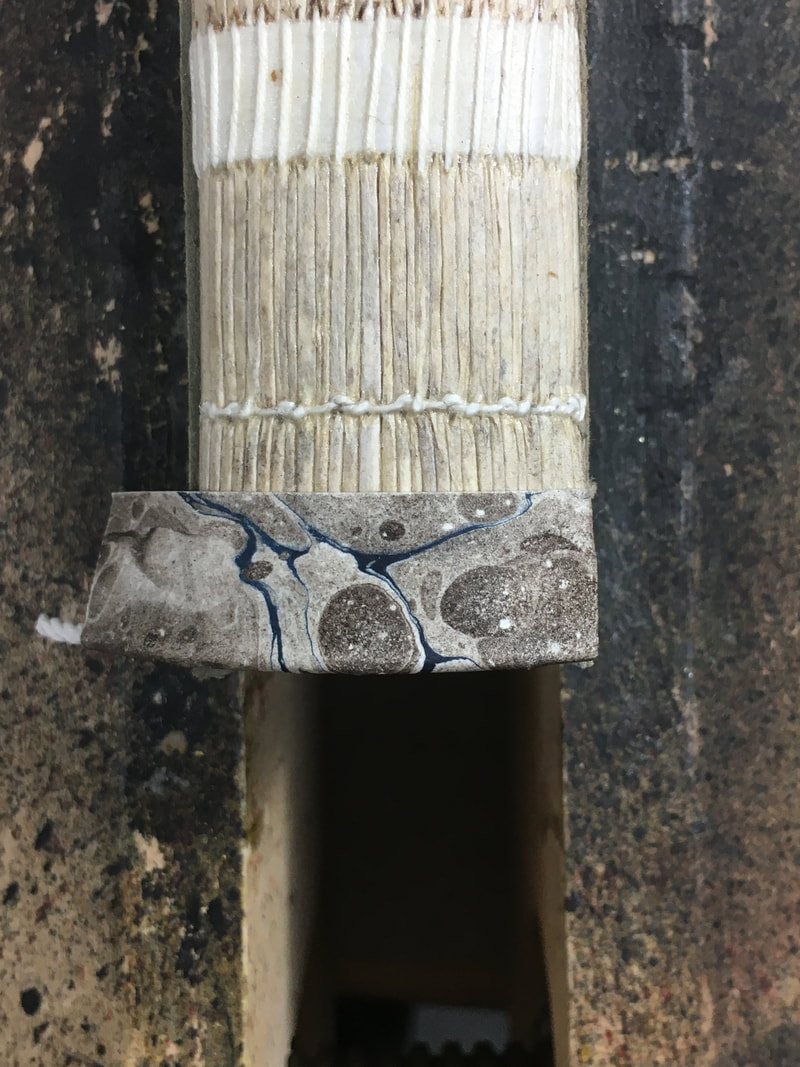
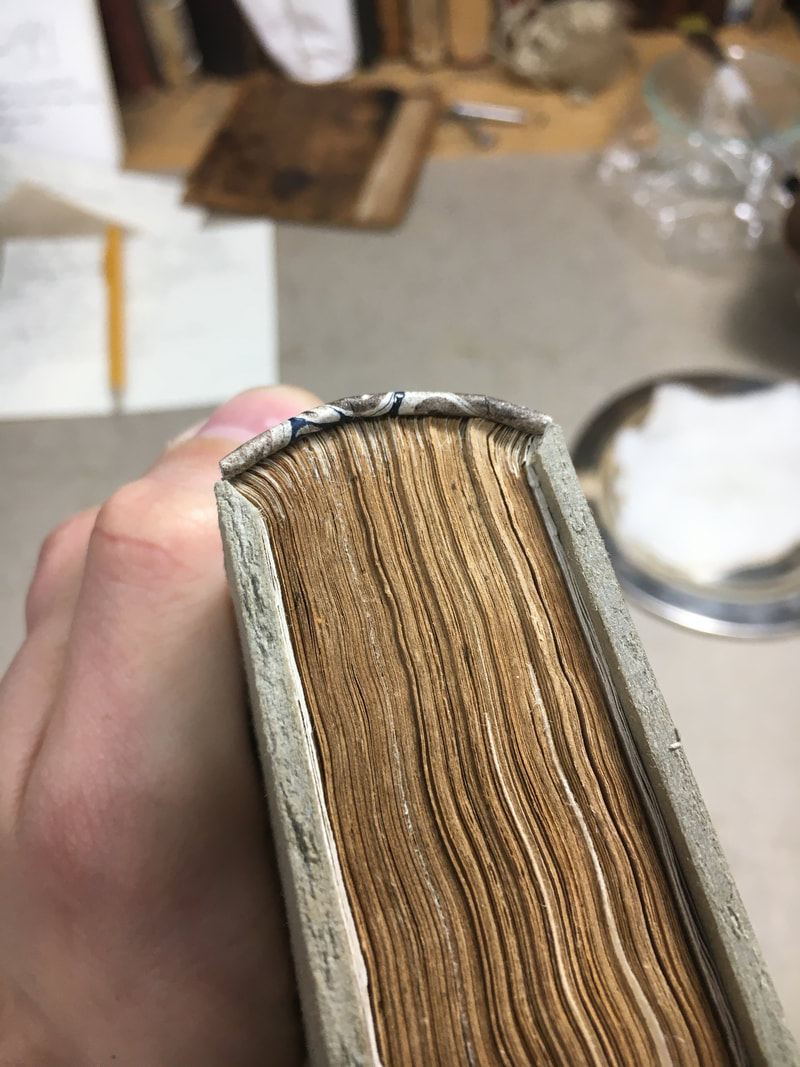
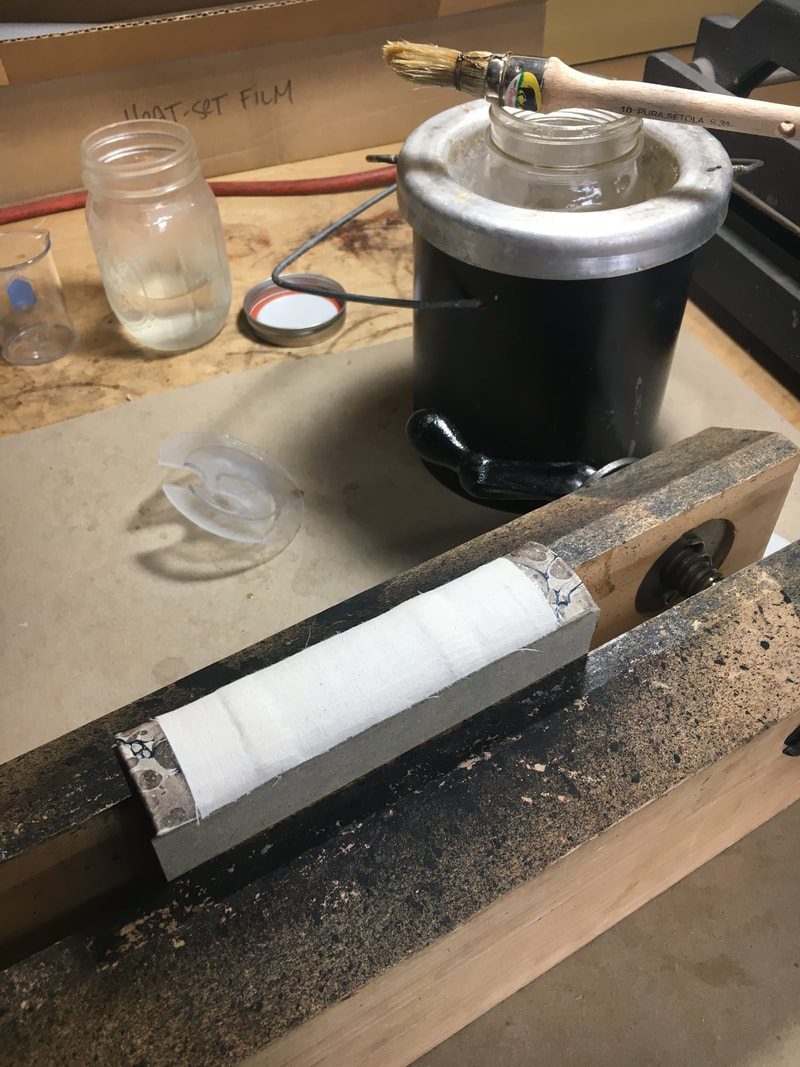
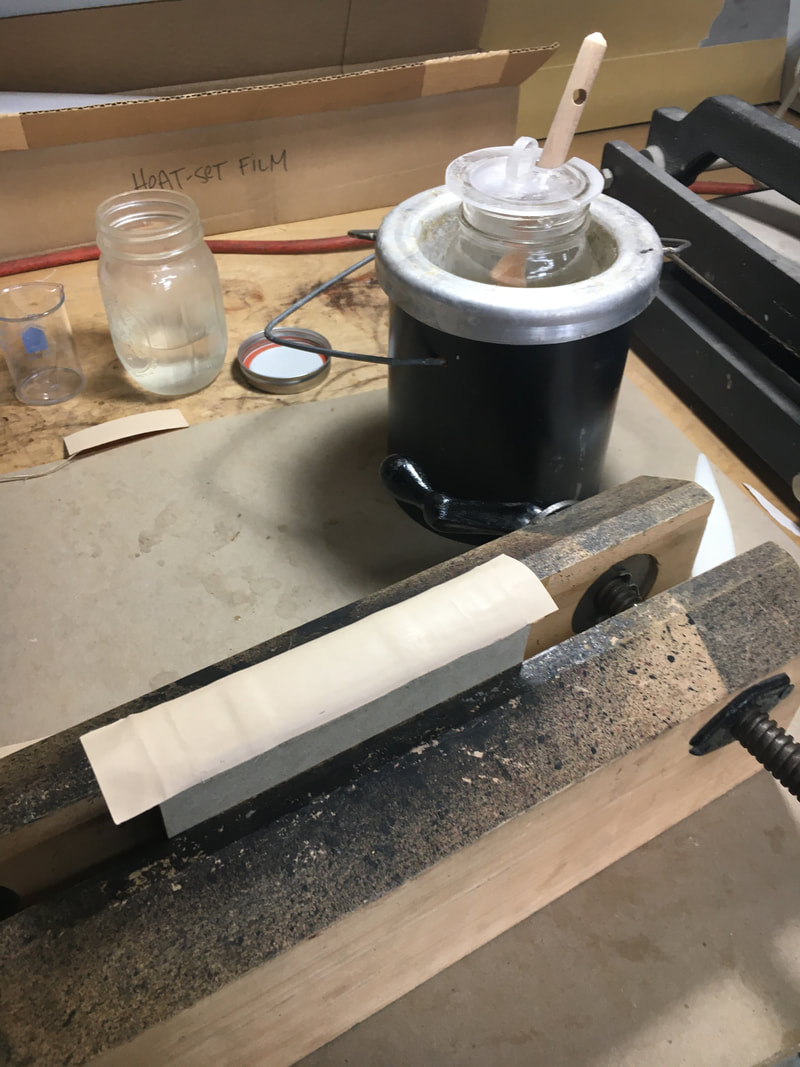
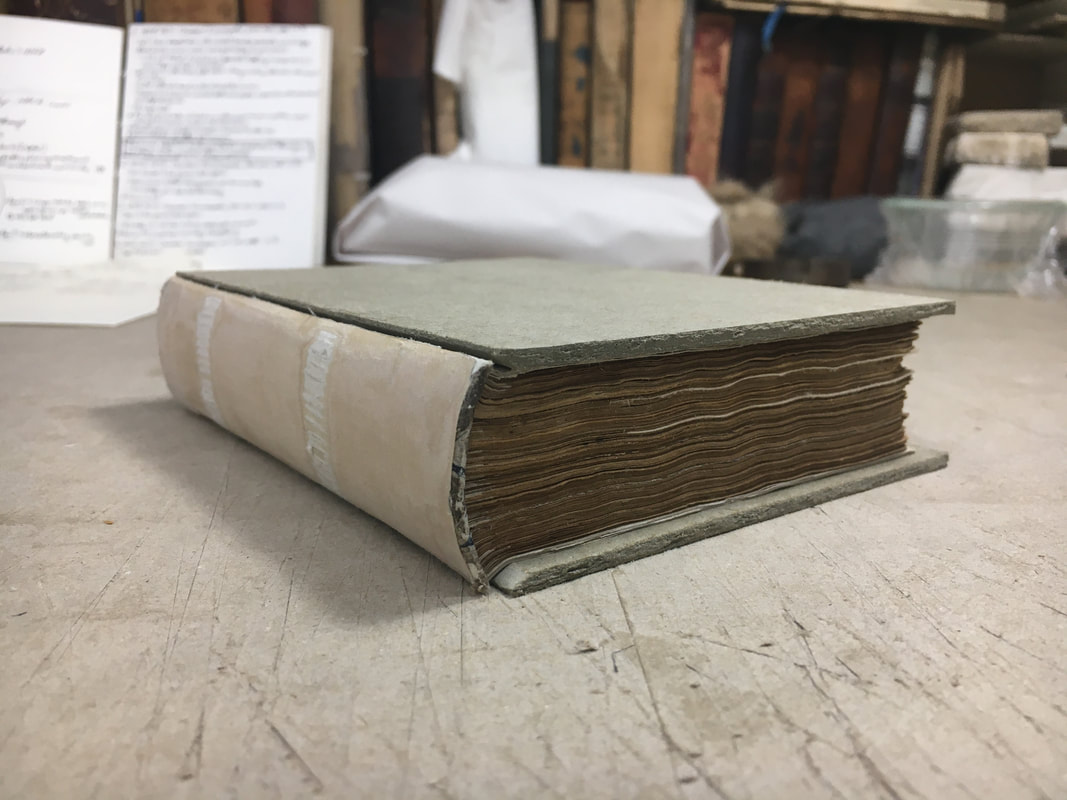
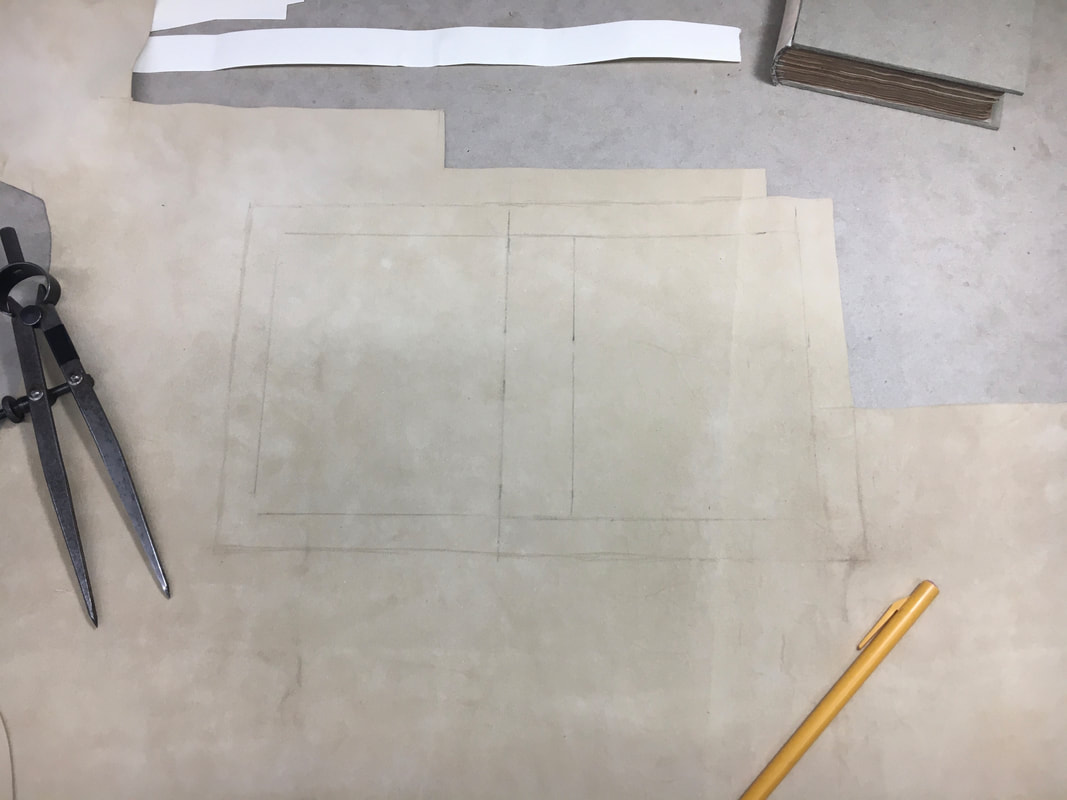
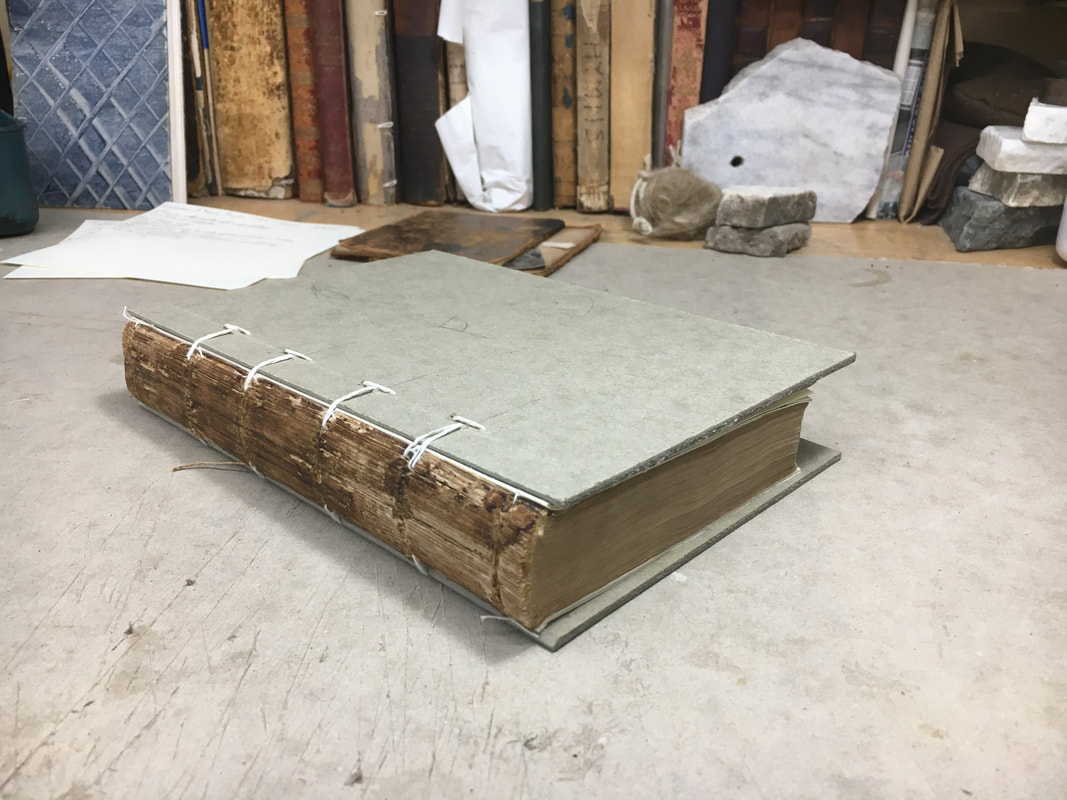
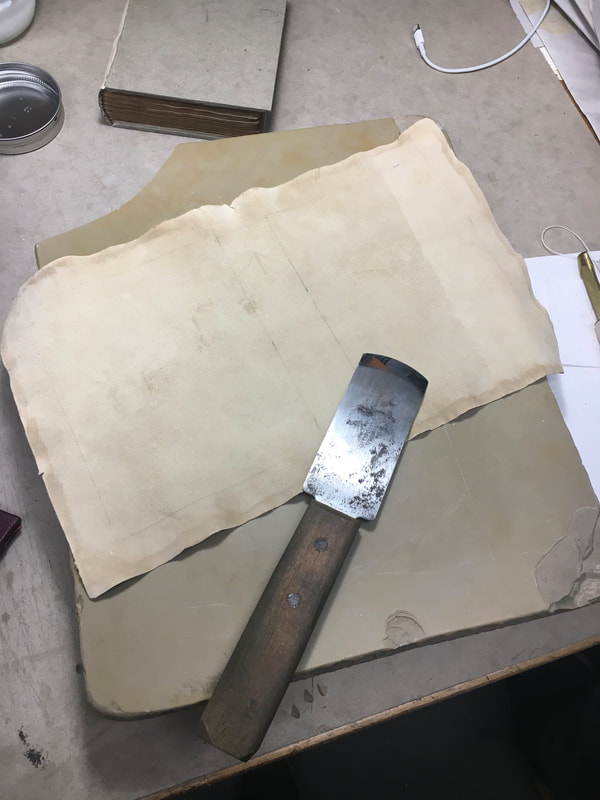
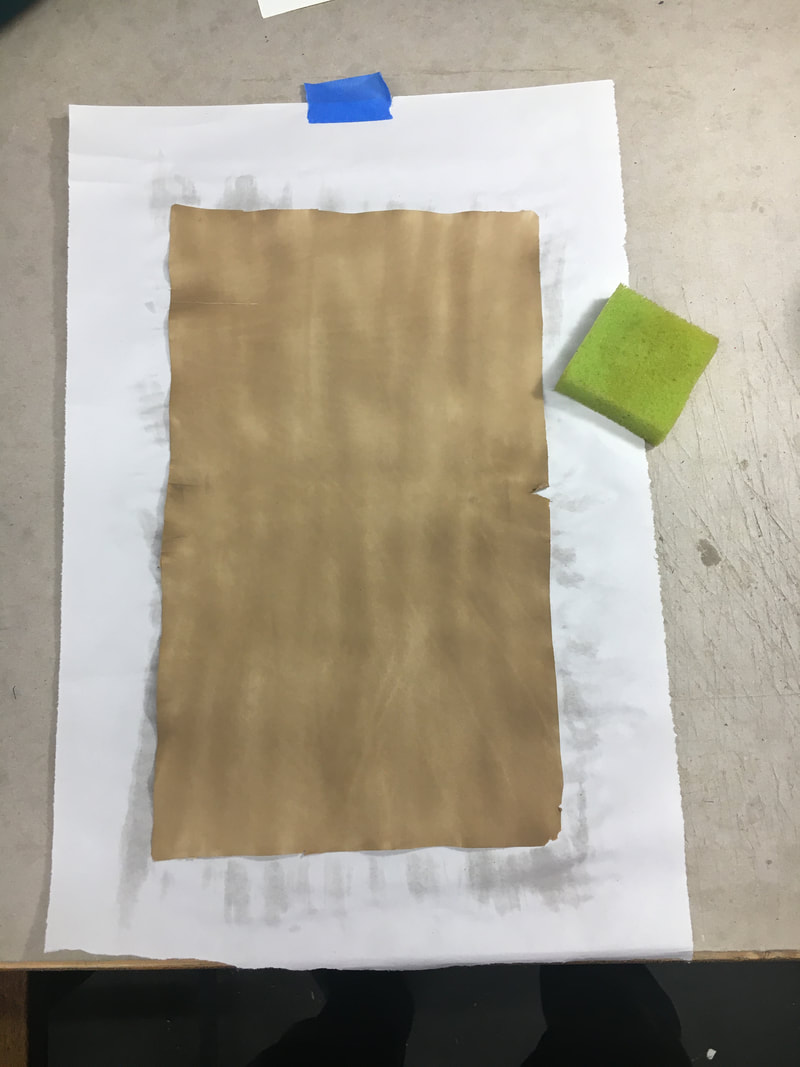
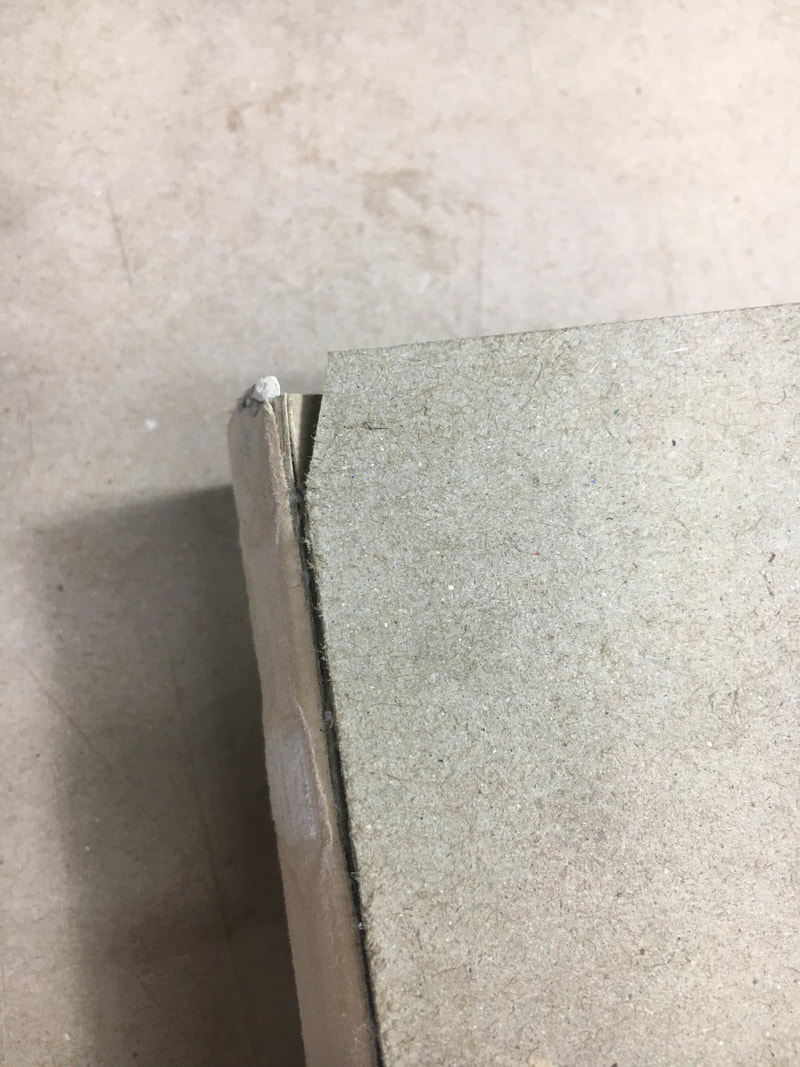
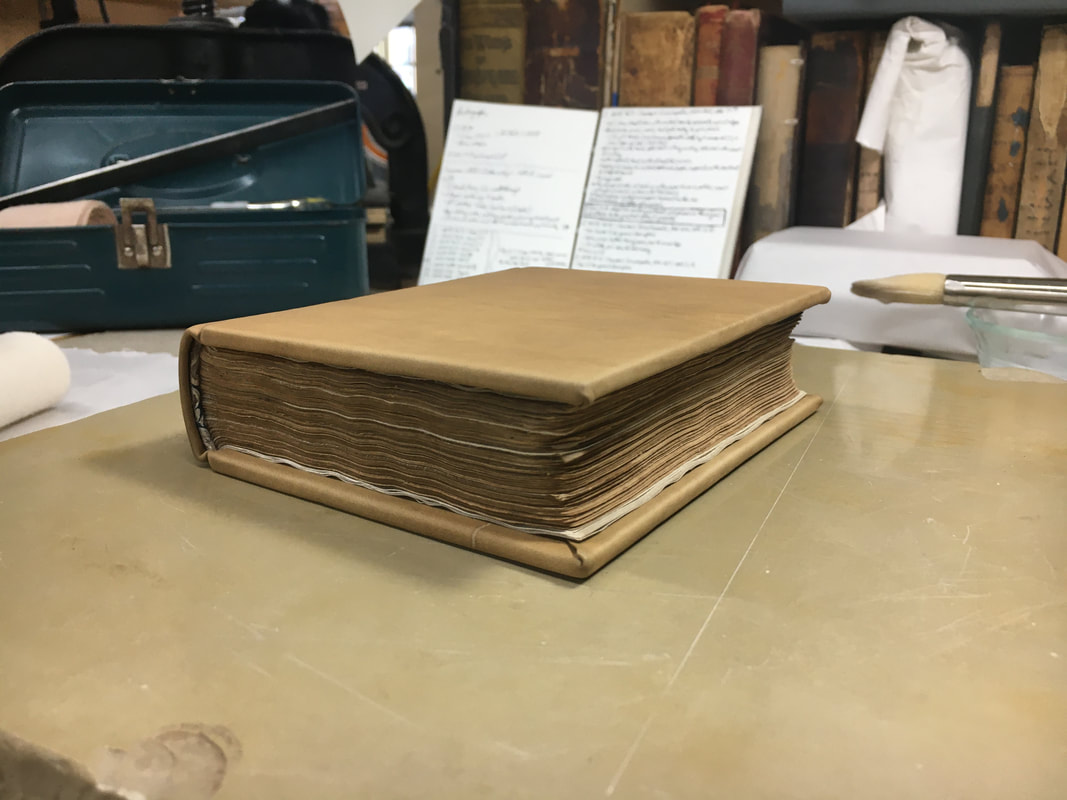
Welcome to Part 2 of our historical rebinding of Johnson's Dictionary Improved by Todd, published in Boston in 1828. Last week, at the close of Part 1, our dictionary had been removed from its original decrepit covers, washed, guarded, mended, and reassembled into the neat little textblock pictured above. This week, we finally moved our project from loose leaves back into a bound state, and what a pleasure it is to be back in one piece! Before moving onto sewing, new endsheets were needed to supply a pastedown once the book is covered and to protect the freshly washed and mended textblock. After being unable to find reproduction Machine-Age endpapers at an affordable price, I decided to use a similarly-weighted archival paper and tone it myself with a series of acrylic washes to match the 200-year-old textblock. Tests were done to mimic the acid staining on the first few text leaves, but in the end I decided that introducing false "wear" to this book contradicted my intentions for rebinding it in the first place. Rather than mask the fact of my intervention, I wanted to protect the original text in a style sympathetic to the way it was originally bound while taking advantage of the strength and stability of new materials. "Saddened" flyleaves, still maintaining the crispness and regularity of fresh paper, fit this goal nicely. Interestingly, the first signature of the textblock consists of only a single folio, possibly as a result of this later edition requiring an updated title page while the main content was largely unchanged. In any case, not wanting introduce unnecessary stress to the paper by sewing through a single folio, the last flyleaf folio was trimmed to hook around the title page folio, creating two layers of paper to sew through at the fold. This hooked flyleaf was adhered with methyl cellulose so that it can be safely removed with water by future conservators without damaging the original text. With the endsheets prepared and in place, the book was finally ready for sewing. Though the book was originally sewn on two recessed cords, after re-assessing the repaired textblock with my instructor, it was decided that sewing on flat ramiebands would give us an opportunity to more evenly distribute the stress of the sewing supports across the length of the spine and avoid sawing fresh gashes into the recently guarded signatures. Ramieband is a thin, strong, paper-like filament made from fibers of the Boehmeria nivea plant, a type of nettle. Similar to sewing on linen tapes, ramieband can be frayed out for seamless board attachment like cords. Integrating the original recessed cord sewing stations, an extra station was punched at the width of the bands. Punching the sewing stations further evidenced that the book had originally been sewn "two-on", catching two signatures with each pass of thread along the length of the book instead of just one (all-along sewing). Between the existing four stations (two for cords and two for kettles), staining where the original sewing thread lay alternates between one long pass between the inner stations and two short passes between the outer stations. This was likely done to speed up overall sewing time and to help lessen the swell which would've resulted from packing each signature with a full length of thread. I decided to follow the original binder's lead there, sewing the first and last few sections of the book all-along for stability, then sewing the interior sections two-on, taking each new section and going in at the kettle, out at the first station, adding another signature, bringing the thread around the ramie band and into the second sewing station of the second signature, out the third station, back around second ramie band and into the fourth station of the first signature, then finally out the kettle of the first signature. The kettle stitches consequently drop down two signatures to loop around the previous run's thread. This crossing-over action gives the sewing a wonderful slant across the sewing supports (delight!). Once the textblock was fully sewn, the ramiebands were centered and the bookblock was ready for lining, rounding, and backing. The book was originally glued up with hide glue, and I used the same in my historical rebinding. Hide glue, when used properly, offers a strong, slightly flexible surface adhesion, perfect for controlling the movement of the spine, and is also water reversible. Once glued up the book was tenderly rounded and assumed a wonderful gradual crescent dome shape once in the backing press. A few light gos with the hammer and the book offered up the shoulders needed to fit its new boards. The board edges were sanded to a bevel to accommodate the "tight-back", jointless nature of the 18th-century calf binding structure. A tiny fragment of the original stuck-on marbled paper endbands was enough of a clue for me to match the style for the book's new endbands, which were constructed and attached in the same way. After the endbands were attached and trimmed to size, the spine was lined with a single layer of muslin and two layers of textweight paper using hide glue. This lining serves the dual purpose of further controlling the opening of the book and of smoothing out the back of the spine. As the leather covering will accentuate any spine terrain, the lining is then carefully sanded with a flat board, taking layers off the raised areas over the ramiebands and leaving them in the recesses between the bands, creating a smooth, level surface across the length of the spine. Once the spine was lined, the book was ready for covering in undyed calf skin. In the 18th century the boards generally would've been laced on using the sewing supports, similar to the above photo of another project I'm working on. Because this book is small enough to not need reinforced board attachment and uses ramieband rather than cords, this book was covered with the boards detached, sort of similar to a case binding. I rechecked that the boards were beveled appropriately, sitting where I wanted them to in the shoulders, and trimmed them to size before laying them out on the calf skin to measure and cut out the covering piece. This rectangle was then edge pared all around the perimeter to a create a gradual bevel at the turn-ins, and further pared at the head and tail to prevent a bulge on the spine wear the leather doubles up at the caps. The leather is dampened on the skin side with a soft sponge to raise the grain; expand the leather, allowing more paste to soak in; and create a moisture barrier that prevents the paste from striking through the leather from the suede to the skin side. The suede side is then thoroughly pasted up, rubbed in, and pasted again to ensure a solid soaking and sizing. While the paste soaks into the skin, it's time for a final flight check on the rest of the book: the boards are refit along the shoulder, labelled on both sides, and the squares are triple-checked to confirm both the size and the placement of the boards. The boards are back-cornered to make room for the head and tail turn-ins, and it's off to the races. Of course, I need both my hands to do the actual covering and didn't have an extra one for taking pictures, but the essential process is thus:
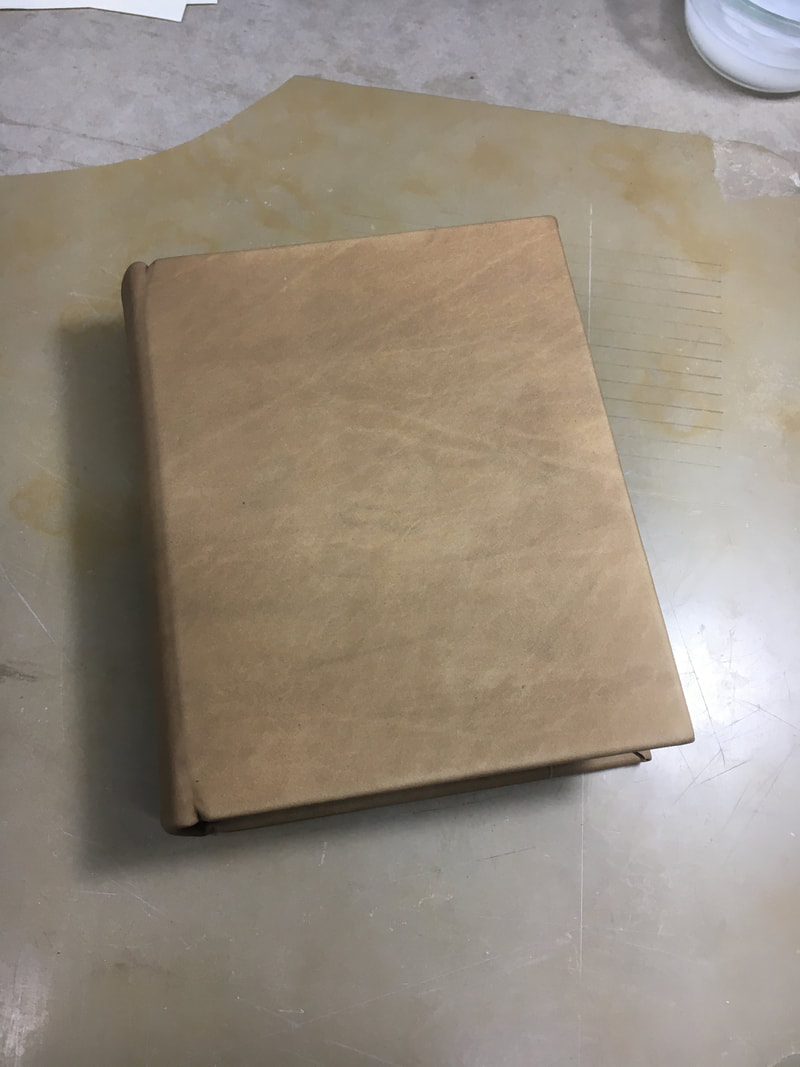
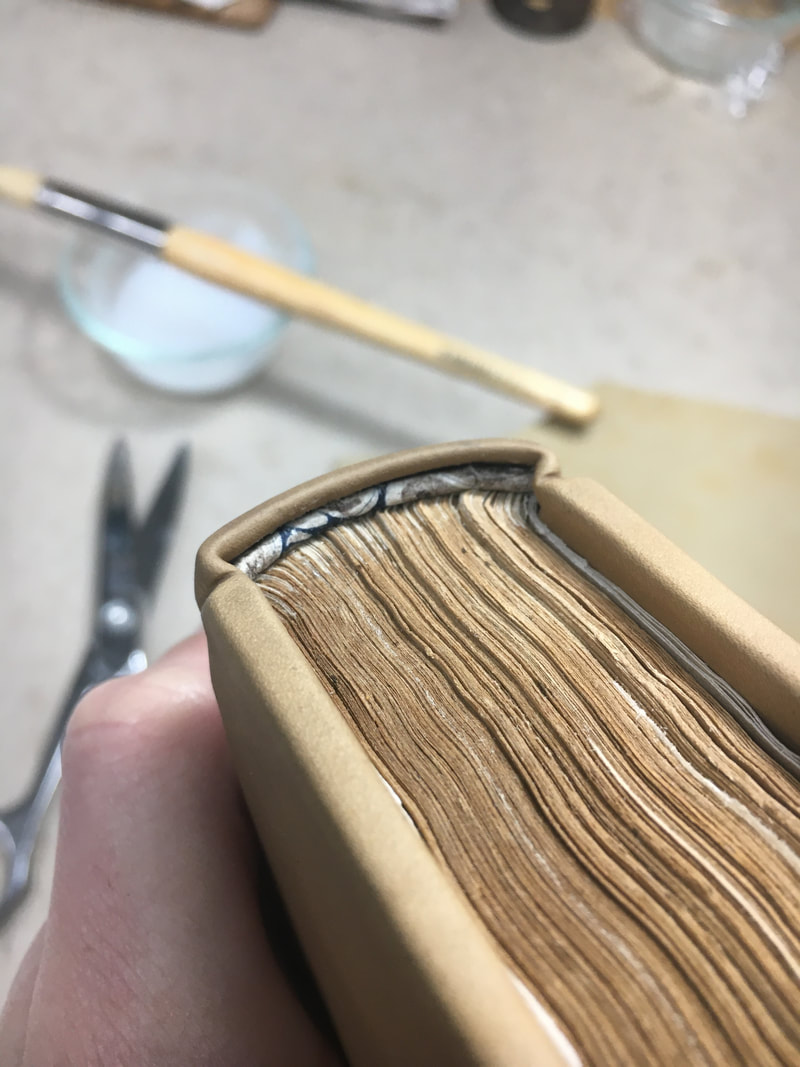
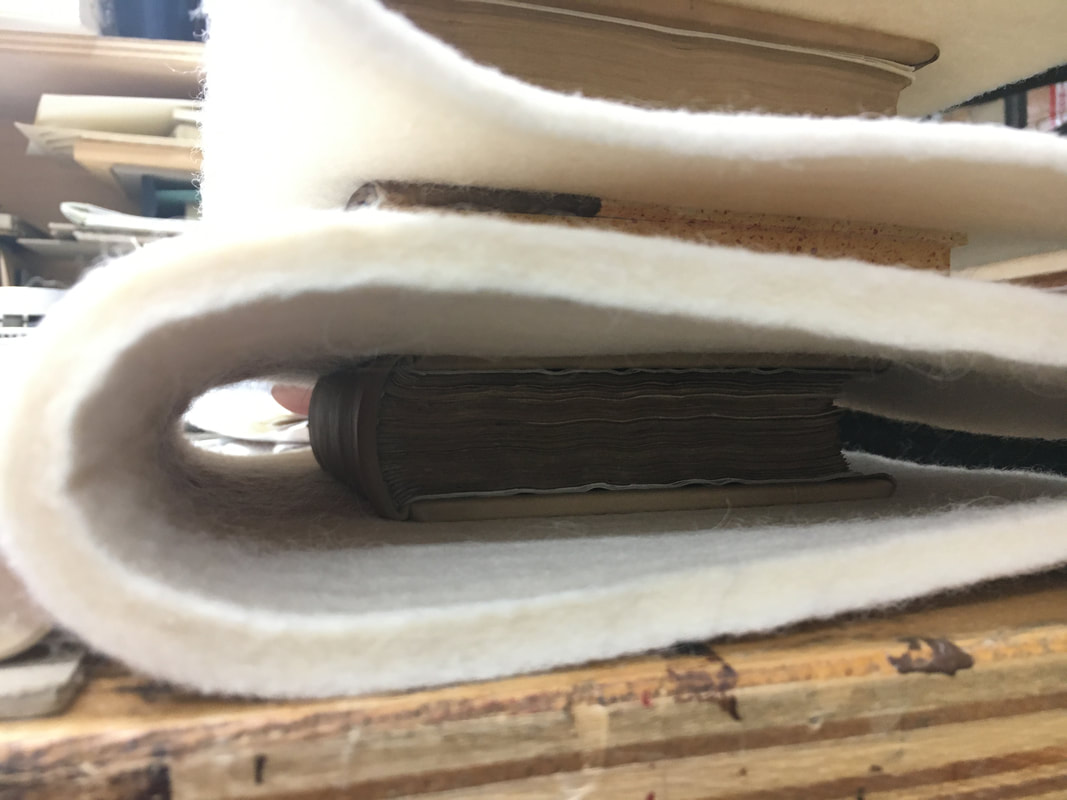
Here are a few quick shots of Todd's Johnson just after covering, before being returned to the drying felts for the weekend. I checked back in after a few hours to "fix" the boards and to replace the moisture fences. Next week I'll check the board opening and prepare the book for leather staining and tooling. Thanks for following along!
3 Comments
3/5/2021 07:22:53 am
I am enamored and impressed by your meticulous care! This is a beautiful illustration of making/remaking something by hand. Thank you for shearing it.
Reply
Mitch Gundrum
3/6/2021 06:53:36 am
Thank you very much! I'm happy to hear you enjoyed it!
Reply
Leave a Reply. |

